In case of a discrepancy between the Fusion 360 CAD model and this Wiki, assume the CAD is accurate as the wiki might be outdated. This holds especially true for bolt types and locations.
¶ Go here for the in-progress V4 assembly guide. https://wiki.printnc.info/en/v4/assembly
The order of assembly and printed drill guide numbers have changed somewhat. If there's any confusion or errors, please report them to the PrintNC Discord - V4 Docs Development channel here: https://discord.com/channels/648972213734604807/1225484413710897224
¶ Introduction
This build guide will walk you through the tools, materials, and process to build your own PrintNC. It's intended to be complete with all the information you will need for the full build process, but you may not find it easy to digest. Please watch a few video guides before starting your build for a better overview of the process. The build steps sections can be followed step-by-step on a digital device to help ensure no critical steps are missed or done wrong (and to save some trees).
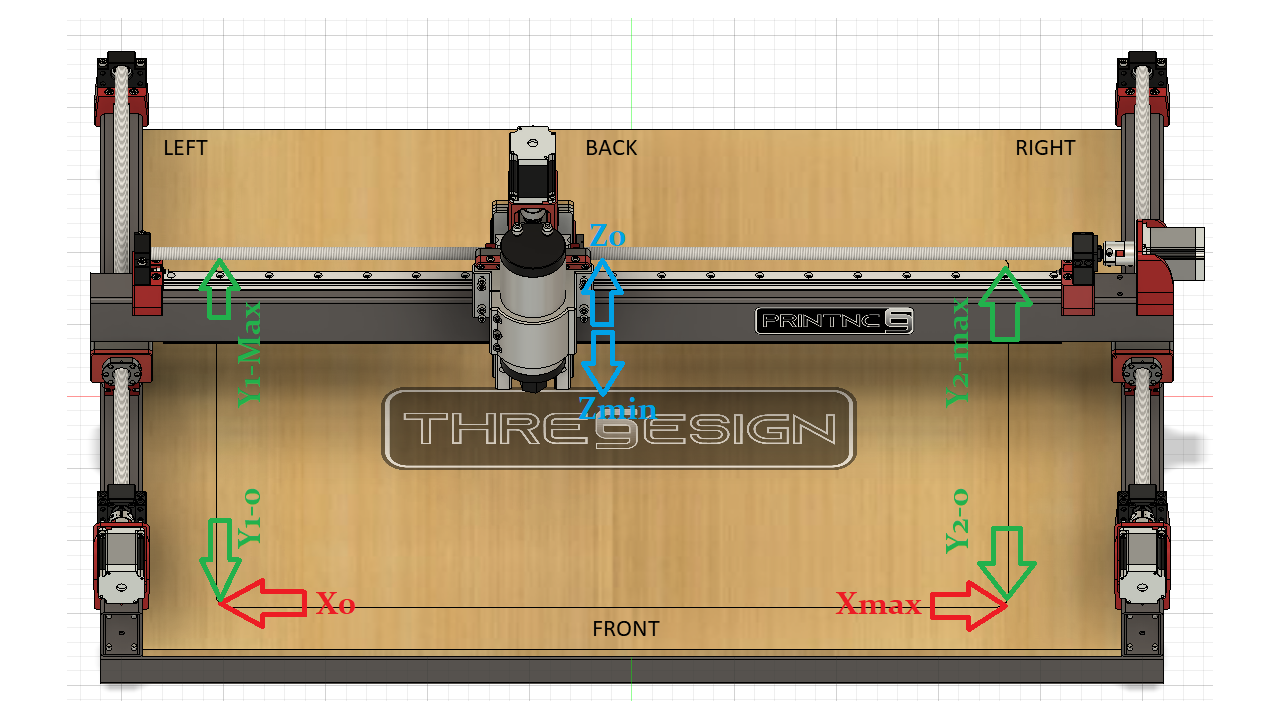
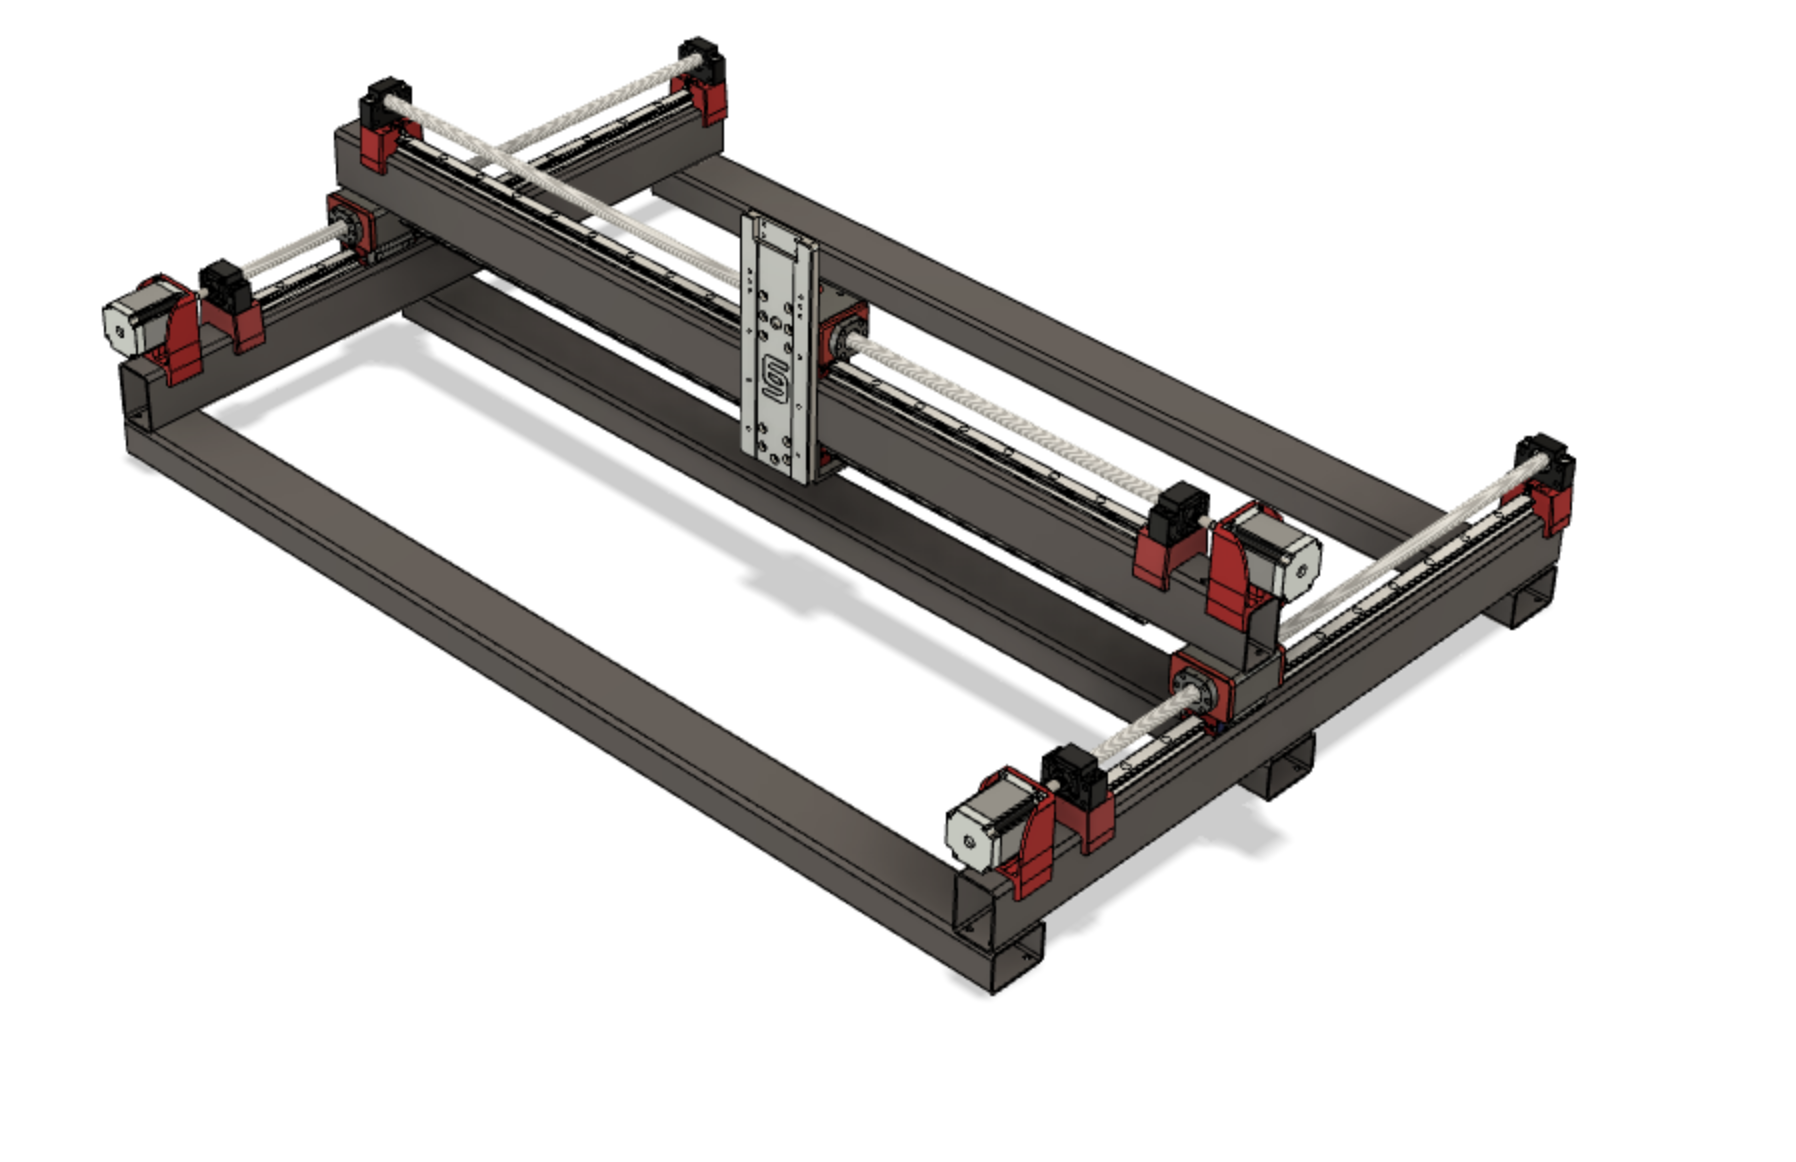
The following picture shows the Front/Back/Left/Right orientation of the PrintNC:
¶ Tools Required:
¶ Important Notes
- Never remove the ball screw nuts from the threaded shaft. You may lose some ball bearings, and they can be extremely challenging to replace accurately.
- When receiving the HGW20CC linear rails carriages, you'll see that there are delivered with a small plastic part in the carriage's groove. This is to secure the steel balls in the carriage. After mounting the carriages to the linear rails, keep those plastic parts and store them in a safe location. You may need them if you have to remove the carriage for any reason.
- Several steps in the build process require using a small allen key to pass through a small hole to tighten bolts. This limits the types of bolts in several places to button head style, since those use smaller allen keys. Please make sure you’re using the correct style of bolts where needed. Ball-nose allen keys with long shafts are required for these sections.
- Some build steps can be done in alternate order to reduce tool changes or to accommodate the constraints of optional tools like drill presses. Some known alternatives include:
- Combine steps 1 and 4: Y Axis Frame - mark corners and middle, then flip over and mark BF12. All are M6 Threaded.
- Generally, build steps are ordered in logical sequence : a threaded hole is first marked, then drilled, then threaded; then the manual continues with the next group of holes. You could (if you prefer) first drill all holes and then thread them, but if you do so, pay attention not to mix up the drill and tap sizes !
- The instructions call for you to drill and tap all holes separately, but if you have a combination drill and tap bit you can use it to significantly cut down on your build time.
- Any time you see drilling or tapping in metal, always add a lubricant. You can find some cutting oil at any hardware store. A regular oil is also perfectly suitable. Not applying lubricant will increase heat during drilling and tapping operations, which can have many side effects :
- increased tool wear
- less clean holes or threads
- risk of breaking the drill or tap bit
- Make sure that your center punch centers in the assembly tools and does not move around. If it is too small, you can wrap tape around it until it fits. Sometimes you need to transfer the position of holes in printed parts or hardware to the steel. The best tool for this is a set of transfer punches, but a set of drills of the right size works as well. Be sure to tap these drills only lightly. Afterwards enlarge the markings with a normal center punch. Generally it is a good idea to make all punches small first, check the measurements and then enlarge with a center punch. During the second punch you can shift the marking (if necessary) by holding the punch angled into the direction you want it to move.
- For the holes that need to be precise (like the ones you're going to tap), be sure to use a good sharp drill bit. Also, drill pilot holes at least 1.5 to-2 mm smaller than your finish hole size. Then, check your pilot holes against your guides before enlarging. If the pilot holes are not in alignment, you can sometimes get a hole to move back in the direction you want by sizing up by 0.5mm and angling the drill bit.
- Generally every bolt or nut should be secured with threadlocker to avoid loosening from vibrations. Medium strength (e.g. blue loctite) threadlocker can be used on all threads from the beginning. When high strength threadlocker is used, it should only be applied during the last tightening of that screw, e.g. after painting and squaring the frame.
¶ Videos you may want to watch before assembly:
- Walkthrough by @hoges
- Projects By Brian
- Arya Nakh
- Mudd Flapp
- Mitch 3D
- Helpful video from @hoges showing how to drill and tap using the guides (note he did this very quickly, you'll want to go slower and make sure everything is lined up)
¶ Build Steps
| 1 | X-Axis Frame Prep |

|
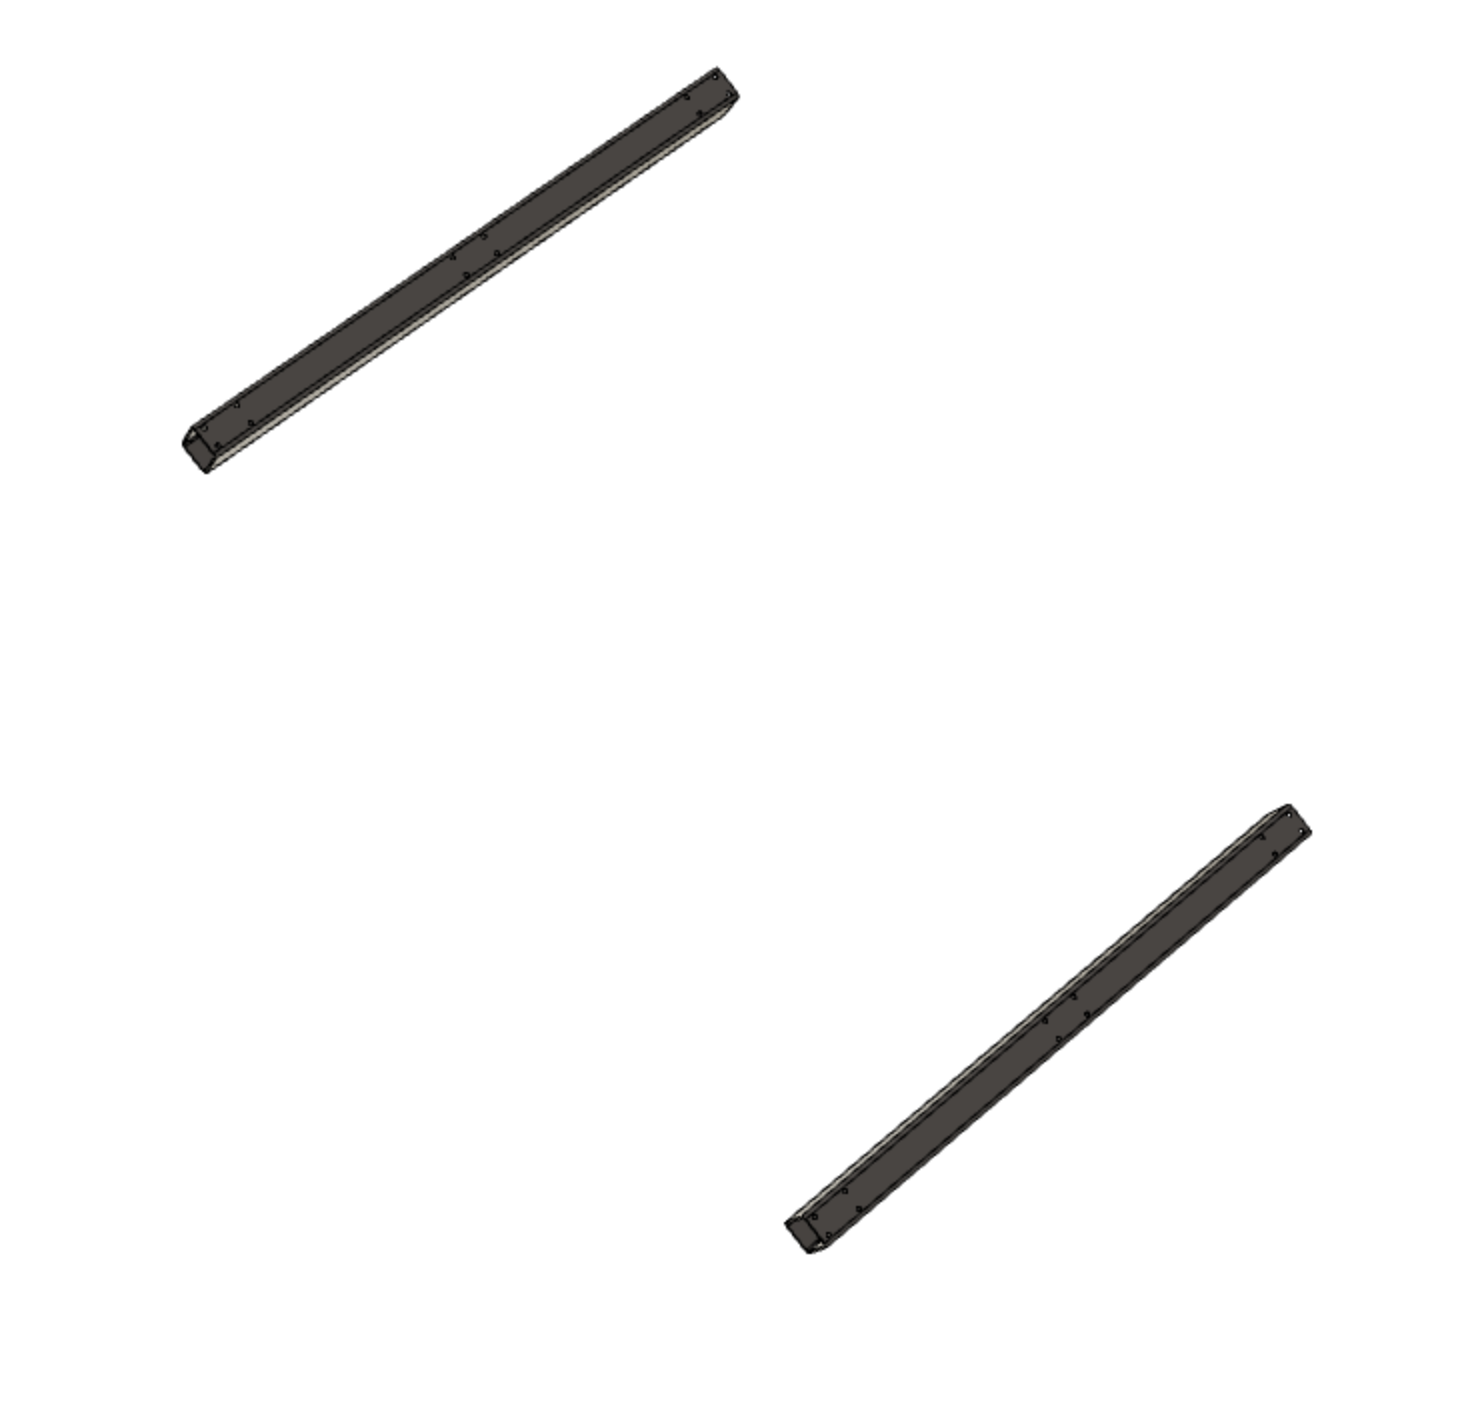
| 2 | Y-Axis Frame Prep |
|
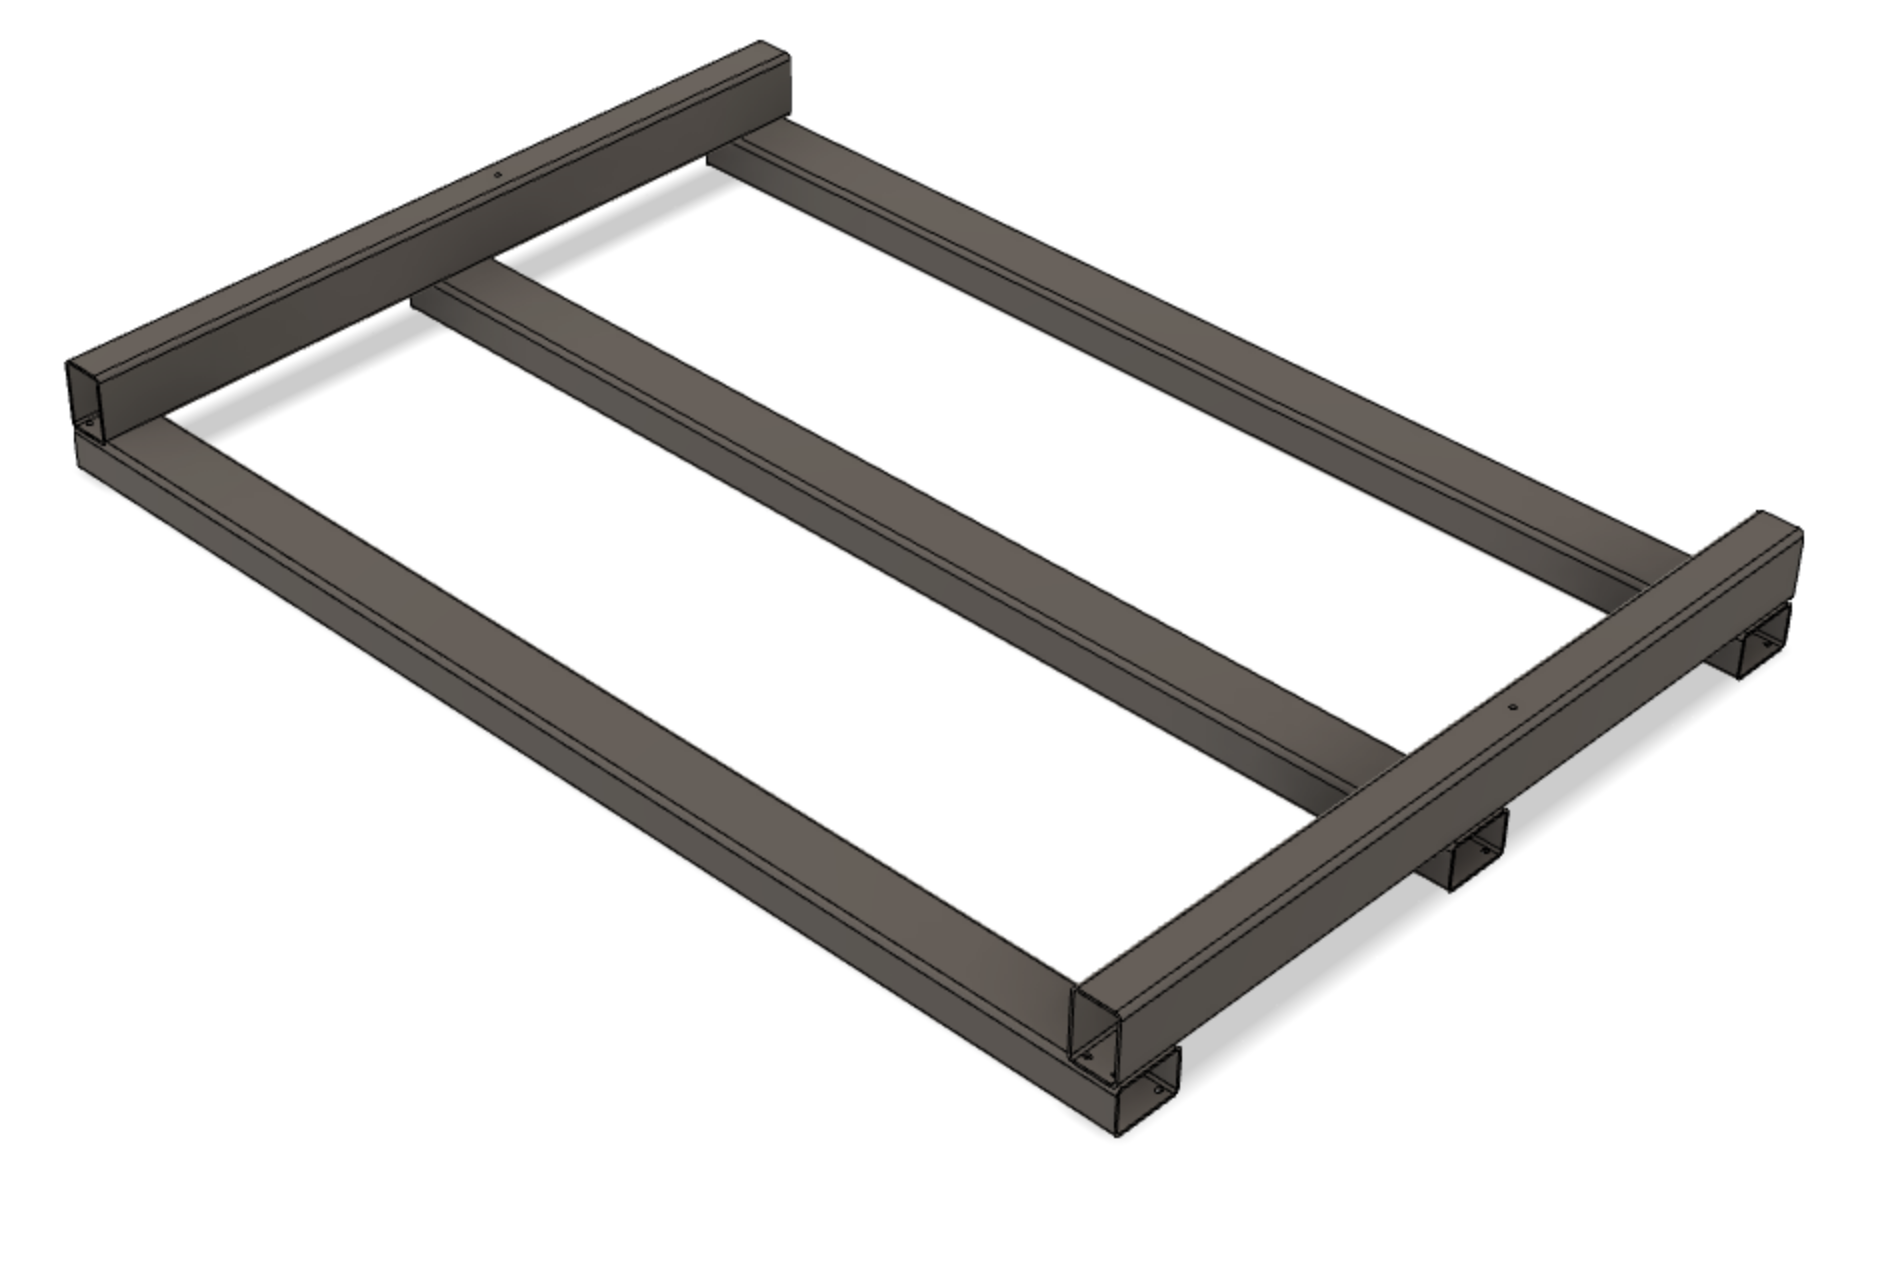
| 3 | Frame Assembly |
|
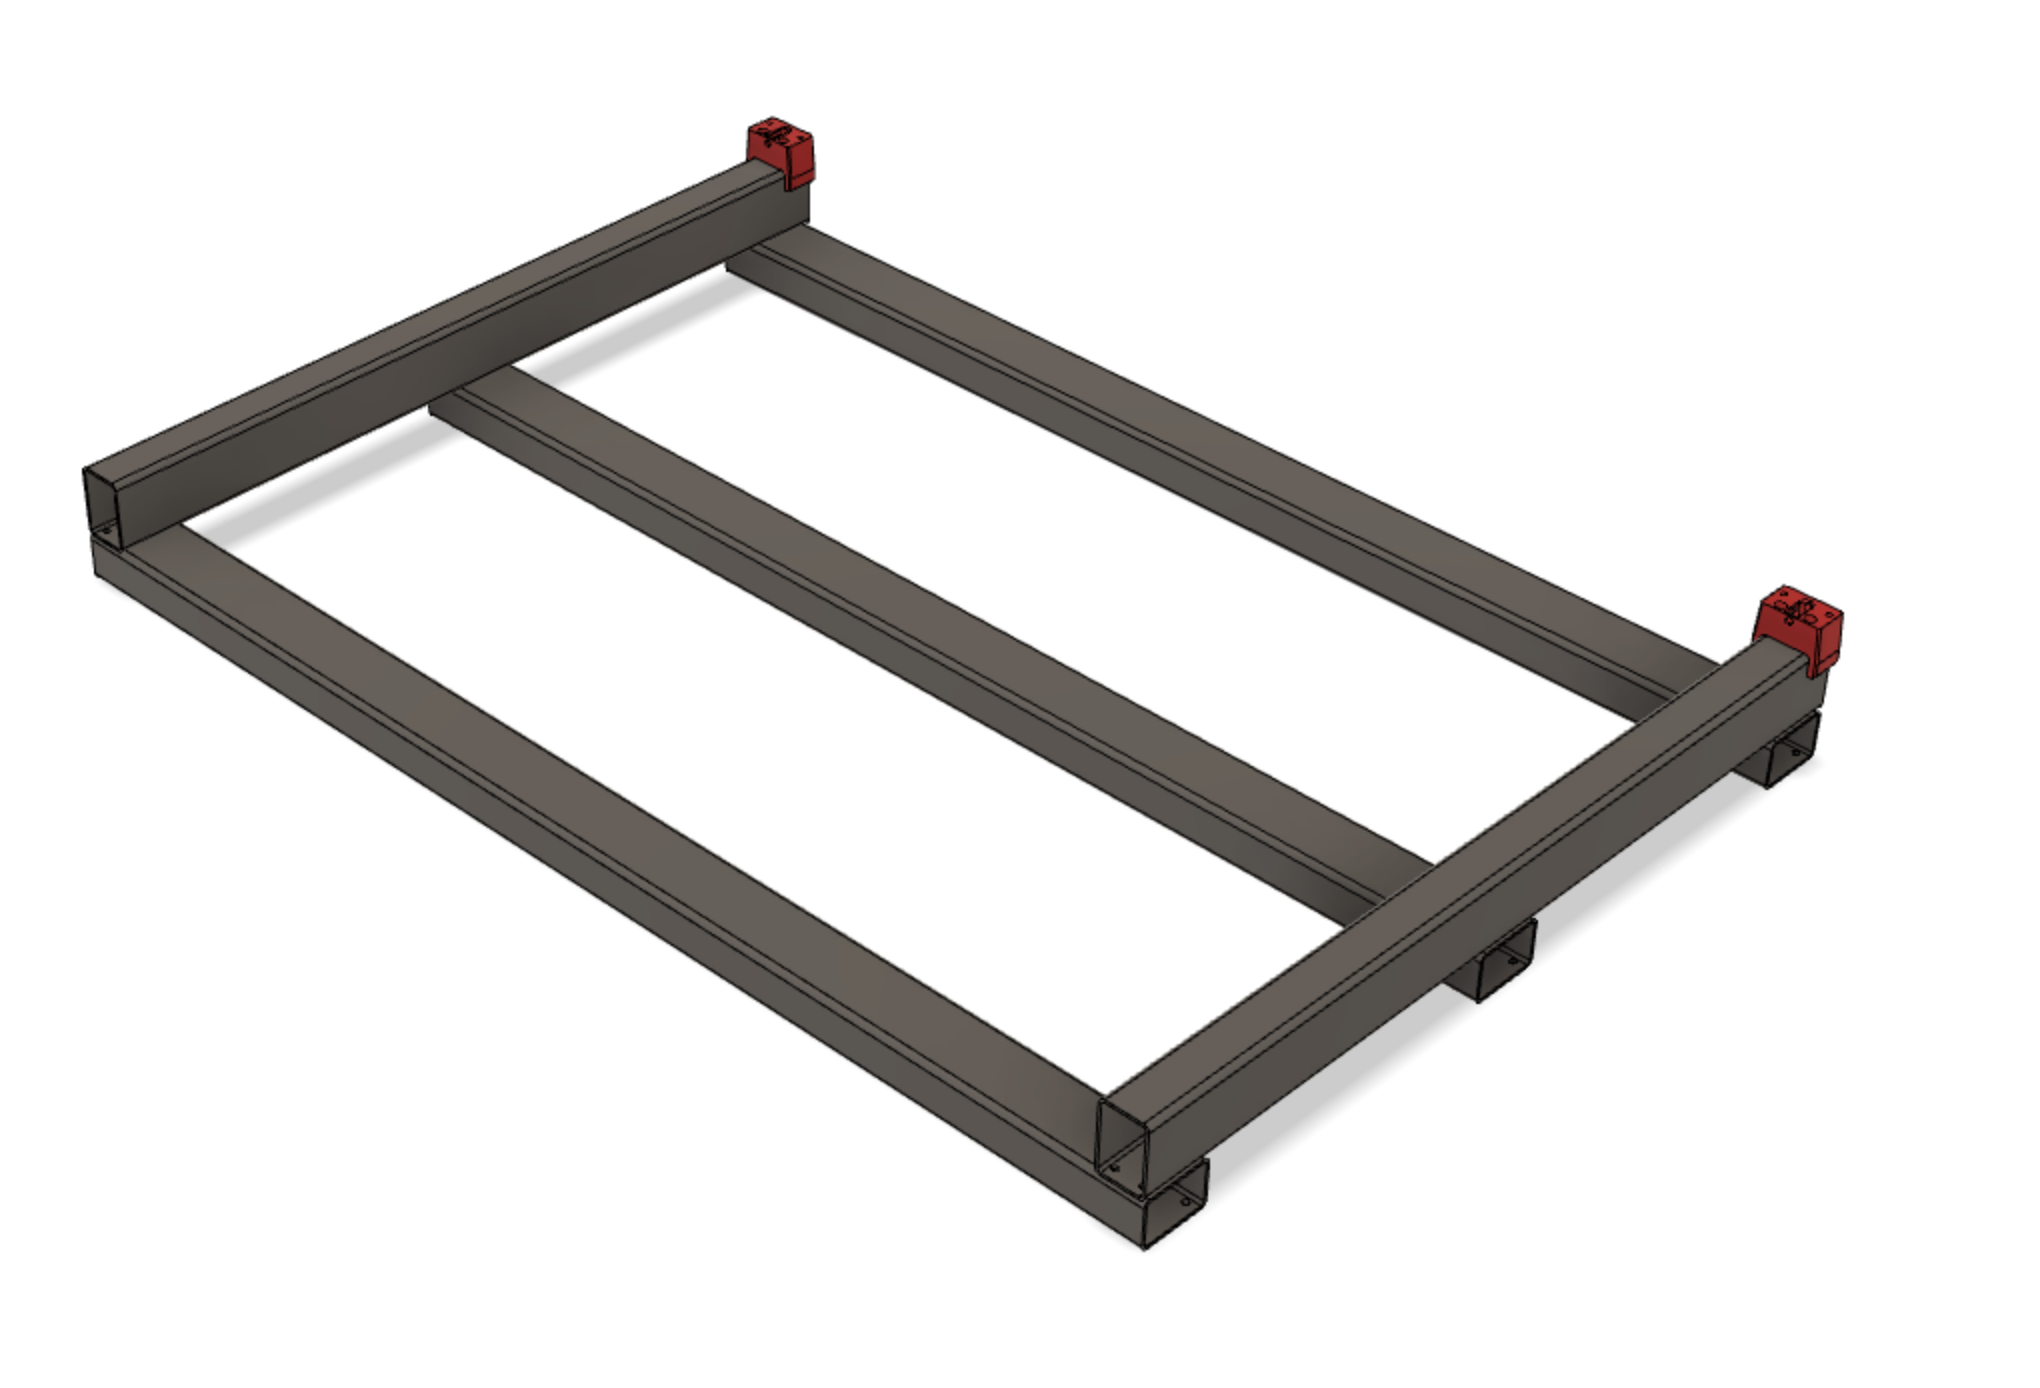
| 4 | Y-Axis BF12 Mounting Prep |
|
| 5 | Y-Axis Linear Rail Prep |
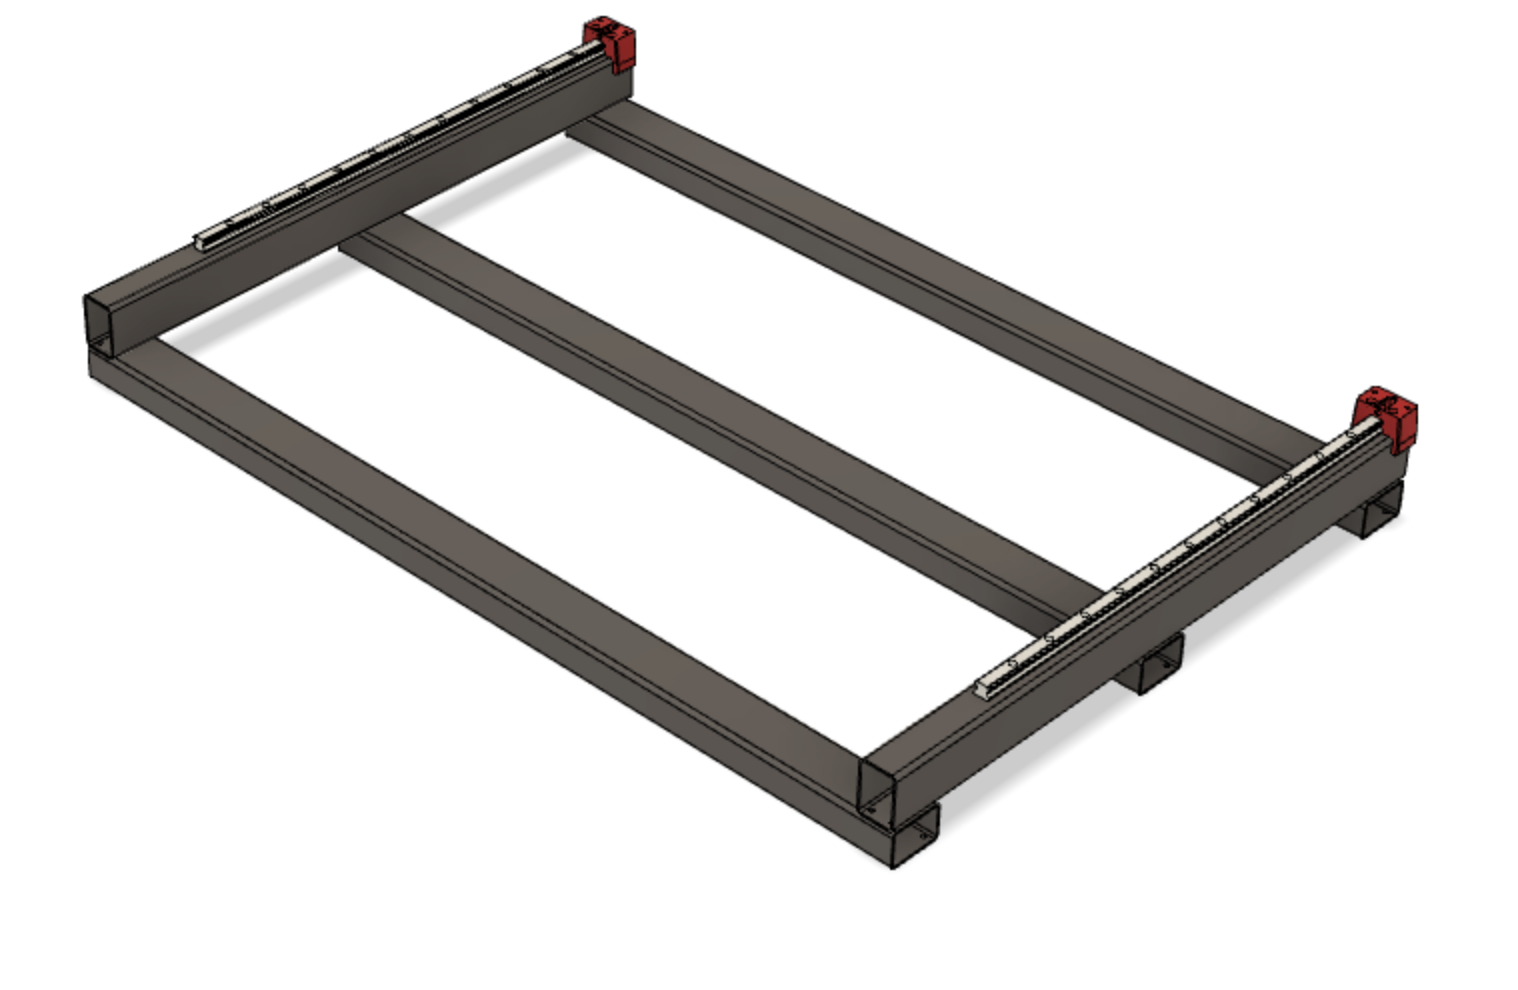
|
| 6 | Y-Axis BK12 Mounting Prep |
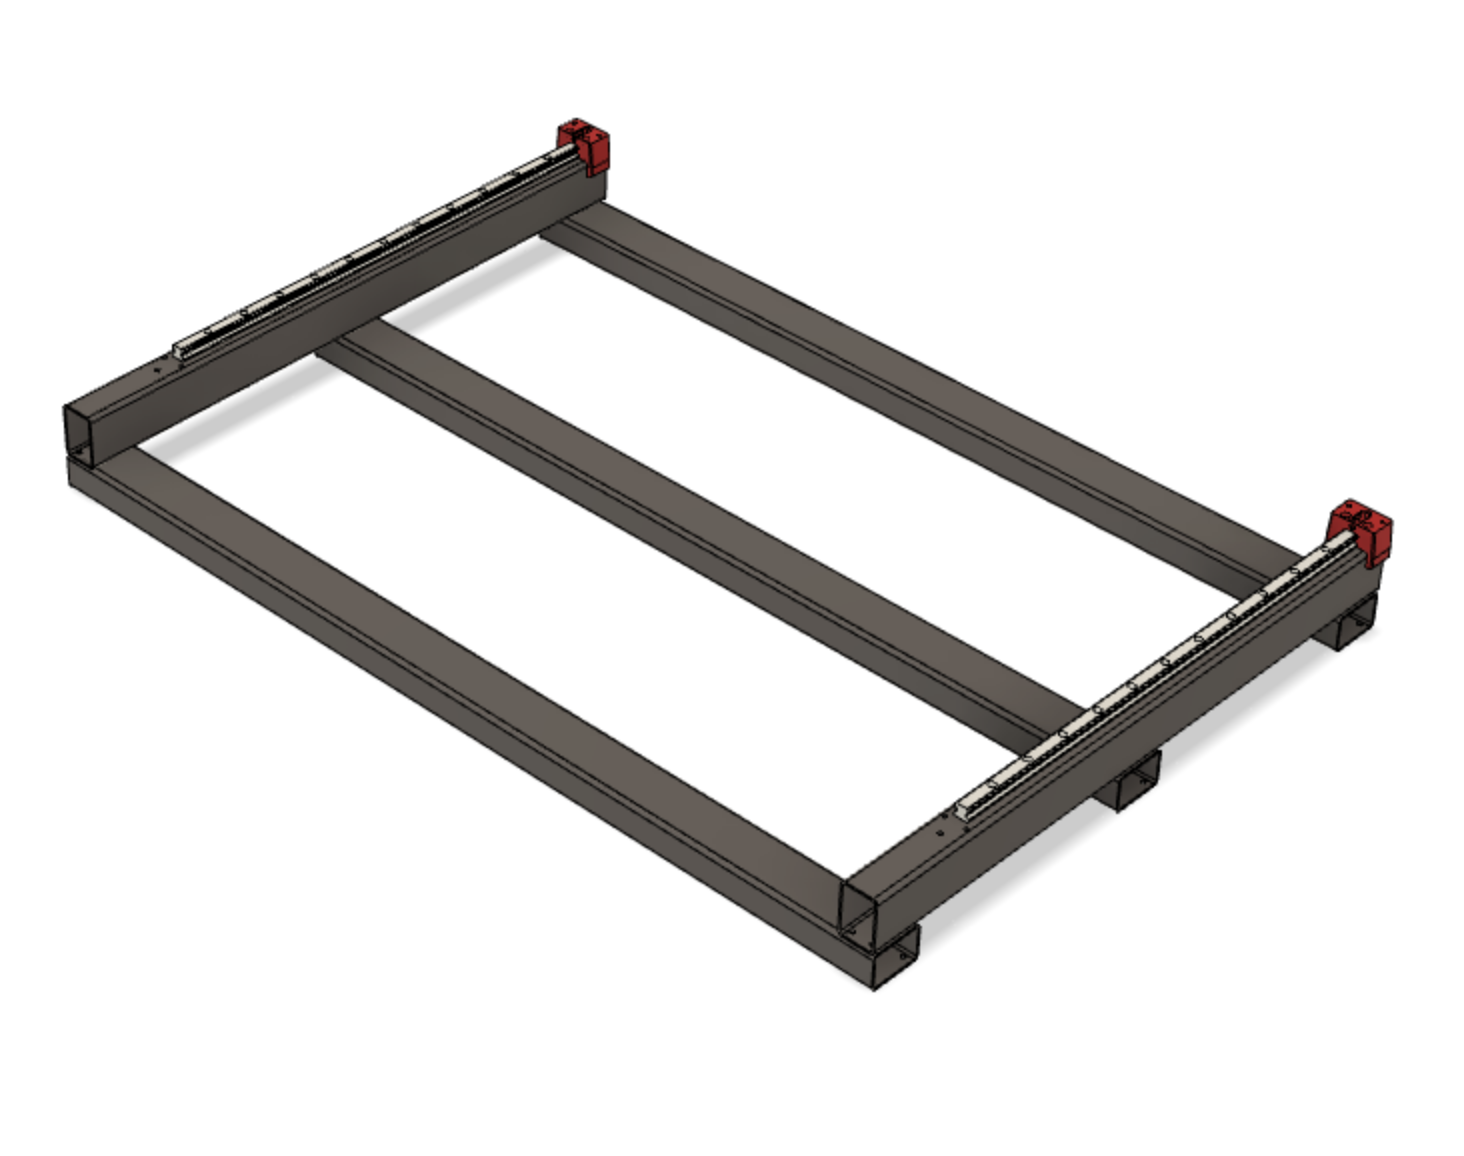
|
| 7 | Y-Axis Roller Beam Prep |

|
| 8 | Y-Axis Mechanics Assembly |
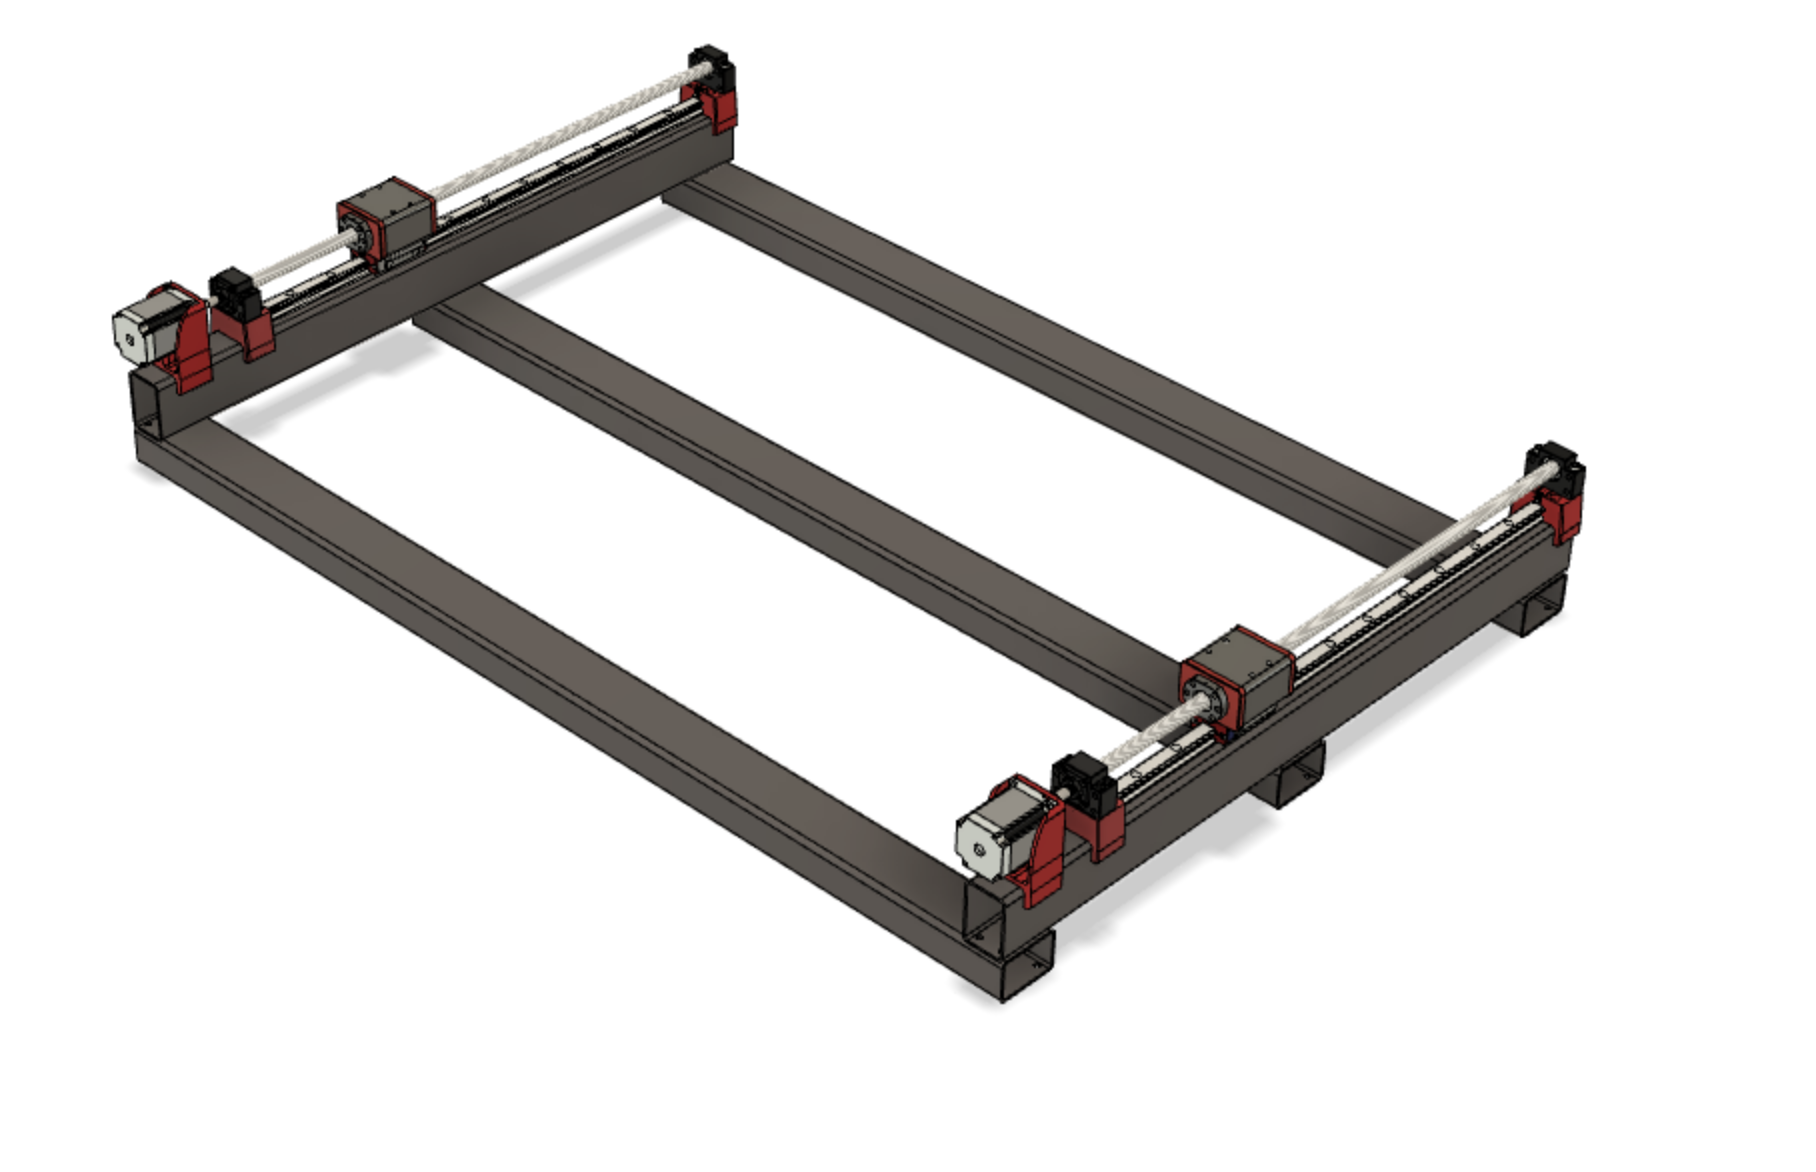
|
| 9 | X-Axis Roller Beam Prep |
|
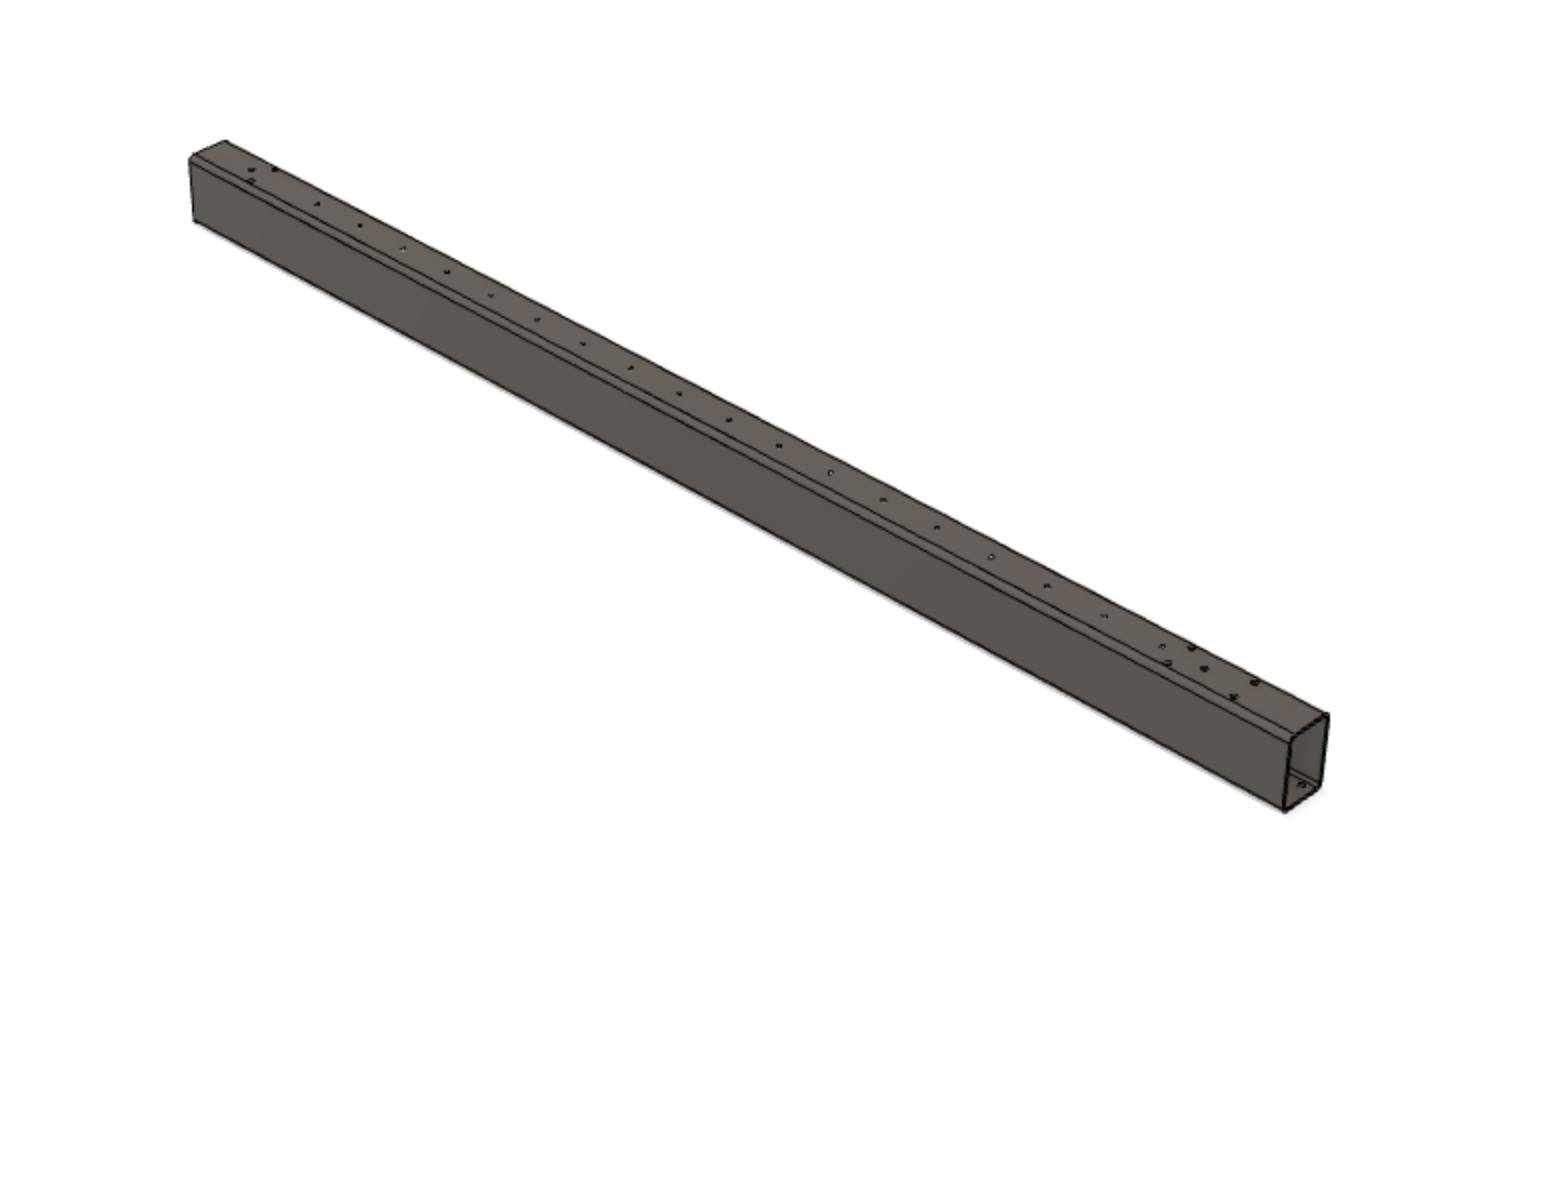
| 10 | X-Axis Gantry Prep |
|
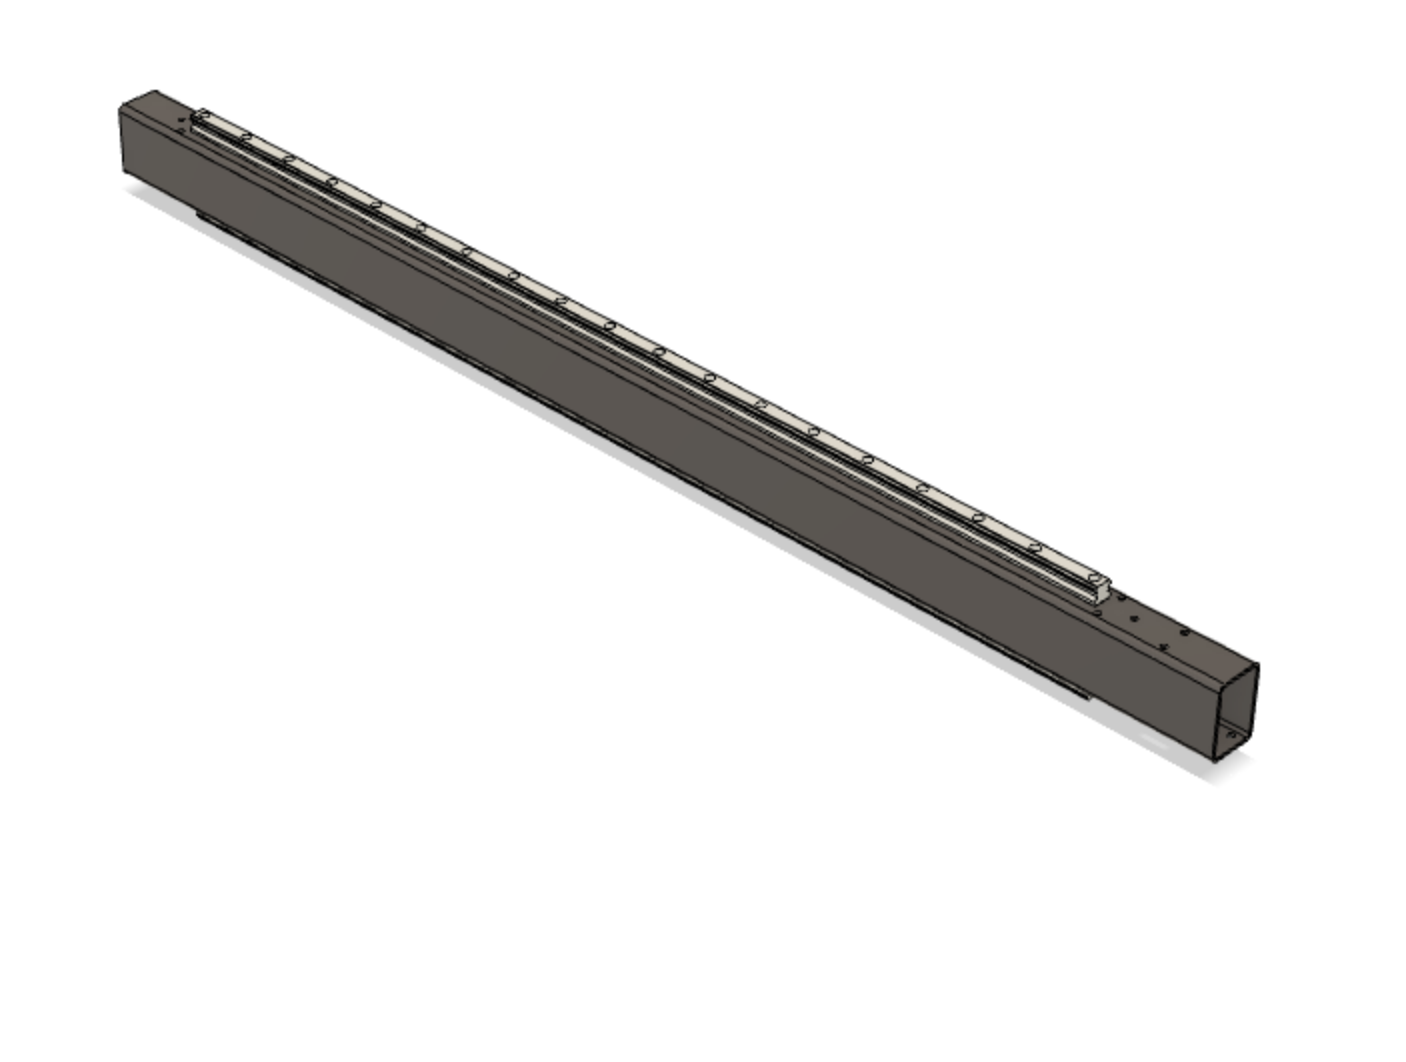
| 11 | X-Axis Gantry HGR20 Mount |
|
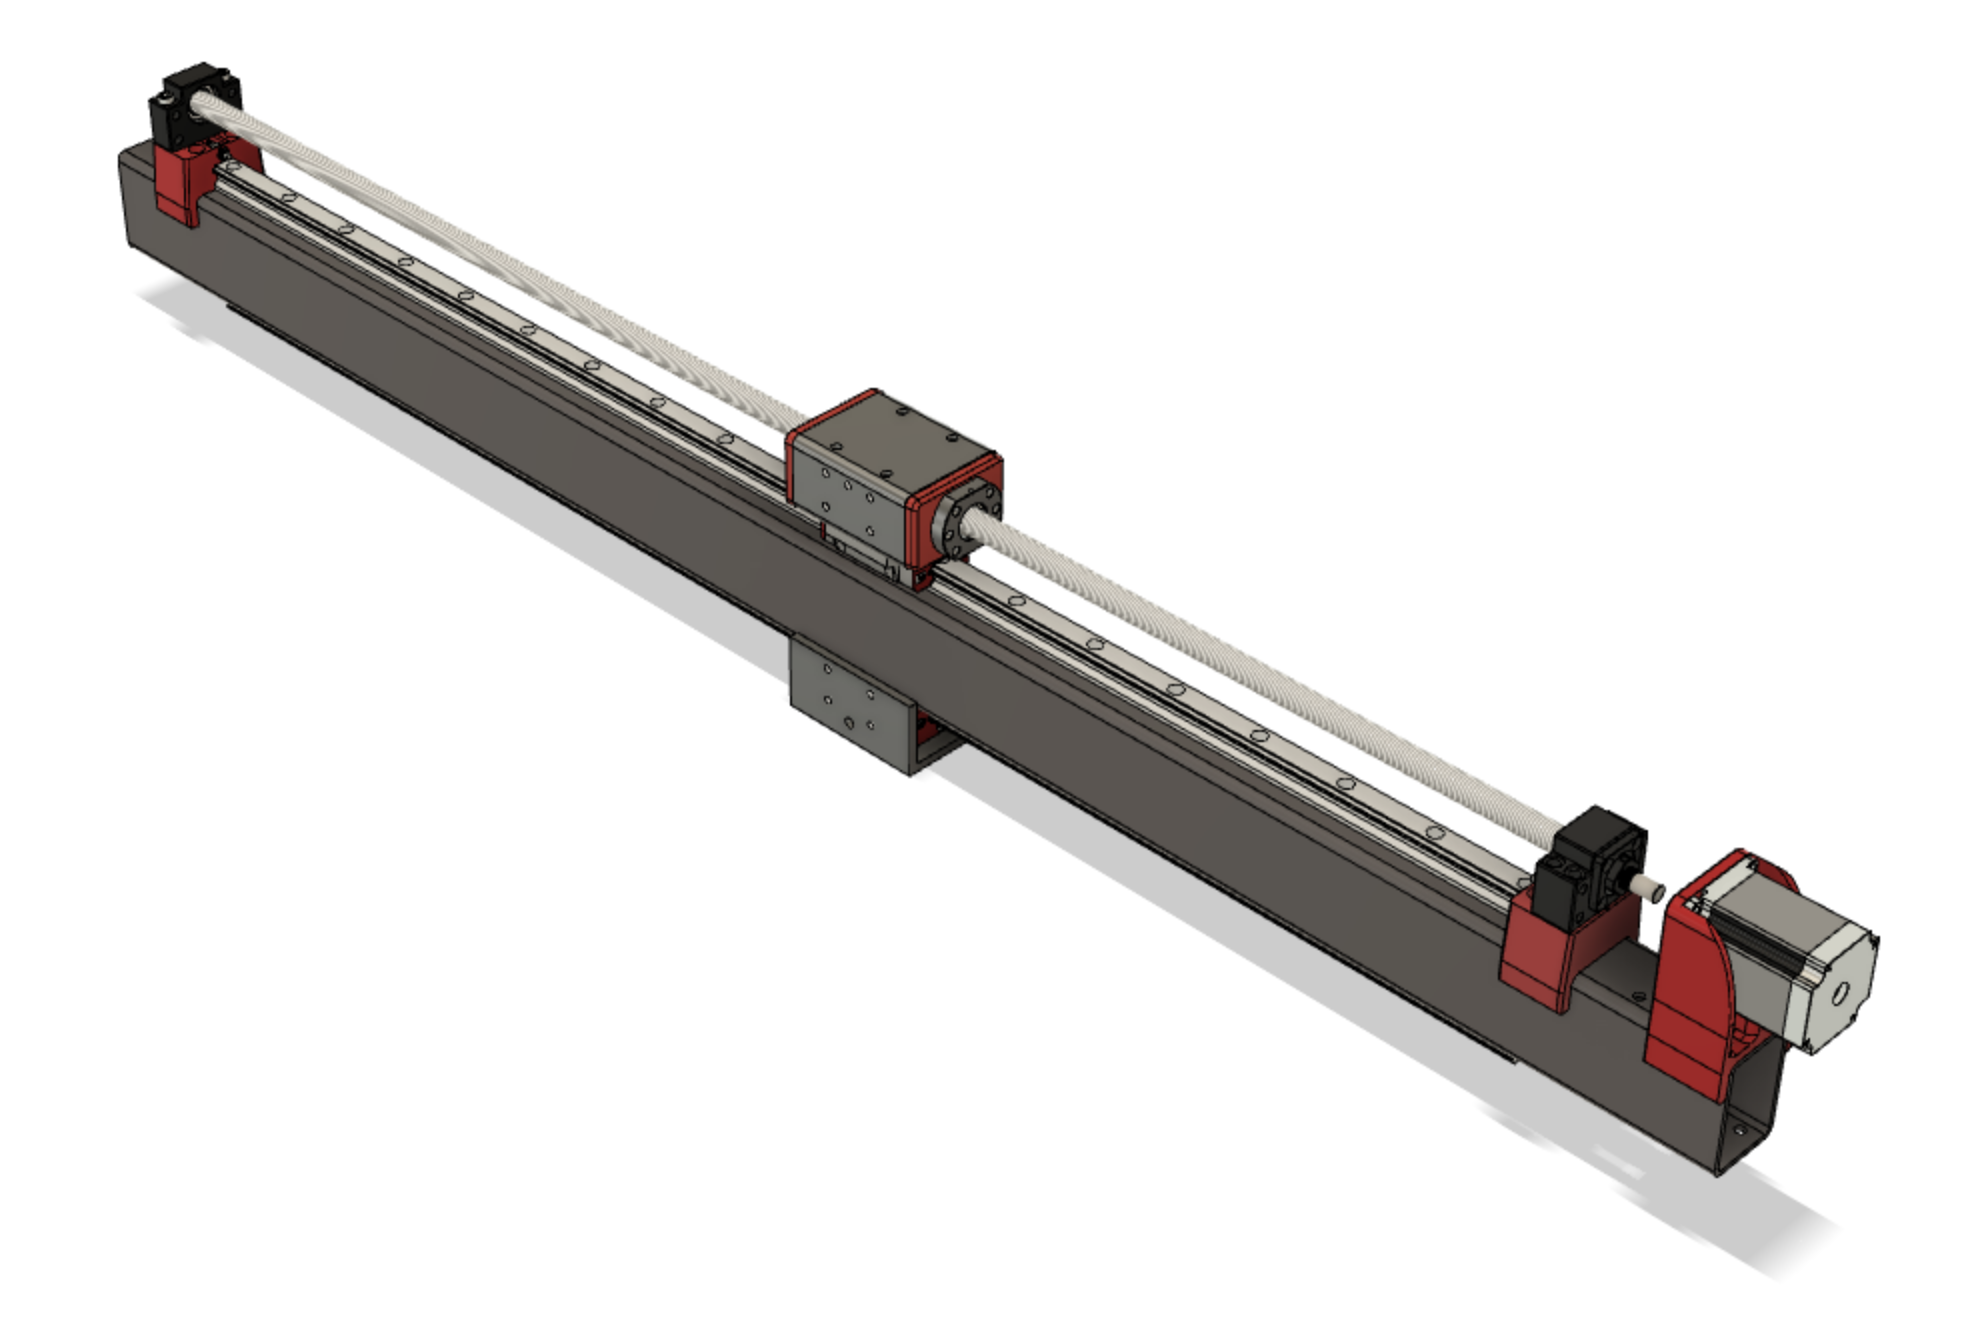
| 12 | X-Axis Gantry Assembly |
|
| 13 | Mounting the Z faceplate |
|
| 14 | Z-Axis Motor Mount |
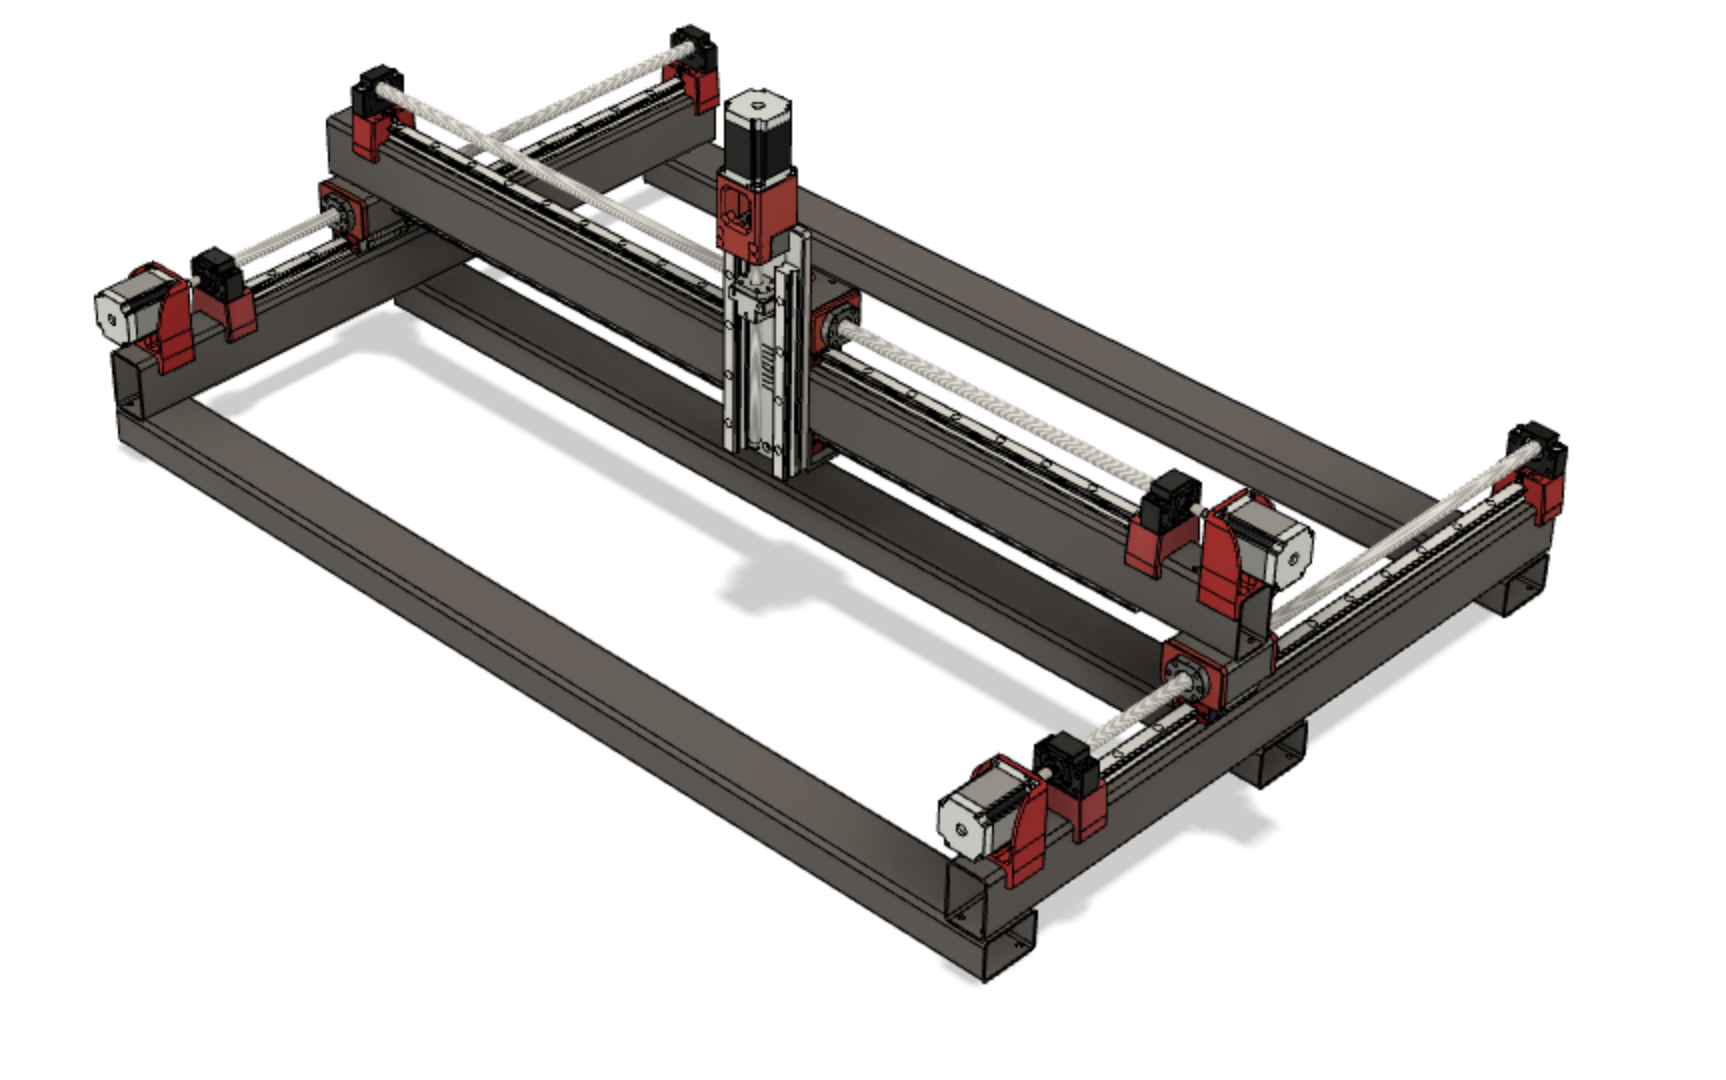
|
| 15 | Z-Axis Mechanics Assembly |
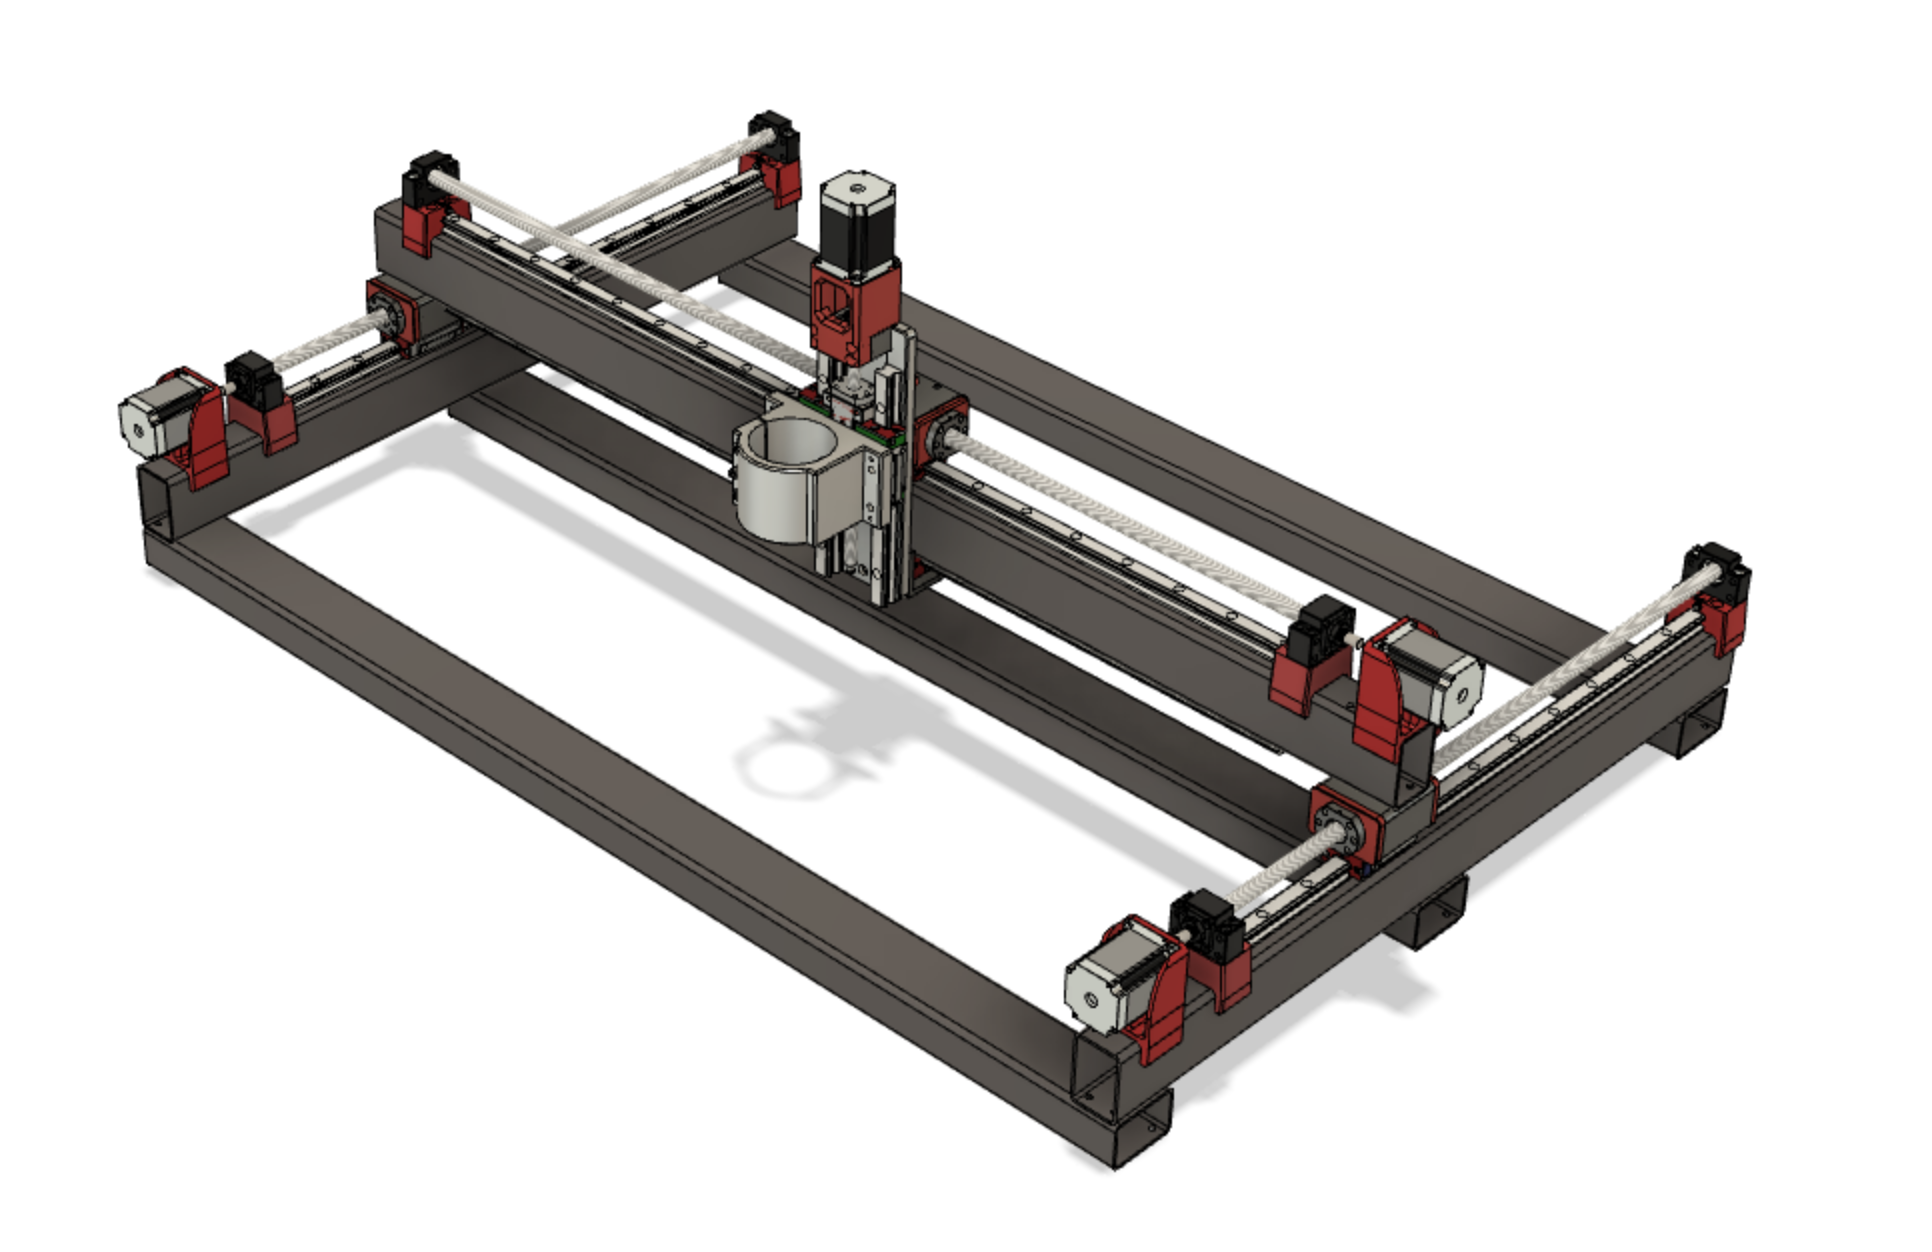
|
¶ Next Steps:
- Build the Electronics Enclosure
- Add a wasteboard
- Add limit sensors or endstops
- Add cable chain/cable management/drag chains
- Plan water cooling
- Print caps for ends of steel (optional) - You can find these in the PrintNC CAD fusion model in the outline under “Hardware” - “Caps”
- Insert caps on rails (optional) - might want to wait a couple of weeks until after tuning/calibration
- Add a dust shoe
- Add a probe
- Add an air blast
- Add a sidewall or bellows
- Do some test cuts to ensure they match the expected height, width, and depth. Also, do simple cuts/designs on different materials to validate feeds and speeds.
- Put on the PrintNC stencil