¶ Summary
Create M5 threaded holes and attach the HGR20 rails
¶ Prep
¶ Hardware Needed:
- 4 mm Allen key
- 4.2 mm Drill bit
- M5 Tap bit
- ~5-6 mm diameter marking tool (if used gently a 6 mm drill bit and a hammer can be used or a center punch with a compatible spacer; check for size compatibility with your rail holes)
- (2) HGR20 Linear Rail
- M5x20mm bolts (sometimes comes with rail; check with your seller)
¶ Printed parts:
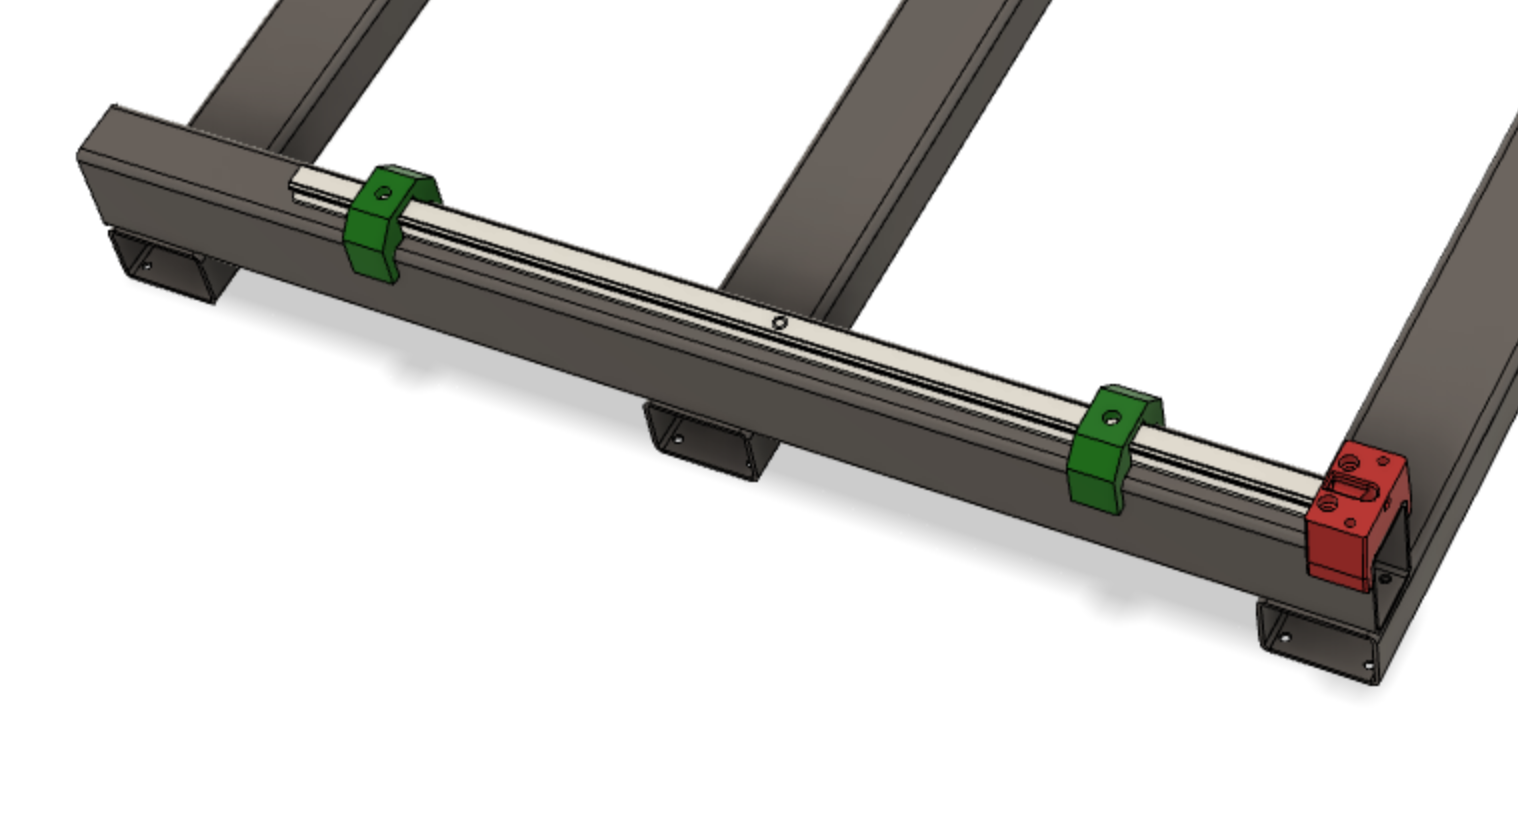
- (2) Rail Clips
¶ Notes:
- All M5 threaded holes drilled in this step are properly placed to align to the holes in the HGR20 rails.
- All M5 threaded holes for the HGR20 rails are centered on their Y-Axis frame beams.
- The HGR20 rails have some wiggle room so the final position and alignment can be adjusted later when mounting the X-Axis gantry.
¶ When complete, verify:
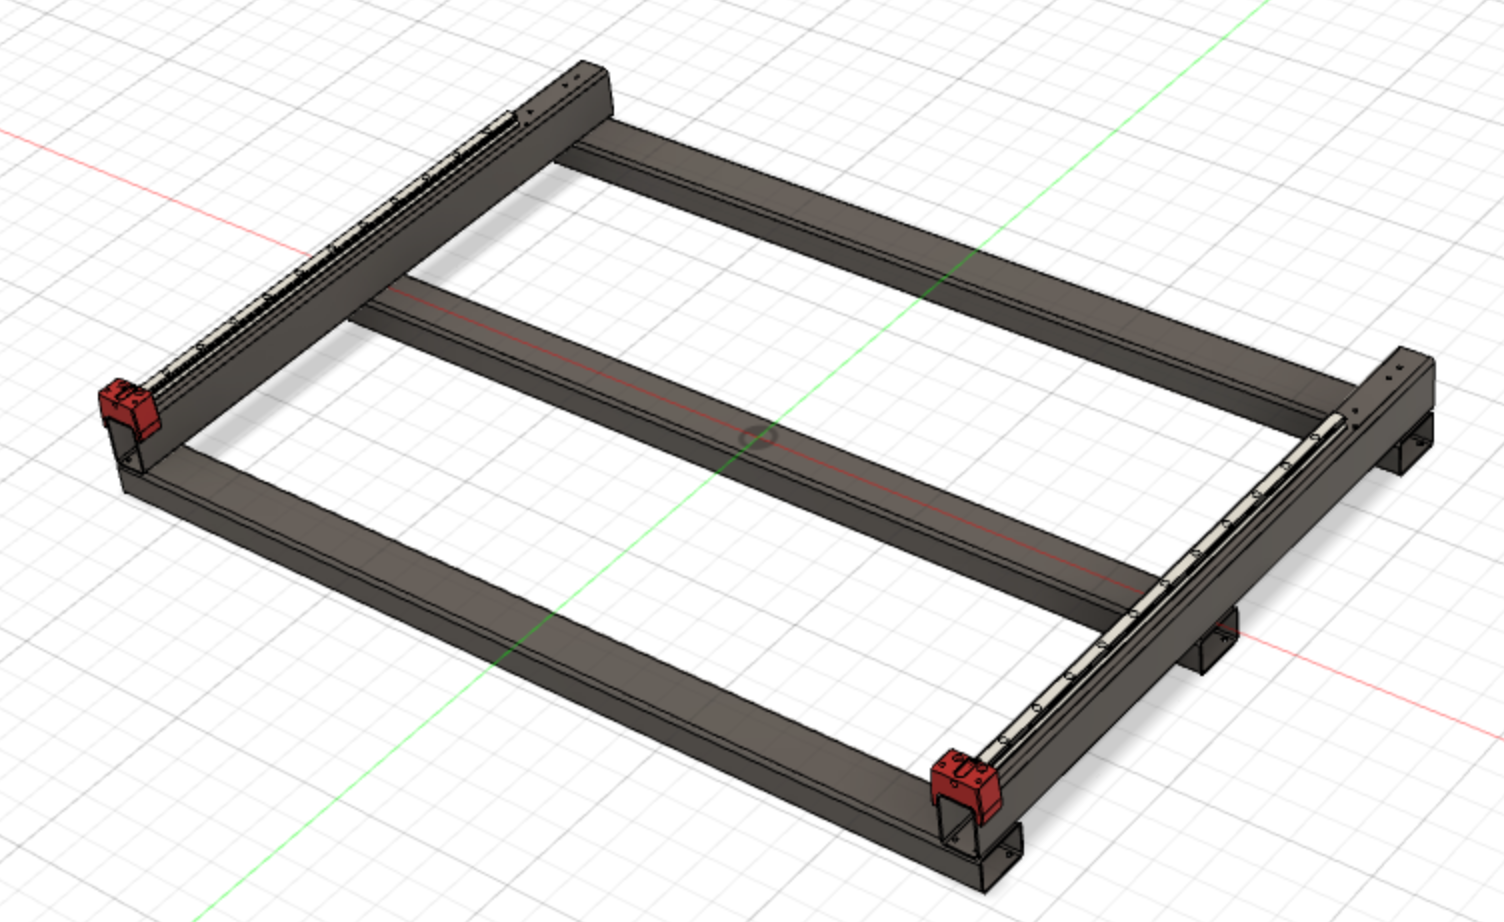
| It looks something like this: |  |
¶ Build Steps:
- Ensure the HGR20 rail is centered on the Y-Axis frame beam. Use the center line to validate. Use at least (2) Rail Clips to help center on the steel.

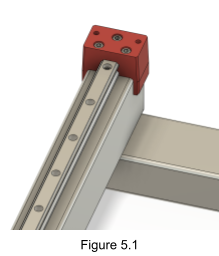
- Using the ~5-6 mm marking tool, mark the center of the holes in the HGR20 rail which are closest and furthest from the BF12 Mount.
- Repeat previous 2 steps for the other Y-Axis frame beam.
- Drill the points marked in the previous step on both Y-Axis frame beams with an 4.2 mm bit.
- Thread the holes made in the previous step with an M5 tap bit.
- Remount the HGR20 rails and install M5x20mm bolts into the holes made in the previous step.
- Using the bolts installed above as soft anchors, mark the remaining mounting holes on the HGR20 rail. Ensure the rail maintains centered and positioned correctly throughout the entire marking process by moving one of the Rail clips always close to the hole to be marked.
- Remove the bolts and dismount the HGR20 rail again.
- Check if all markings are positioned on the centerline. Outliers need to be double checked and can be corrected now. If the markings are only lightly tapped with a drill bit, mark them clearly now with a center punch.
- Drill the points marked in step 9 on both Y-Axis frame beams with an 4.2 mm bit.
- Thread the holes made in the previous step with an M5 tap bit.
- Remount the HGR20 rails and loosely install all M5x20mm bolts.
