¶ PrintNC V3 3D printed parts - This page references the previous version. Update needed.
As you may have noticed, the PrintNC has “print” in its name. It's because there are several important parts that can be 3d printed.
The 3d printed parts begin as a model in Fusion 360 which will need to be updated according to your build parameters and then extracted for printing. This page describes what parts have to be printed, and how.
¶ Important note for 2010 Ballscrews on X and/or Y axis
The PrintNC CAD file has the BF15, BK15 mounts and roller plates for X and Y axis for SFU2010 ballscrews and supports in the 2010 Modifications folder.
If you're using a SFU2010 ballscrew on X or both X and Y, use these files instead for the associated axis.

¶ How to extract the parts from the Fusion model
This section assumes that you have already downloaded the Fusion 360 model and updated the parameters.
It's time to export the actual printable parts.
¶ Extract using a Python script
A PrintNC user created a small Python script used in Fusion 360 to extract all at once all the printed parts as STL.
Here's a nice video explains how to do it.
The Python script is located on the PrintNC Discord here - The script is named 4.0.28.py but should work with V4.0.30+
¶ Export as STL
You can click on every single part and export them as an STL. Then you can load the STL in your favorite slicer.
This video will explain how to do it
¶ Export directly to your favorite slicer
This method is an extension of the first one: you can export an STL and immediately load it in your slicer.
¶ Generic information about the 3d printed parts
All 3d printed parts can be printed using PETG or PLA. However, PLA is more rigid than PETG, so you should try to create parts using PLA.
The only exceptions are the motor mounts, that should be printed in PETG, which has a higher temperature tolerance.
Good layer adhesion and high strength are the primary factors in determining your settings. There is no significant bridging or supports required on any parts. As a result, you can print using higher nozzle temperatures to enhance layer strength.
The recommendation below assumes a 0.4mm nozzle. If you print using a 0.6 mm nozzle, you can switch to 3 or 2 perimeters (from 4 and 3 perimeters respectively).
| Parts | Infill | Walls / Perimeters | QTY | Notes | Part Filenames |
|---|---|---|---|---|---|
| Assembly Tools | 20% | 3 | 1 x each | PLA preferred as it is less likely to crack when tapping center points | |
| Ballscrew Face Plates Front | 60% | 4 | 3 | Y axis ballscrew faceplate doesn't include the axis name in the filename. |
X Axis Front Ball Screw Faceplate.stl Ballscrew Faceplate Front.stl |
| Ballscrew Face Plates Rear | 60% | 4 | 3 | Y axis ballscrew faceplate doesn't include the axis name in the filename. | X Axis Rear Ball Screw Faceplate.stl Ballscrew Faceplate Rear.stl |
| BK12 Mounts | 60% | 4 | 3 | X Axis BK12 Mount.stl Y Axis BK12 Mount.stl |
|
| BF12 Mounts | 60% | 4 | 3 | X Axis BF12 Mount.stl Y Axis BF12 Mount.stl |
|
| Nema 23 Mount | 40% | 3 | 3 | Use PETG for better thermal resistance | X Axis Nema23 Mount.stl Y Axis Nema 23 Motor Mount.stl |
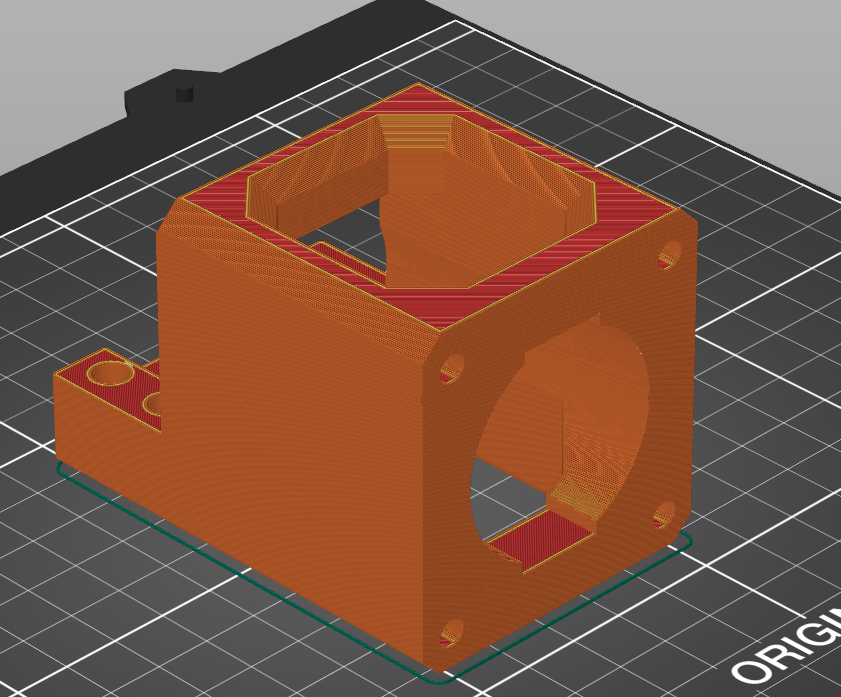
| Z Motor Mount | 40% | 3 | 1 |
Use PETG for better thermal resistance Z axis motor mount filename isn't a typo, it's the name given by the export script. |
Z Axis Mount Mount.stl |
| Ballscrew nut block | 40% | 3 | 1 | Ball Screw Nut Block.stl | |
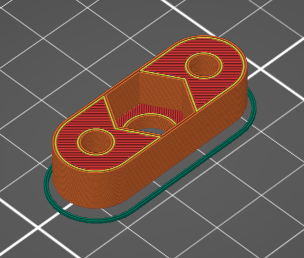
| Spindle tram block | 40% | 3 | 2 | Spindle Tram Blocks.stl | |
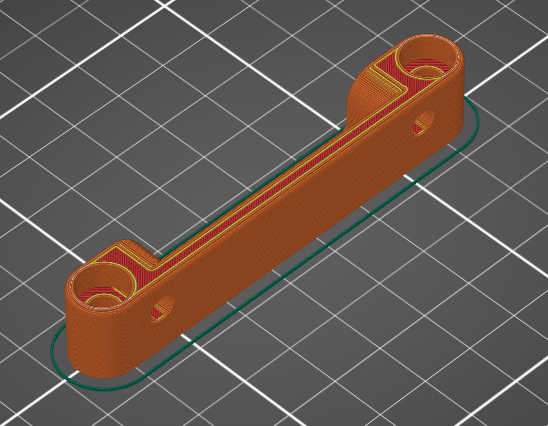
| Tram bar | 40% | 3 | 1 | Tram Bar.stl |
¶ Print the PrintNC parts
After the STL extraction, you'll then be able to start printing the parts.
¶ Assembly tools
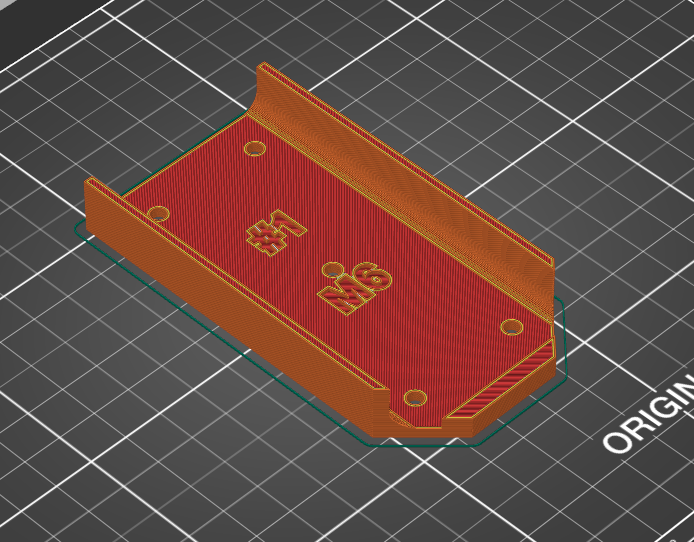
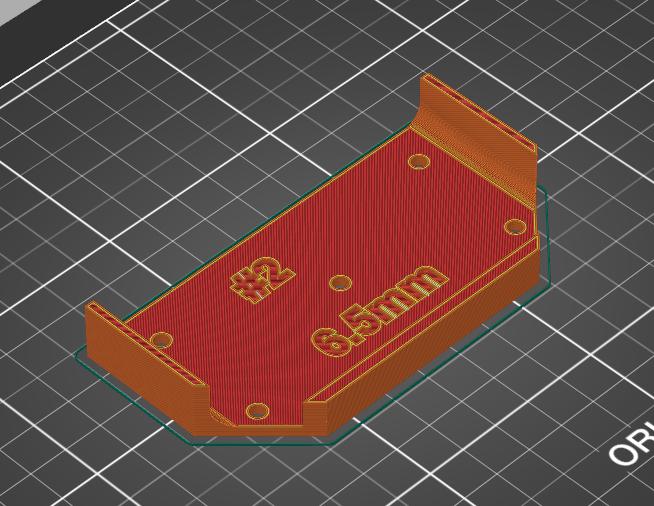
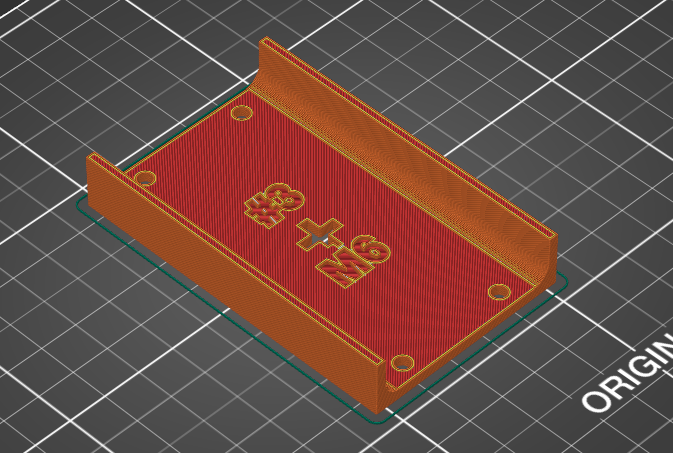
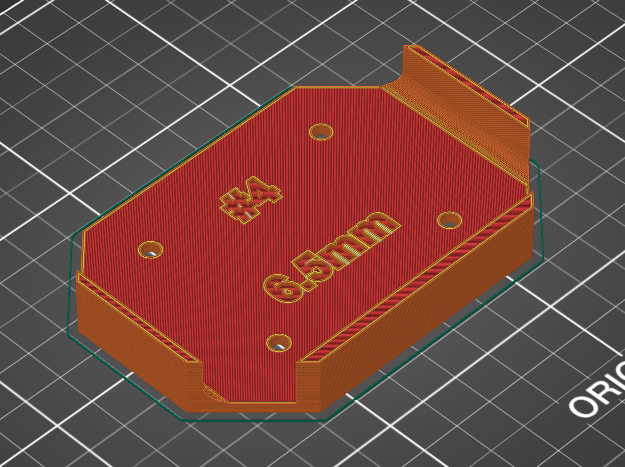
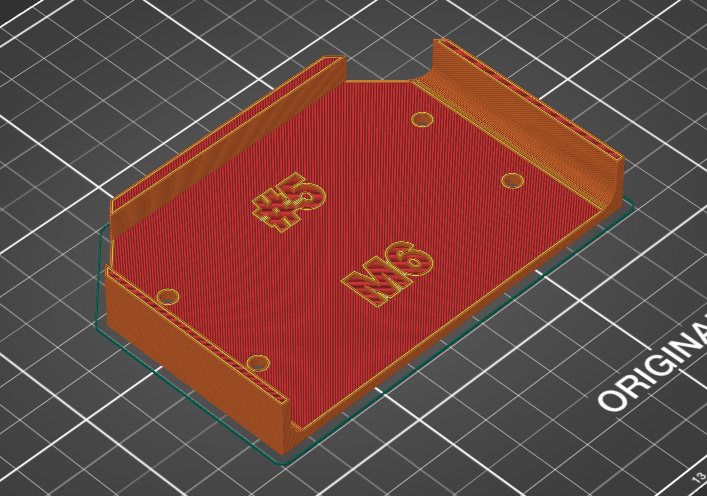
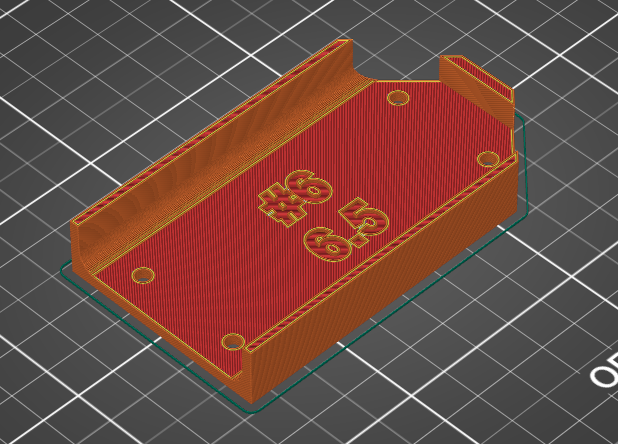
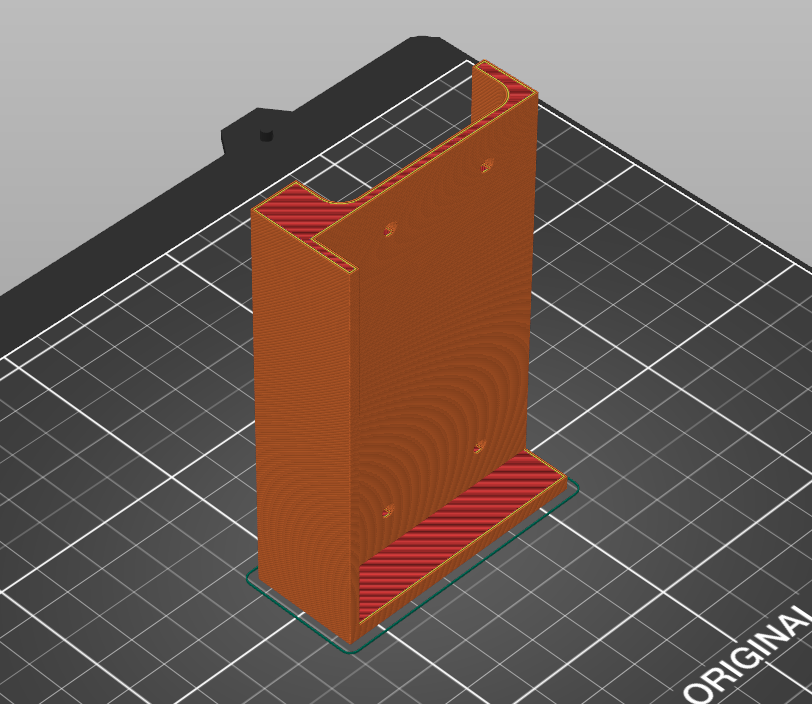
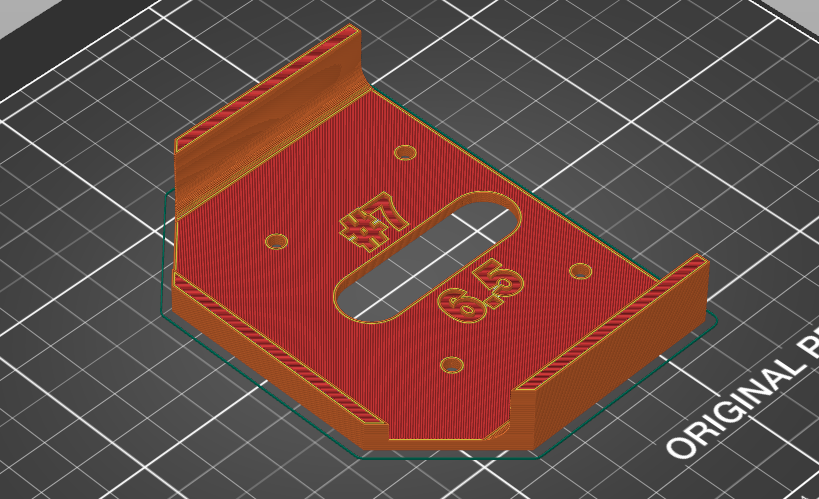
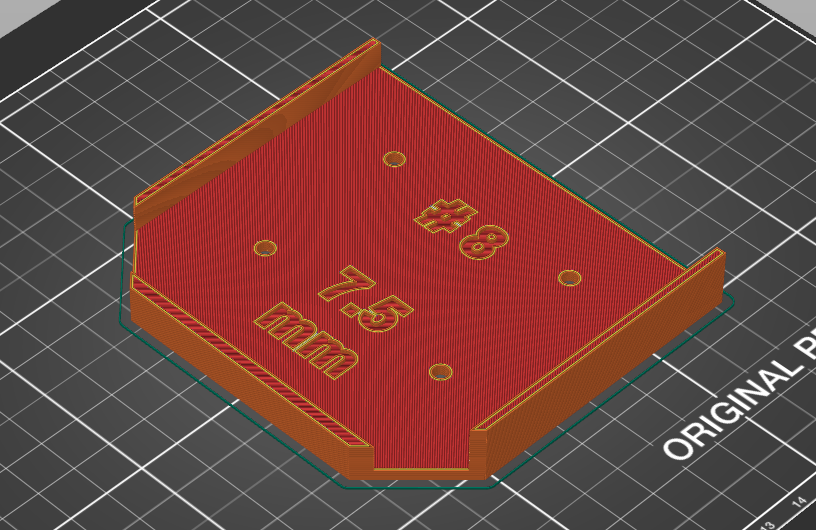
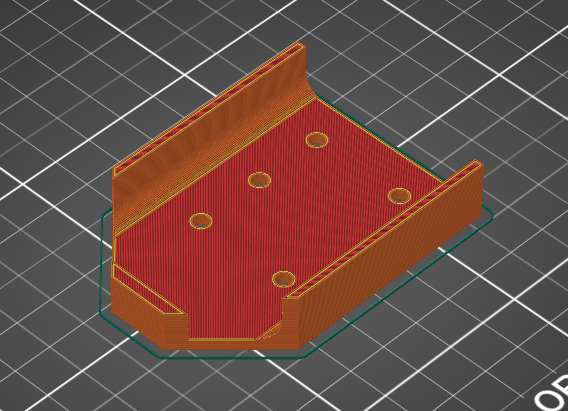
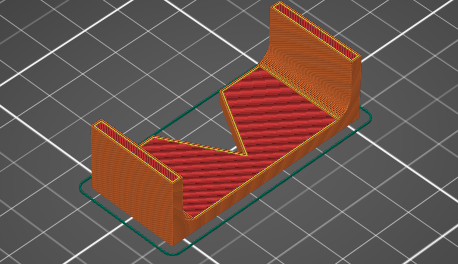
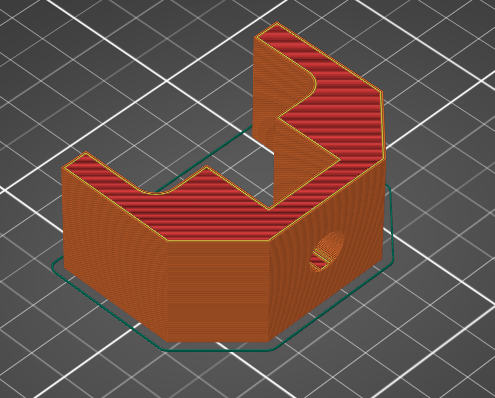
The assembly tools will be used to build the PrintNC. There are currently 13 parts.
The table below shows each one of them, with the correct bed orientation.
|
|
|
|
|
|
|
|
|
.png)
|
|
|
|
||
¶ Checking the parts
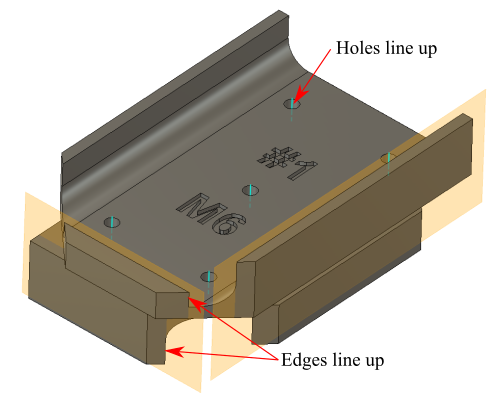
After printing the assembly tools, it is a good idea to check the parts before continuing.
First, check if #1 and #2 fit snugly on the steel beam, otherwise you have to go back and edit the parameters steelLong, steelShort or steelRadius.
Confirm that the holes line up wherever the holes belong to the same connection.
This is between:
- #1 y frame and #2 x frame
- #2 x frame and #3 mid frame
- #4 Y Roller Lower and the linear rail carriage
- #5 roller upper and #6/#6a gantry guides
- #7 X Roller Upper & Lower and the linear rail carriage
- #8 - Z Angle Lower and the linear rail carriage
¶ PrintNC parts
Those parts will be used to build your PrintNC.
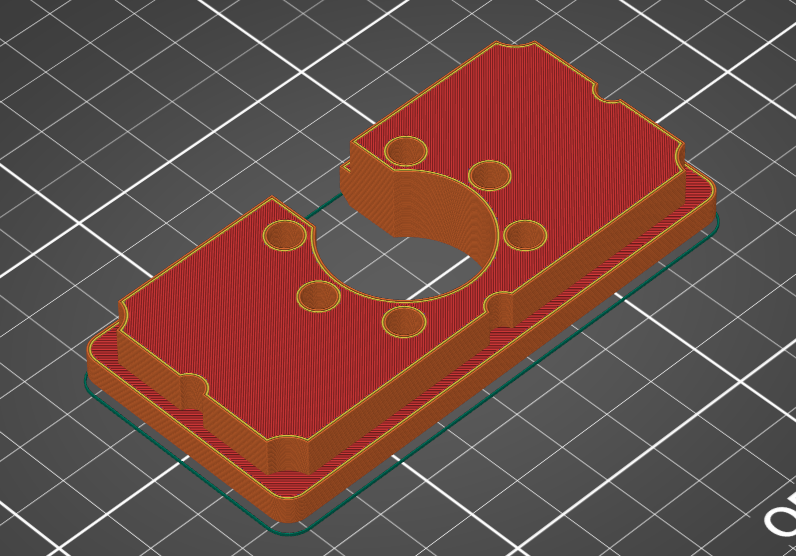
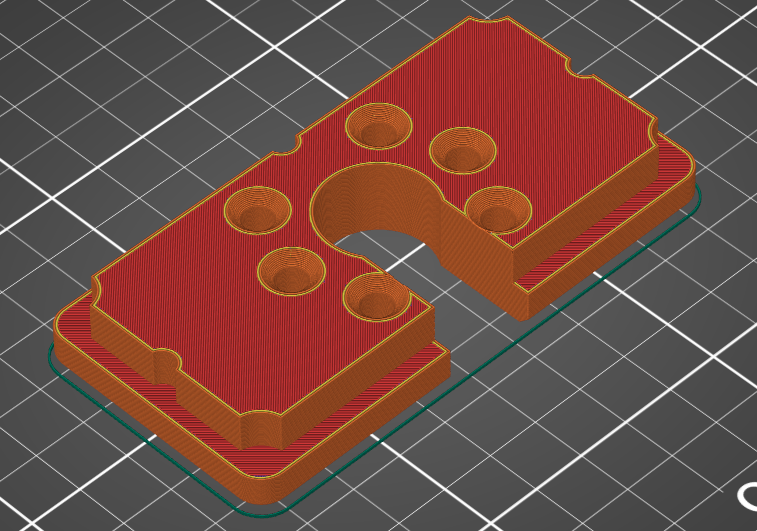
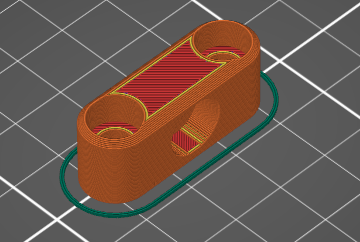
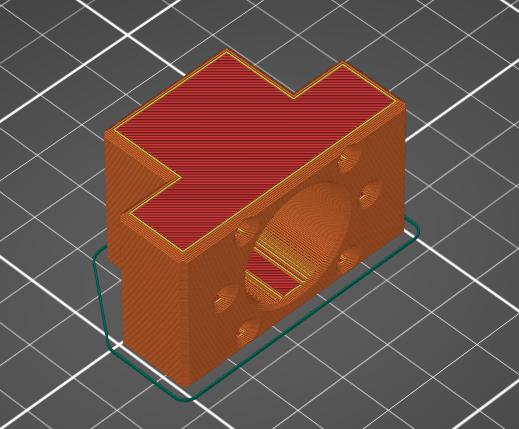
There are currently 10 parts. The table below shows each of them, with their correct bed orientations.
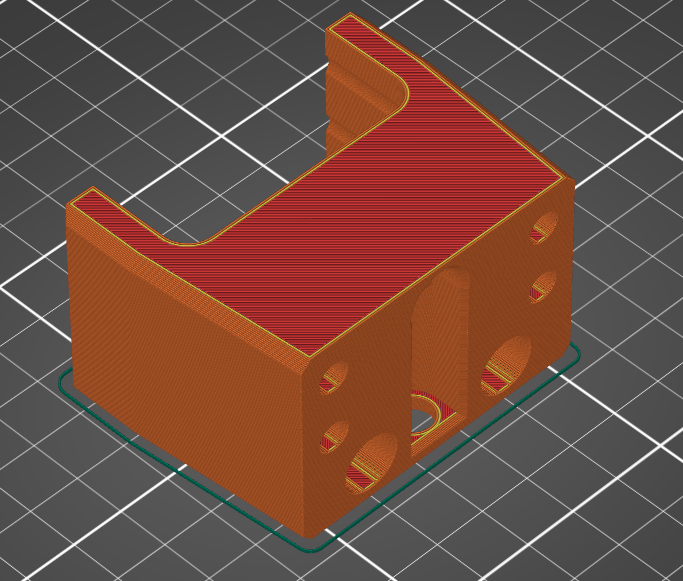
|
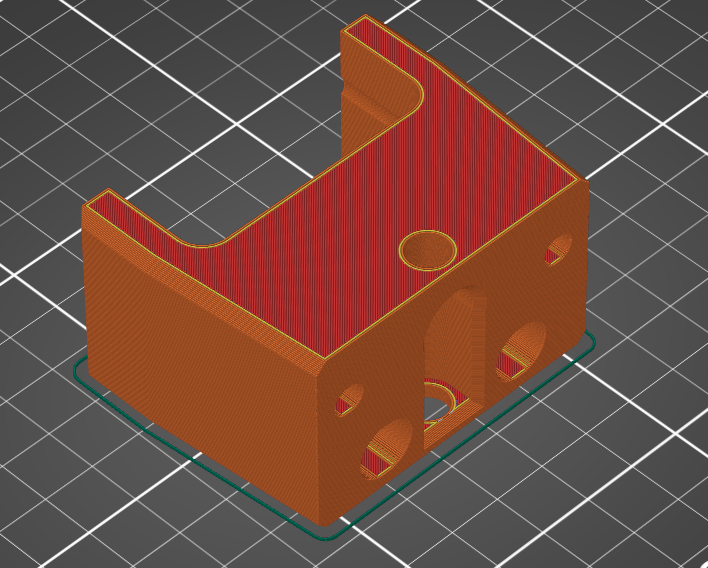
|
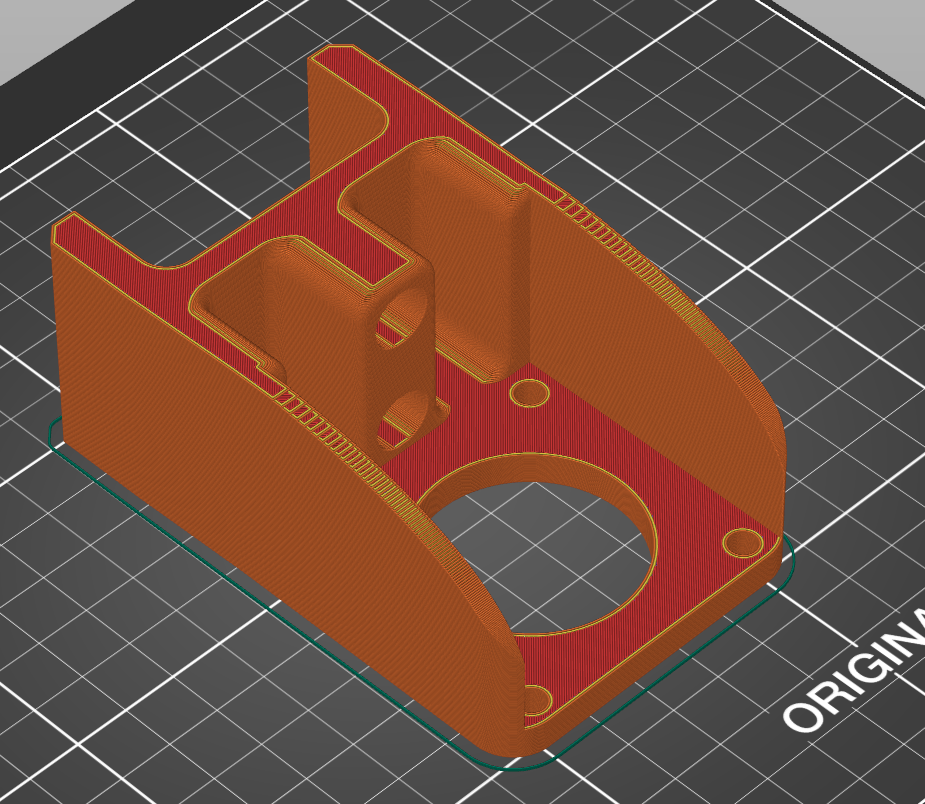
|
|
|
|
|
|
|
|
|
||
¶ Additional 3d printed parts
3D printed parts that are not required for the PrintNC assembly but that can be useful are located in this page.