Note: There is a v3 “beta” version of this page and can be found here: https://wiki.printnc.info/en/v3/printing
¶ Tailoring the assembly and printable parts to suit your particular build of the printNC.
I will make the assumption that you have already done the calculations and you know which steel size (width * height and thickness of the steel) you can source / will use. We will use the size metrics to tailor the files to our needs. If you haven't already download and install autodesk Fusion 360 (there is a personal use license which is free) you can find the link in the prerequisites table.
| Prerequisites | |
| PrintNC project file | https://a360.co/37fPVZ5 |
| Printables file | printables file |
Let's start with downloading the main PrintNC project file. Open the PrintNC project file url and in the right top corner press “Open in Fusion 360”. Your browser may or may not give you a warning that it wants to open fusion 360. Press Open Autodesk fusion 360.
This will take a while, but when it's done you will see the project in Fusion 360:
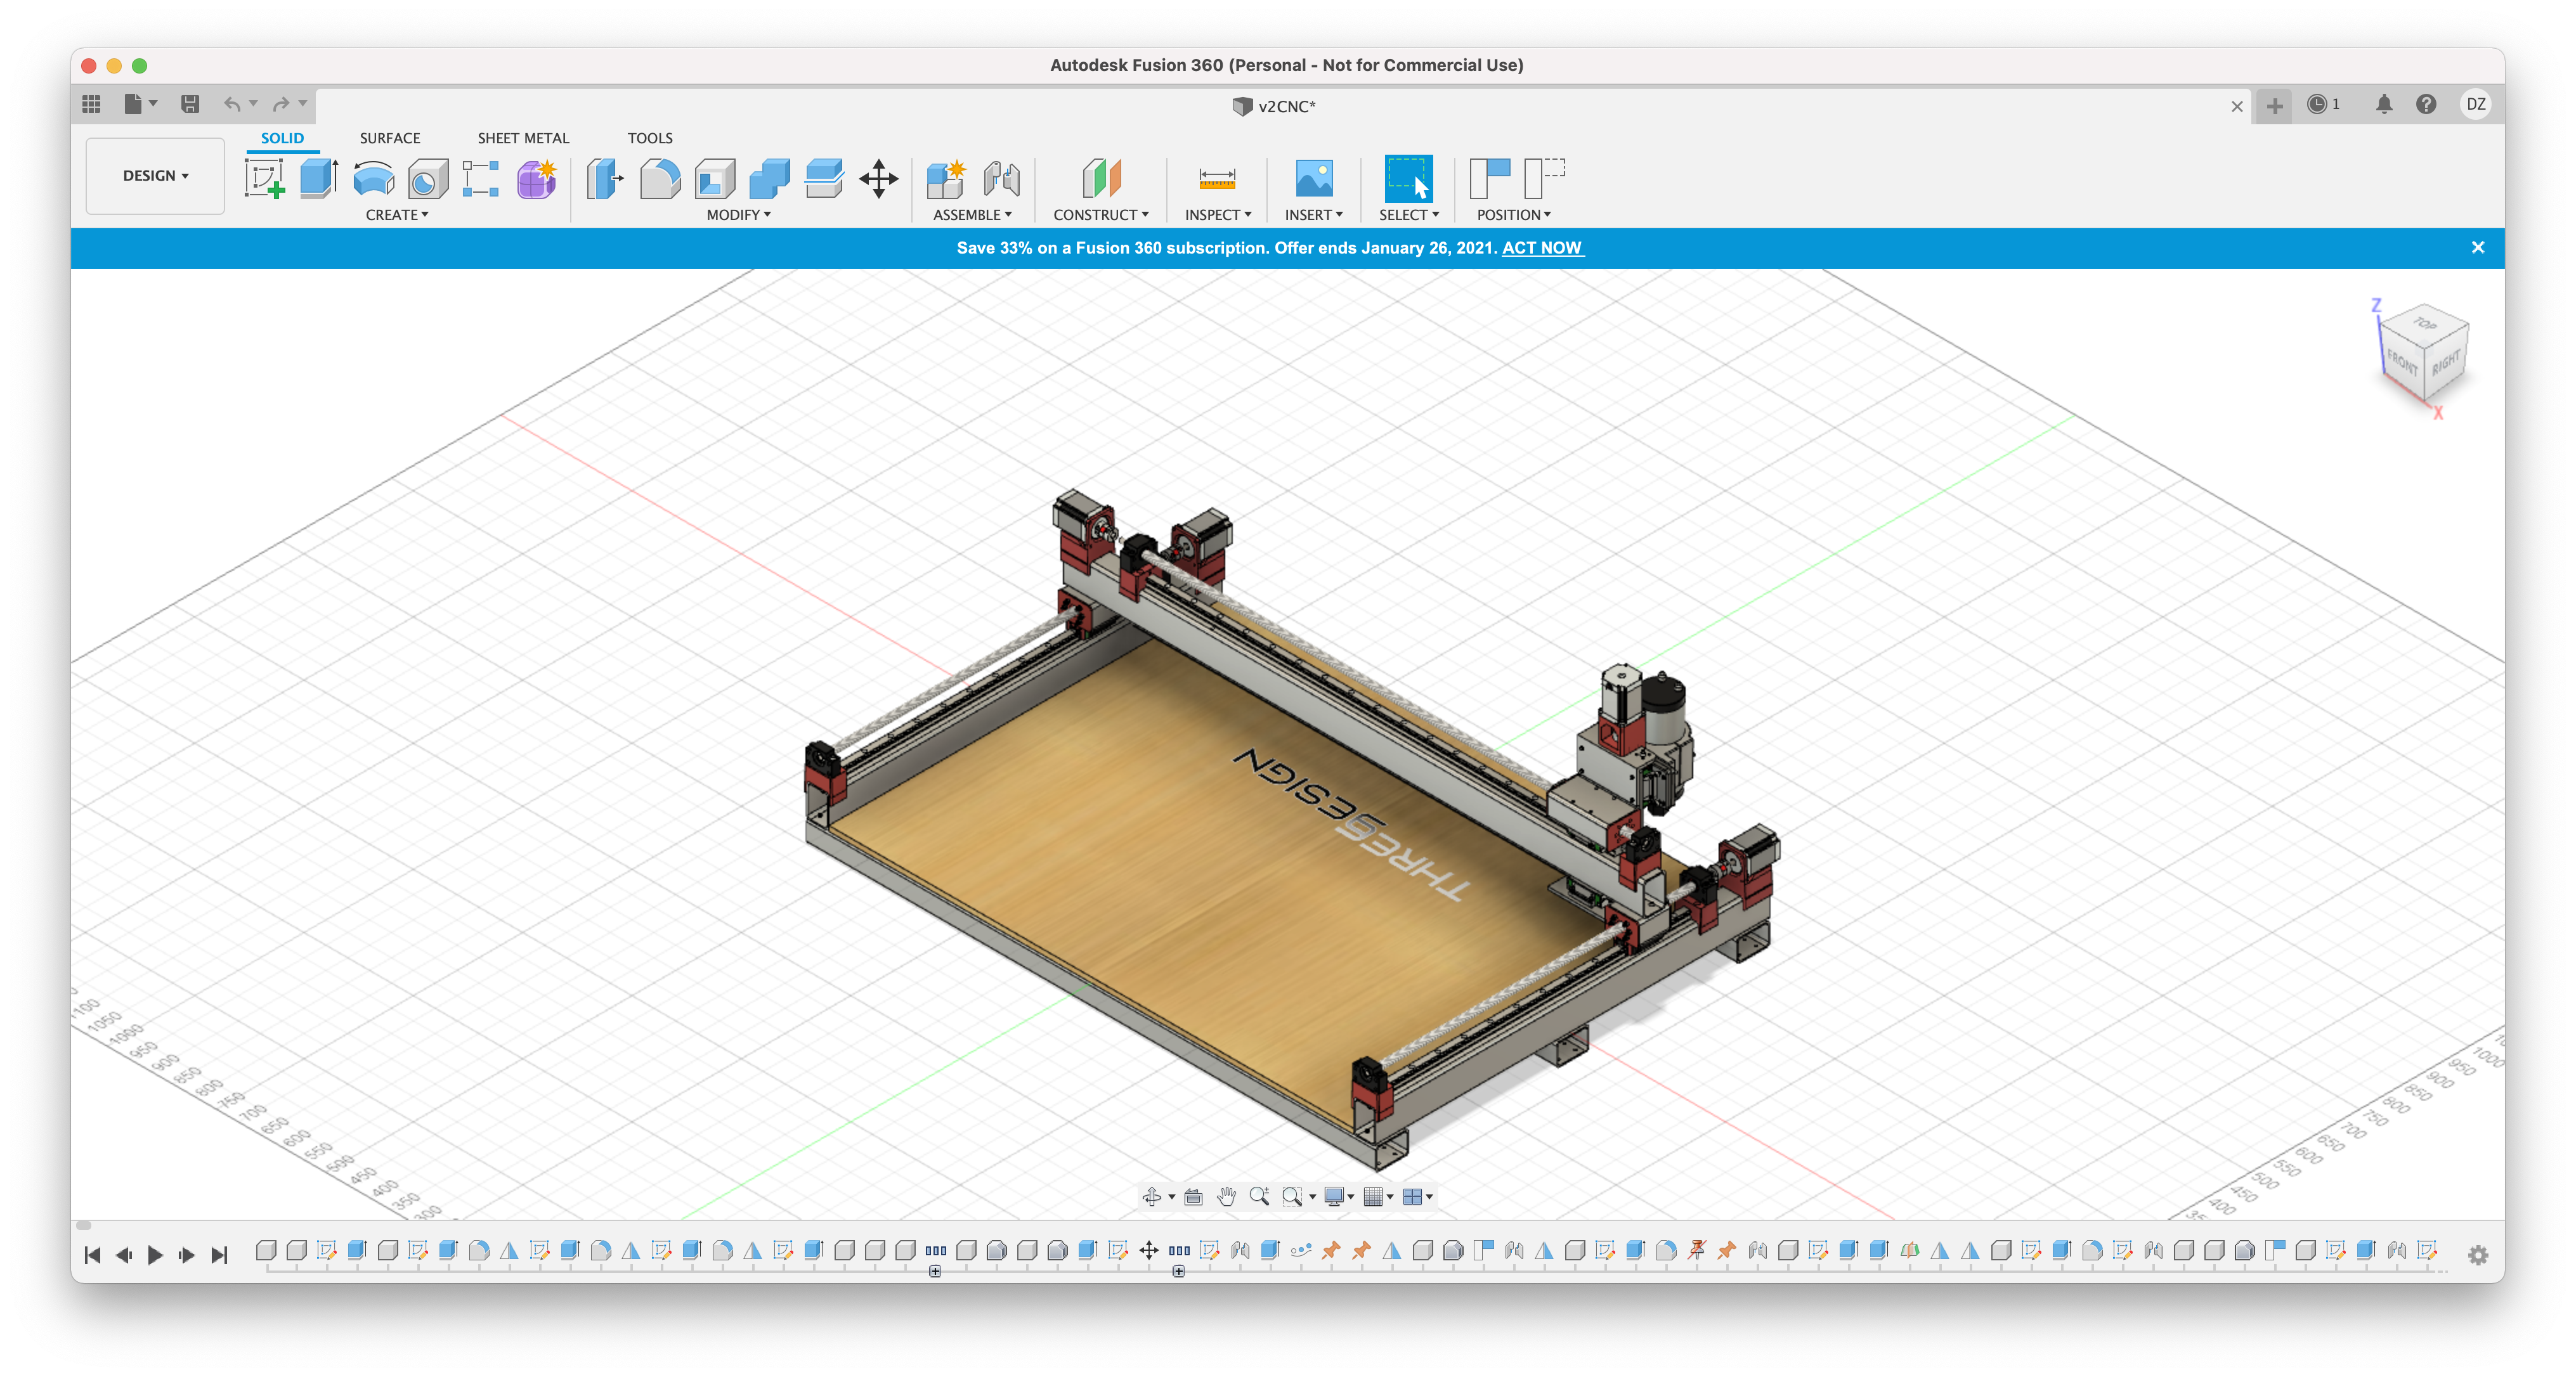
Alright, now we are getting somewhere. Let's change the parameters to match your desired steel dimensions.
Under the tools section press modify:
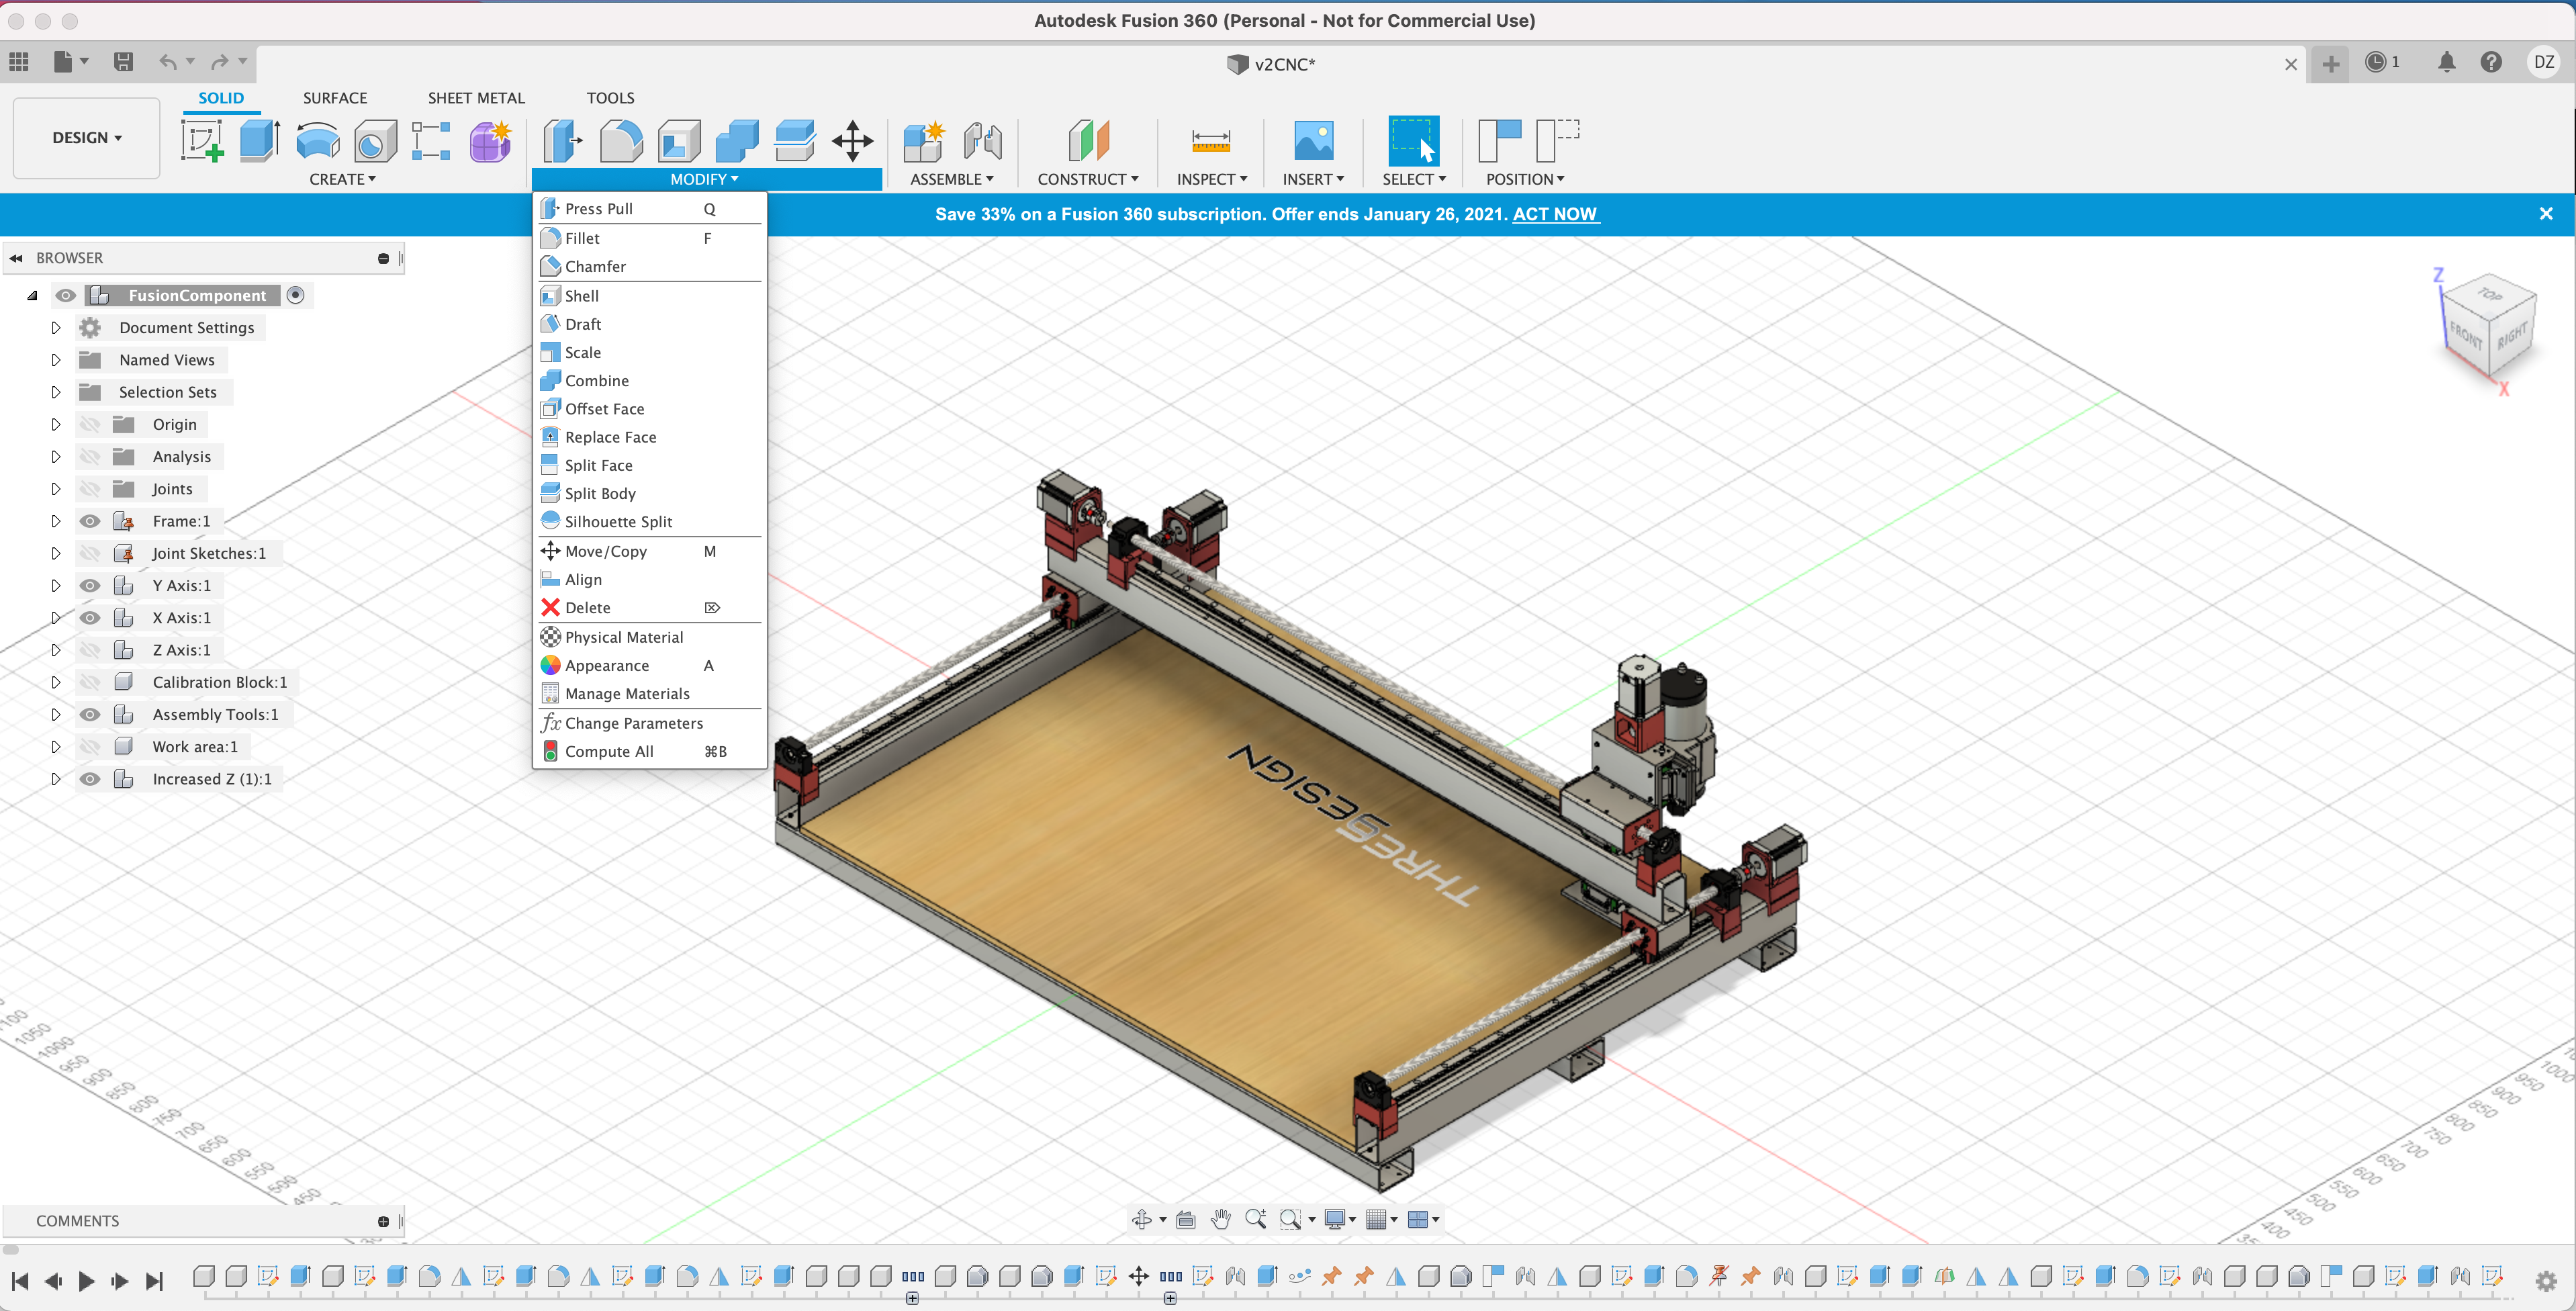
And press the change parameters option.
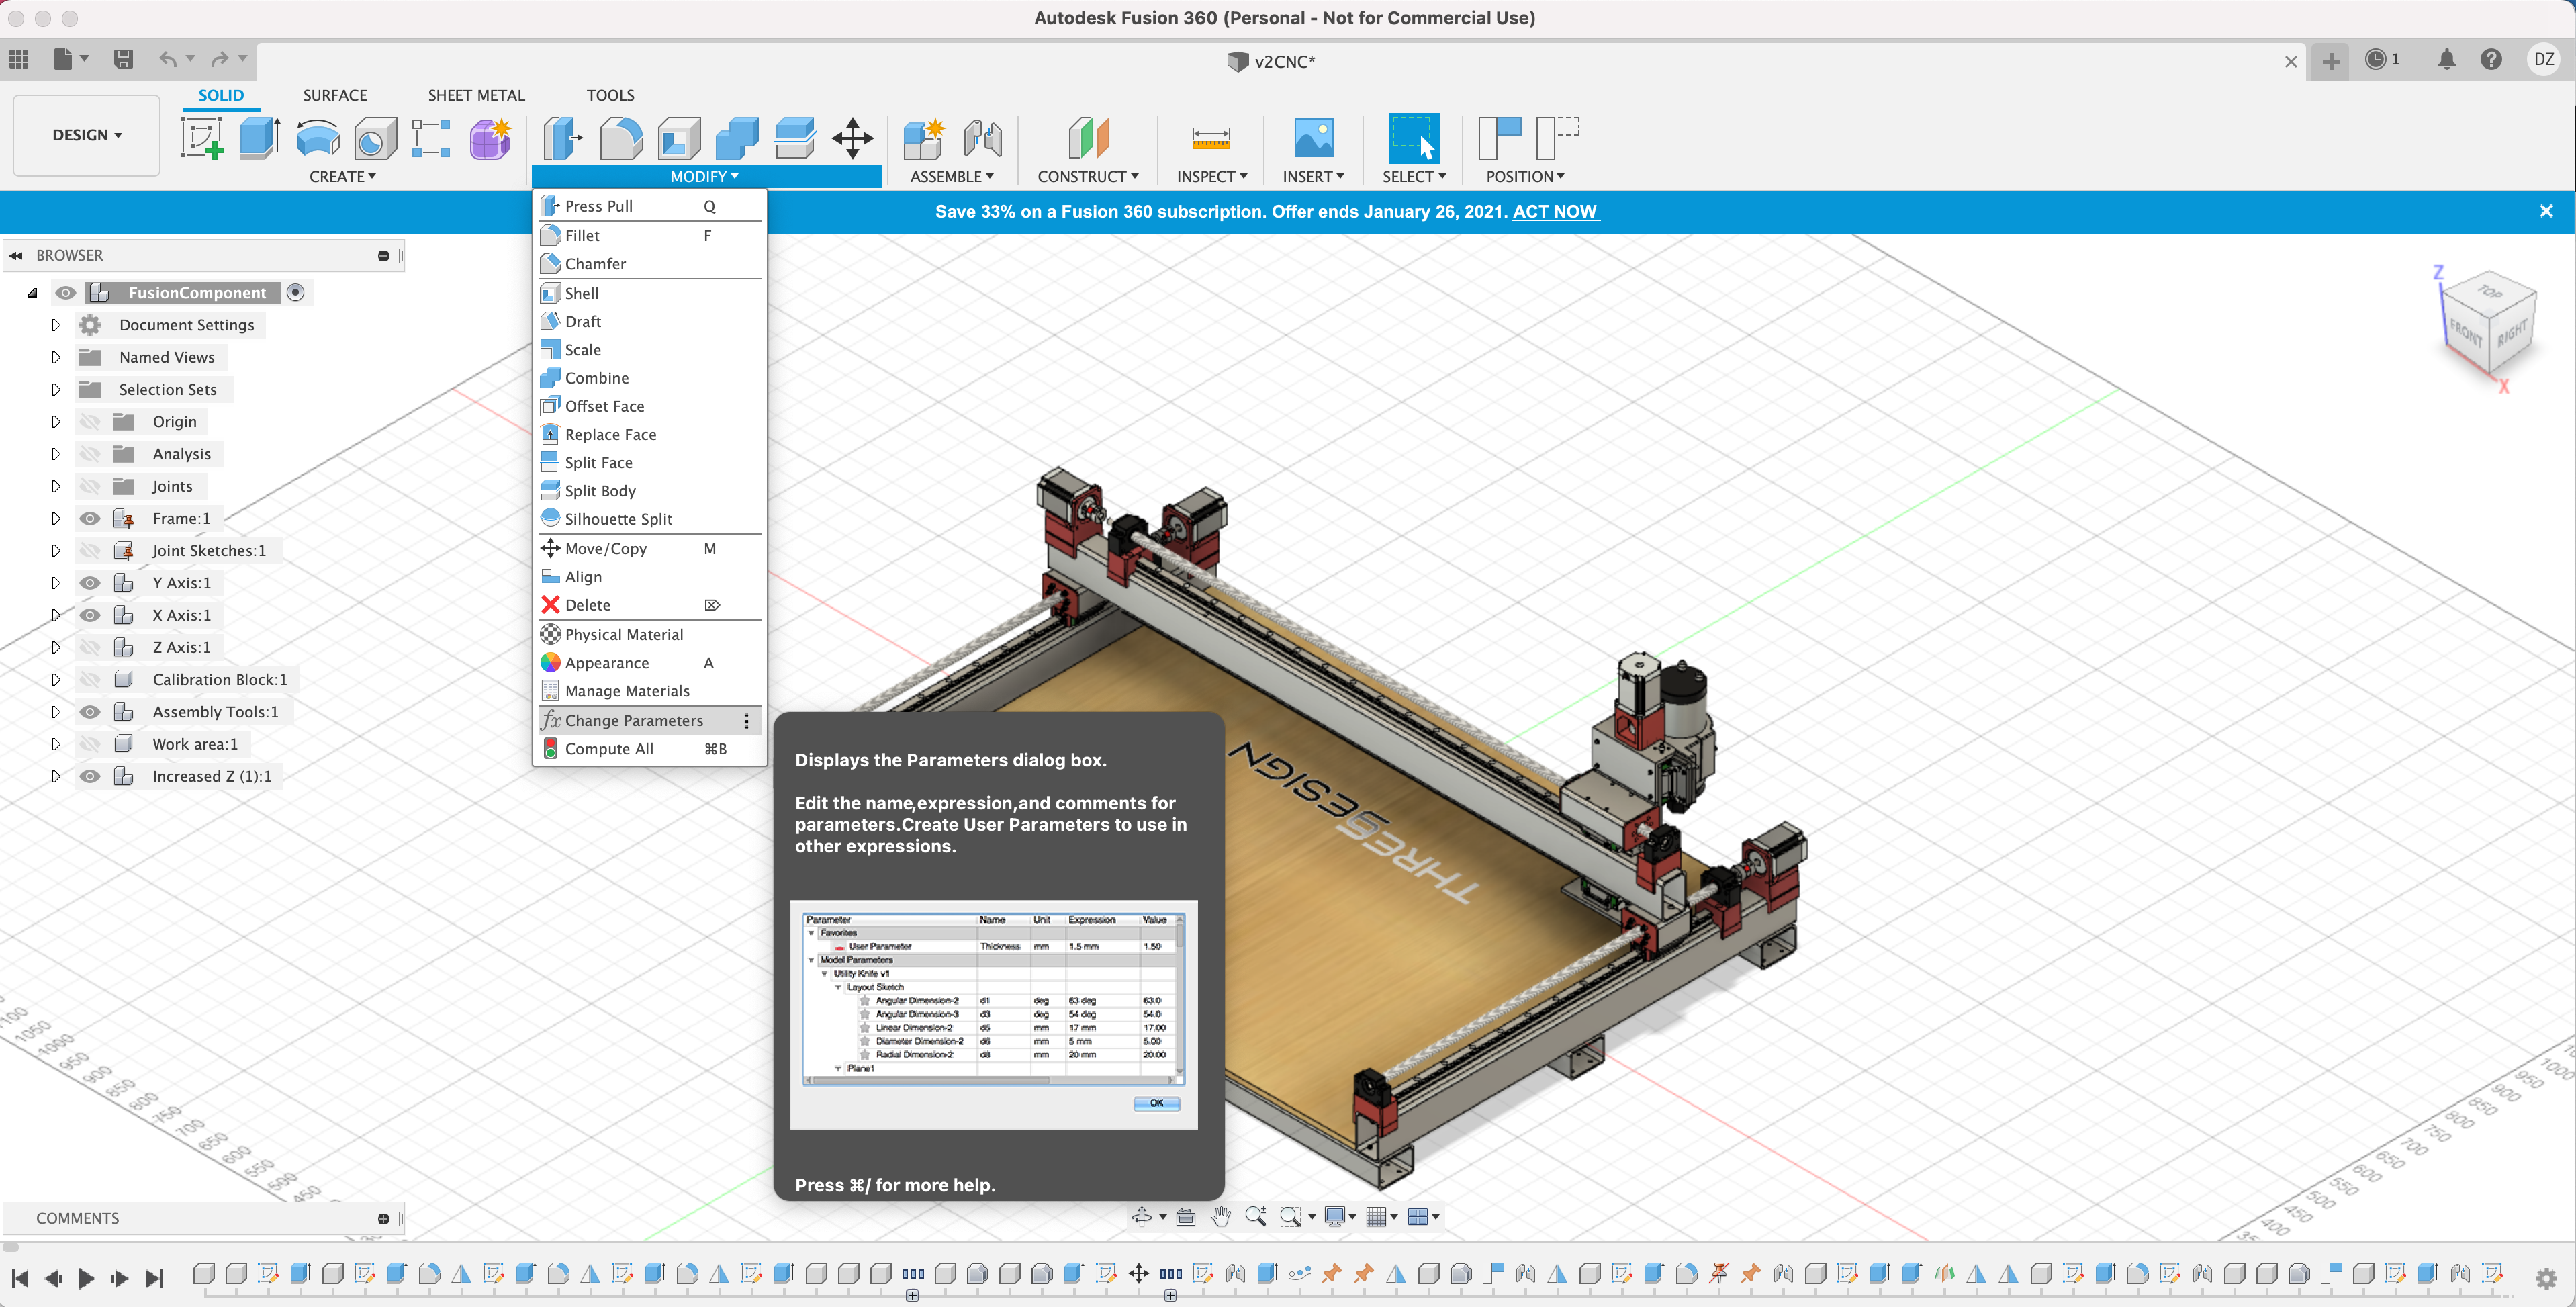
Once you press this button, the next window will appear:

From this window we can change the project settings to match your desired steel dimensions. For example, in the Netherlands we can't source 75,2 x 50,8 x 3mm, but we can source 80 x 50 x 3mm. Let's insert those parameters. Under Expression click on the 75.2 mm text and change it to your desired steel height, following the example this would be 80 mm. Now click on the 50.8 mm text field. It may seem that fusion 360 is stalling, in fact it is recalculating everything based on the new extrusionTall. So sit back and relax.
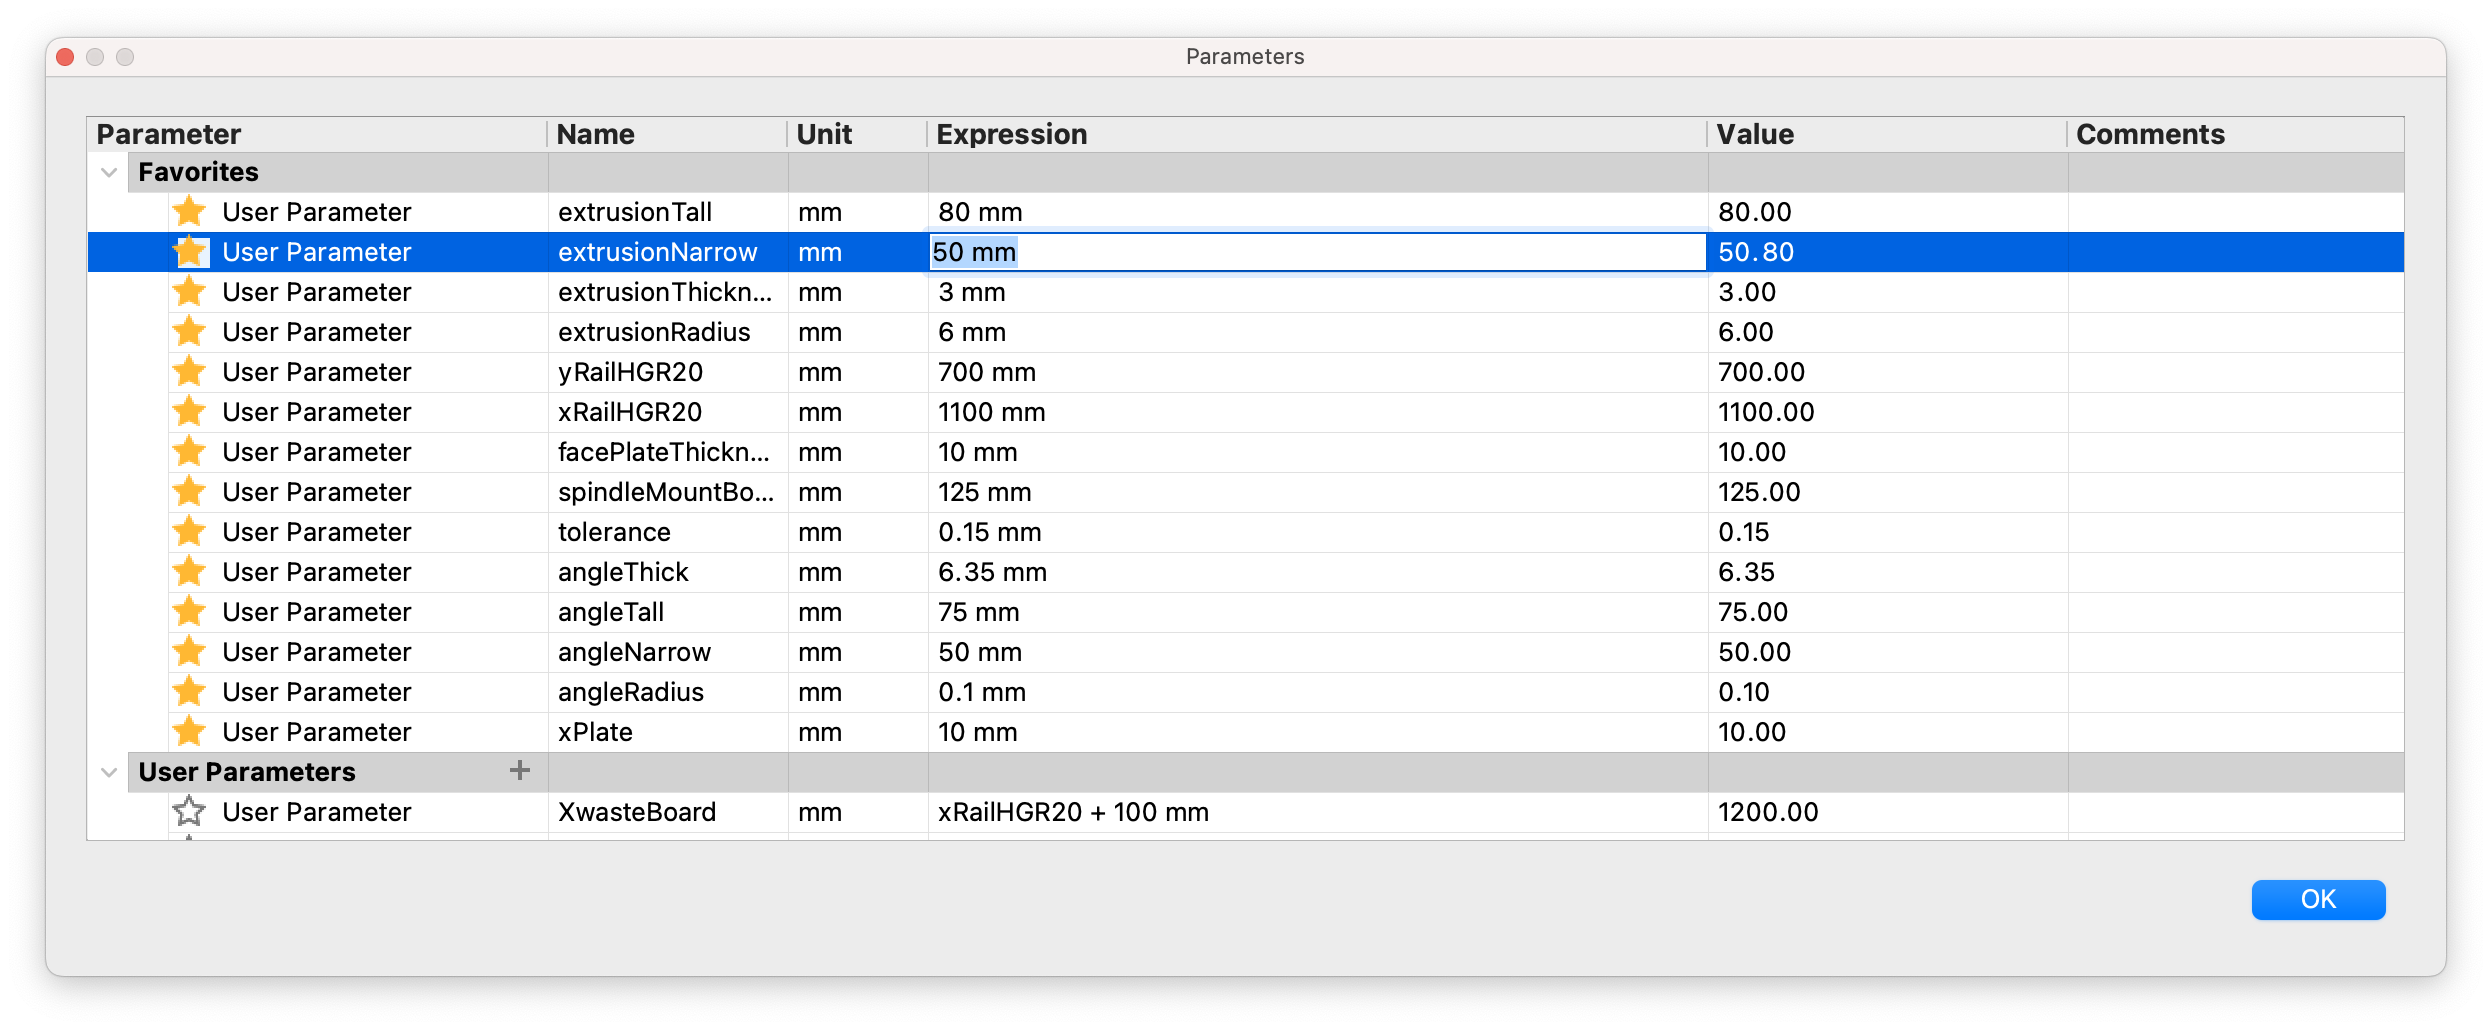
Continue changing the parameters to match your desired steel dimensions. When you are done click the ok button, the project had been resized to match your steel dimensions. Now is a good time to save the project.
One you saved the project it's a good idea to check if everything has been resized correctly. We can do this by using the inspect tool select the opposing sides of the steel and it will read out the measurement. If the measurements do not match your filled in parameters, go back and check the parameters again.
Once all the parameters checkout it's time to export the actual printable parts. We can do a number of different things here, I will discuss two of them. The first option is exporting the files as stl:
Or we can directly export to your favourite slicer.
https://youtu.be/fxMUxdw0nvw
Now you should be able to repeat these steps to export all the necessary files for your build. Please note that there are recommended printing orientations for the various files.
¶ Printed Parts
¶ Assembly Tools
¶ Materials
PLA
¶ Profiles
¶ Mounts
¶ Materials
¶ Parts
¶ Printer Profiles
¶ Print Orientation
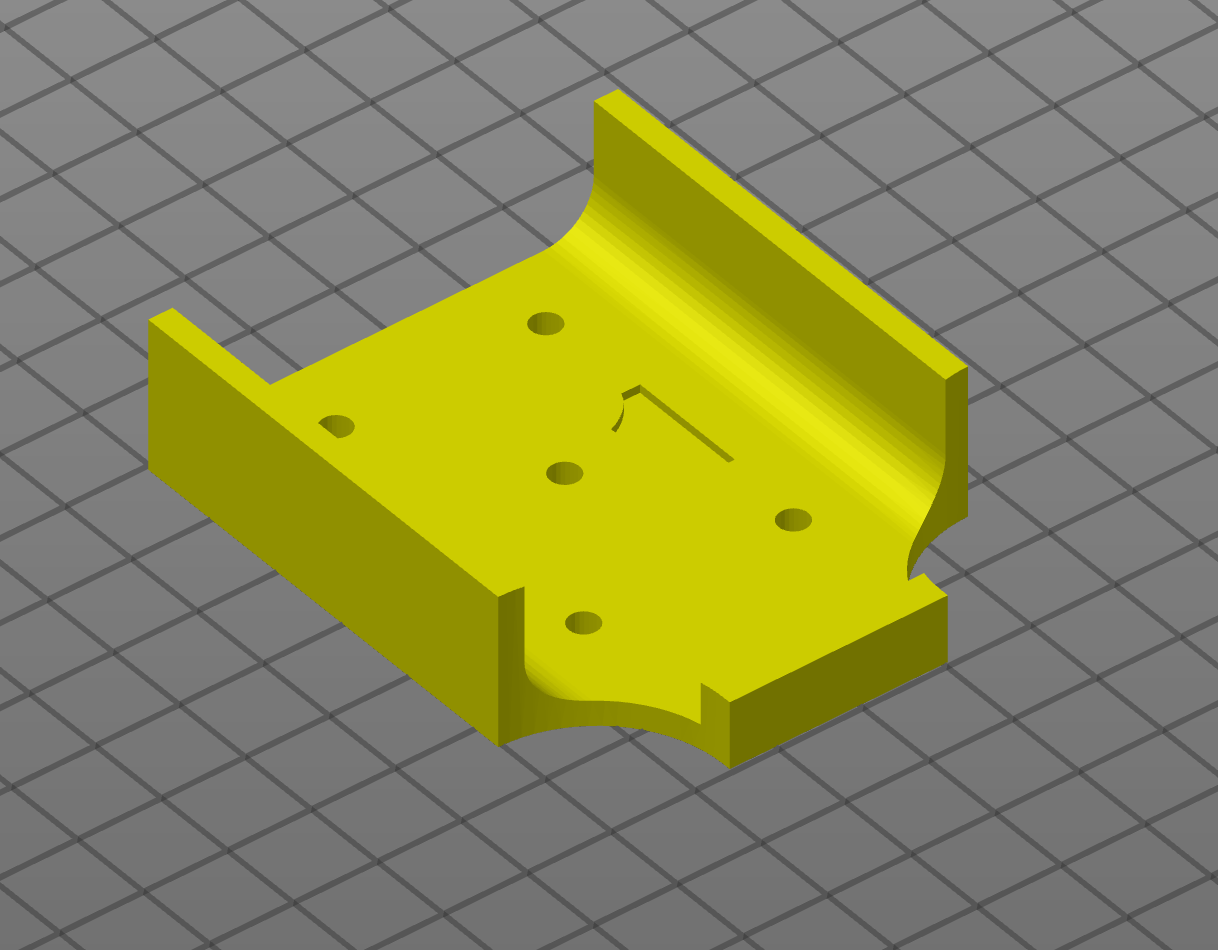
|
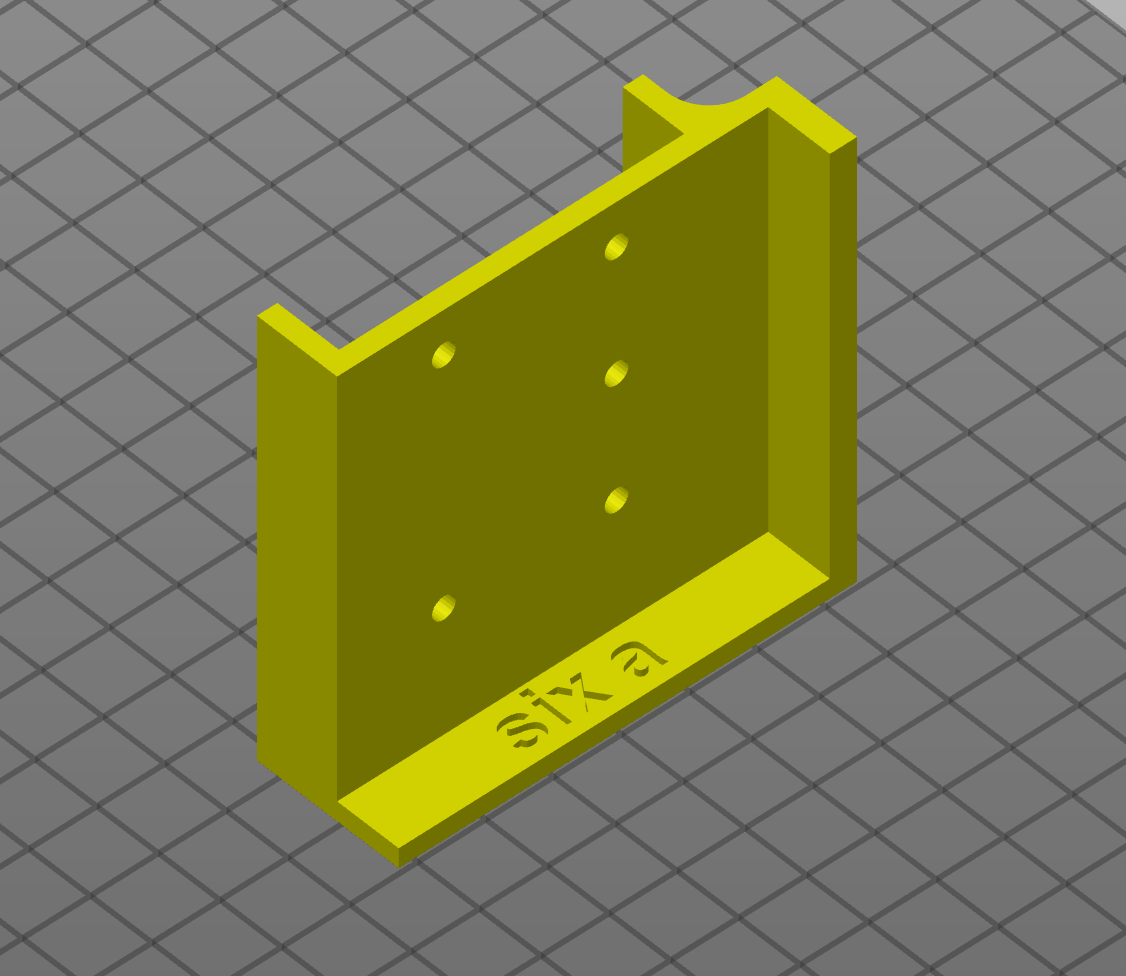
|
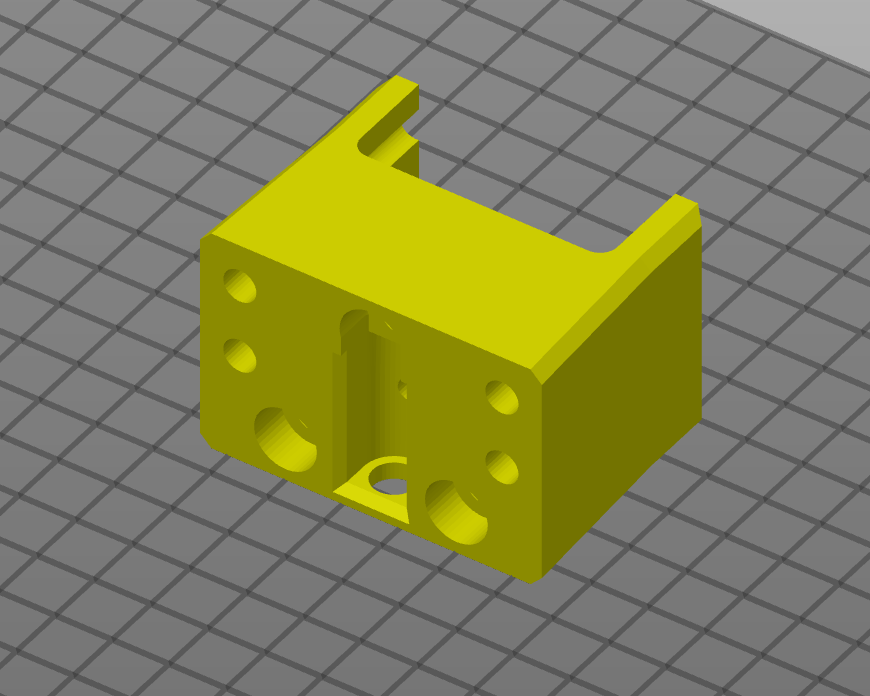
|
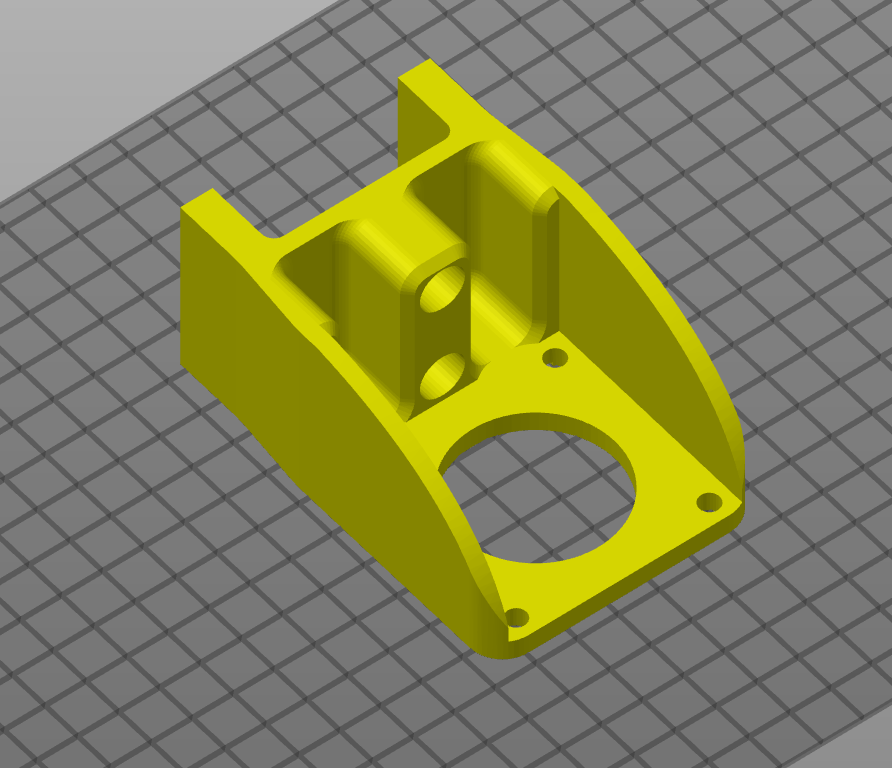
|
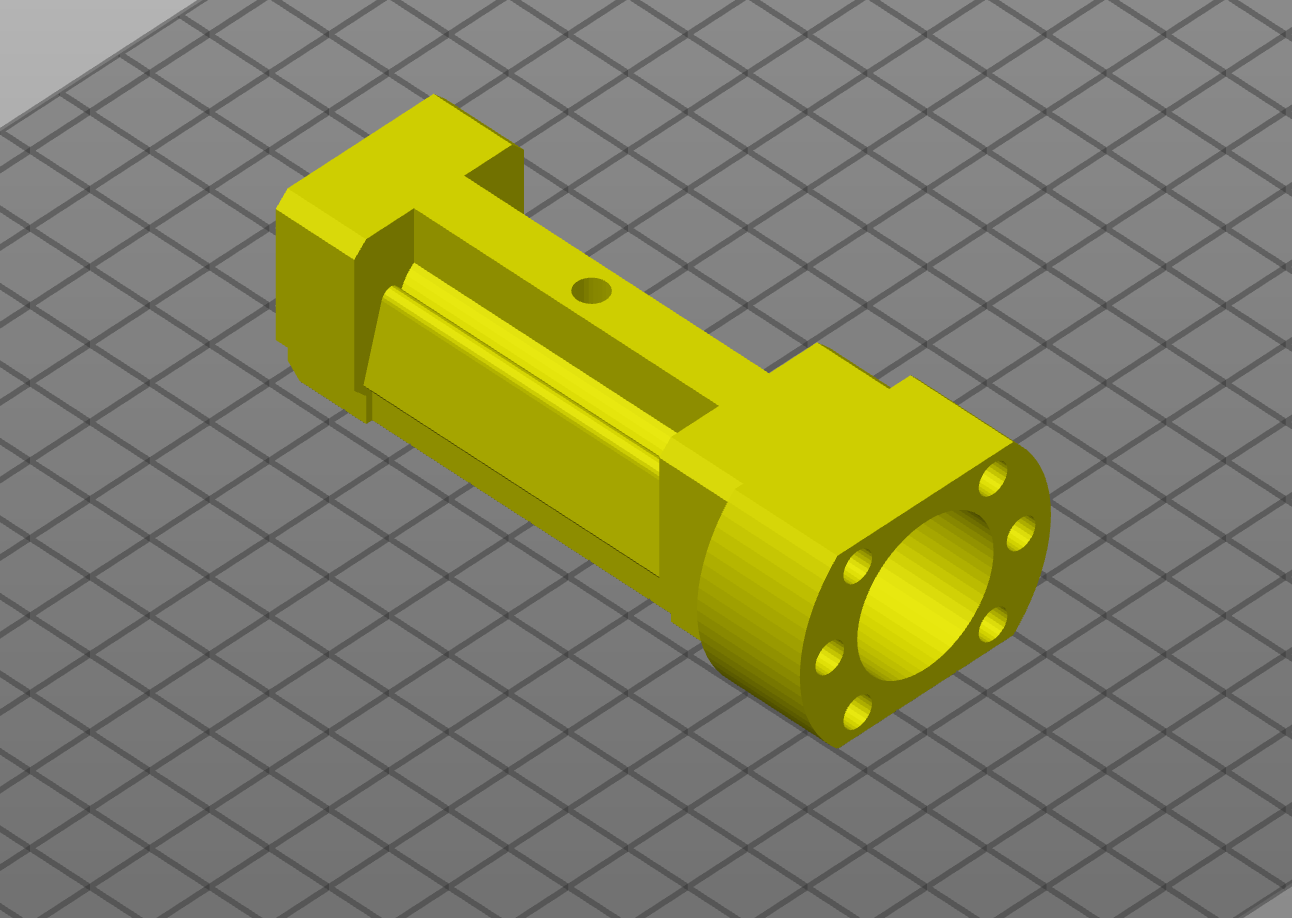
|
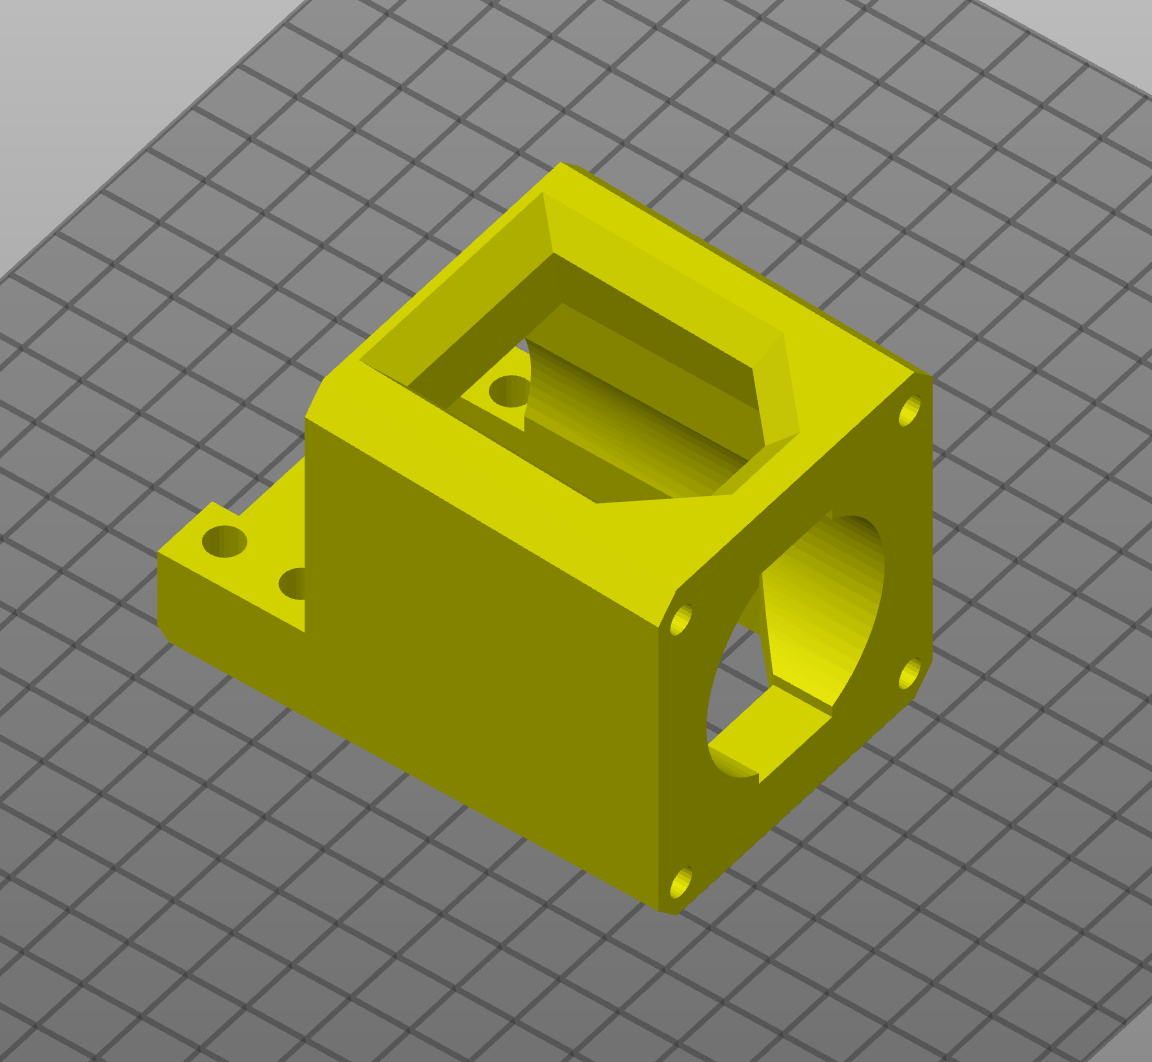
|
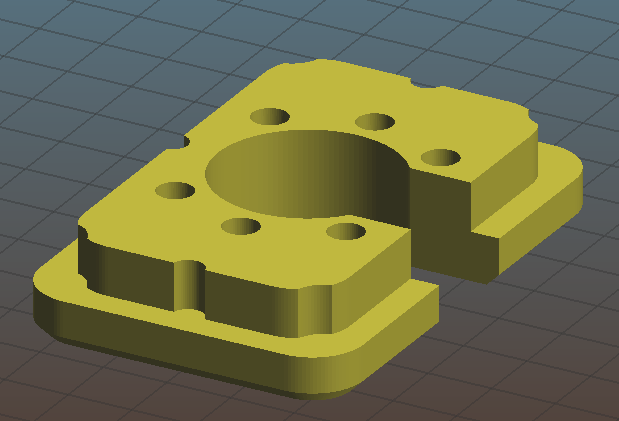
|
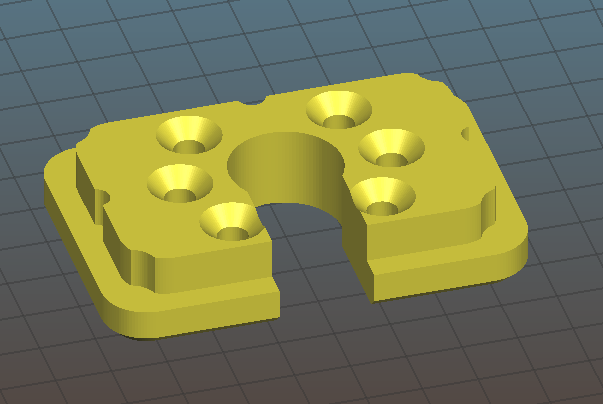
|
¶ Print Settings
¶ Suggested Filaments and Settings
The below guide is highly dependent on your own printer, filament and printer profiles and experience. These settings are based on Hobbyking PLA or PETG.
Good layer adhesion and high strength are the primary factors in determining your settings. There is no significant bridging or supports required on any parts and as such much hotter temperatures may be used that traditionally seen.
| Parts | Filament | Temp | Infill | Walls | QTY | Notes |
|---|---|---|---|---|---|---|
| Assembly Tools | PLA | 235 | 20 | 3 | 1 x Each | PLA preferred as it is less likely to crack when tapping centre points |
| Ball Screw Face Plates Front | PLA | 235 | 60 | 3 | 3 | |
| Ball Screw Face Plates Rear | PLA | 235 | 60 | 3 | 3 | |
| BK12 Mounts | PLA | 235 | 60 | 4 | 3 | |
| BF12 Mounts | PLA | 235 | 60 | 4 | 3 | |
| Nema 17 Dual X Mount* | PETG | 255 | 40 | 3 | 1 | Must be a high temp filament, Support required (Extremely small and easy to remove) |
| Nema 17 Y Mount* | PLA/PETG | 235/255 | 40 | 3 | 2 | |
| Nema 23 Mount* | PLA/PETG | 235/255 | 40 | 3 | 3 | |
| Tensioner & Brace | PLA/PETG | 235/255 | 30 | 3 | 1 | Only required for Nema 17 Dual Mount |
| Z Motor Mount (17 or 23) | PETG | 255 | 60 | 3 | 1 | Z Motor Mount is tapped down onto HGR Rails and a very tight fit, good layer adhension required |
| T8 Riser | PLA/PETG | 235/255 | 60 | 3 | 1 |
* Nema 17 OR Nema 23 mounts required depending on the build configuration.
Ender 3 Print Profile This is the Ender3 Profile that I use. It has been highly tuned and provides excellent quality results with very little stringing and high strength for all functional parts. To switch between PLA and PETG simply change the temps PLA: 235 (bed 40) PETG: 255 (bed 90)
0.6 Nozzle, 0.35 layer Height, 60mm/s This is a fast printing profile. The largest part (Dual Motor Mount) prints in ~5.5 hours