¶ Summary
This is a step-by-step description how to align the X and Y ballscrew nuts with the roller plates. The roller plates can move side-to-side in the roller tube and the roller tube can rotate around the Z-axis on the linear bearing block, but there is no possibility for alignment around the other axis (X for Y-roller and Y for X-roller).
While the printed roller plates have some flex and can adjust to small alignment inaccuracies, aluminium roller plates are much stiffer. If the roller plate is not exactly perpendicular to the ballscrew, the ballscrew nut will bind if bolted tight to the rollerplate. To avoid this, this gap has to be shimmed.
¶ Hardware Needed:
- Metal rollerplate
- 6 extra M5 nuts
- Shimstock, e.g. a cheap feeler gauge
¶ When complete, verify
- The ballscrew nut does not bind
¶ Steps:
-
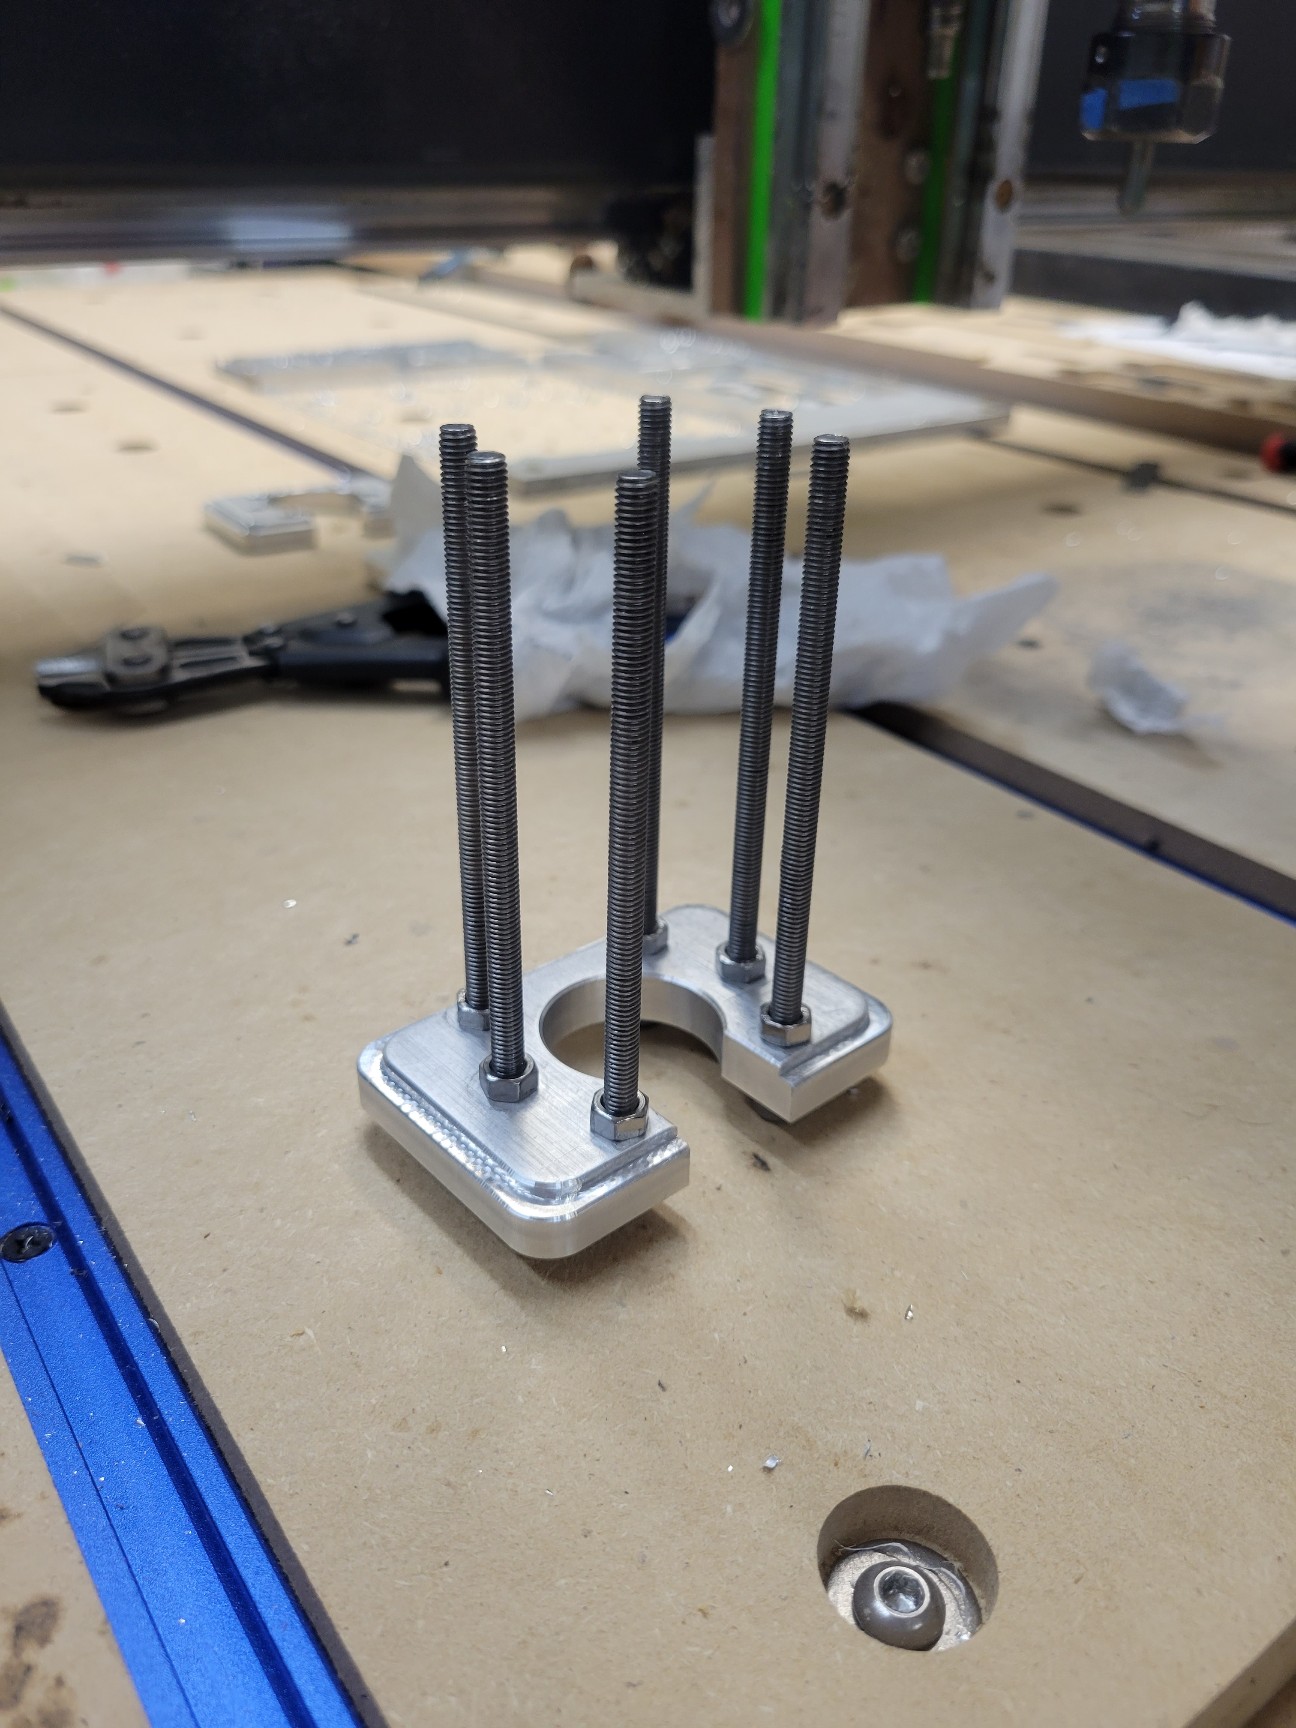
Feed your bolts in from the plate opposite of the ballscrew nut. Using regular M5 nuts (not nylock - those would take forever to thread on and would probably seize up from heat) fasten the bolts really, really tightly to the plate. This makes the repeated tightening and loosening of the second plate in the following steps.

-
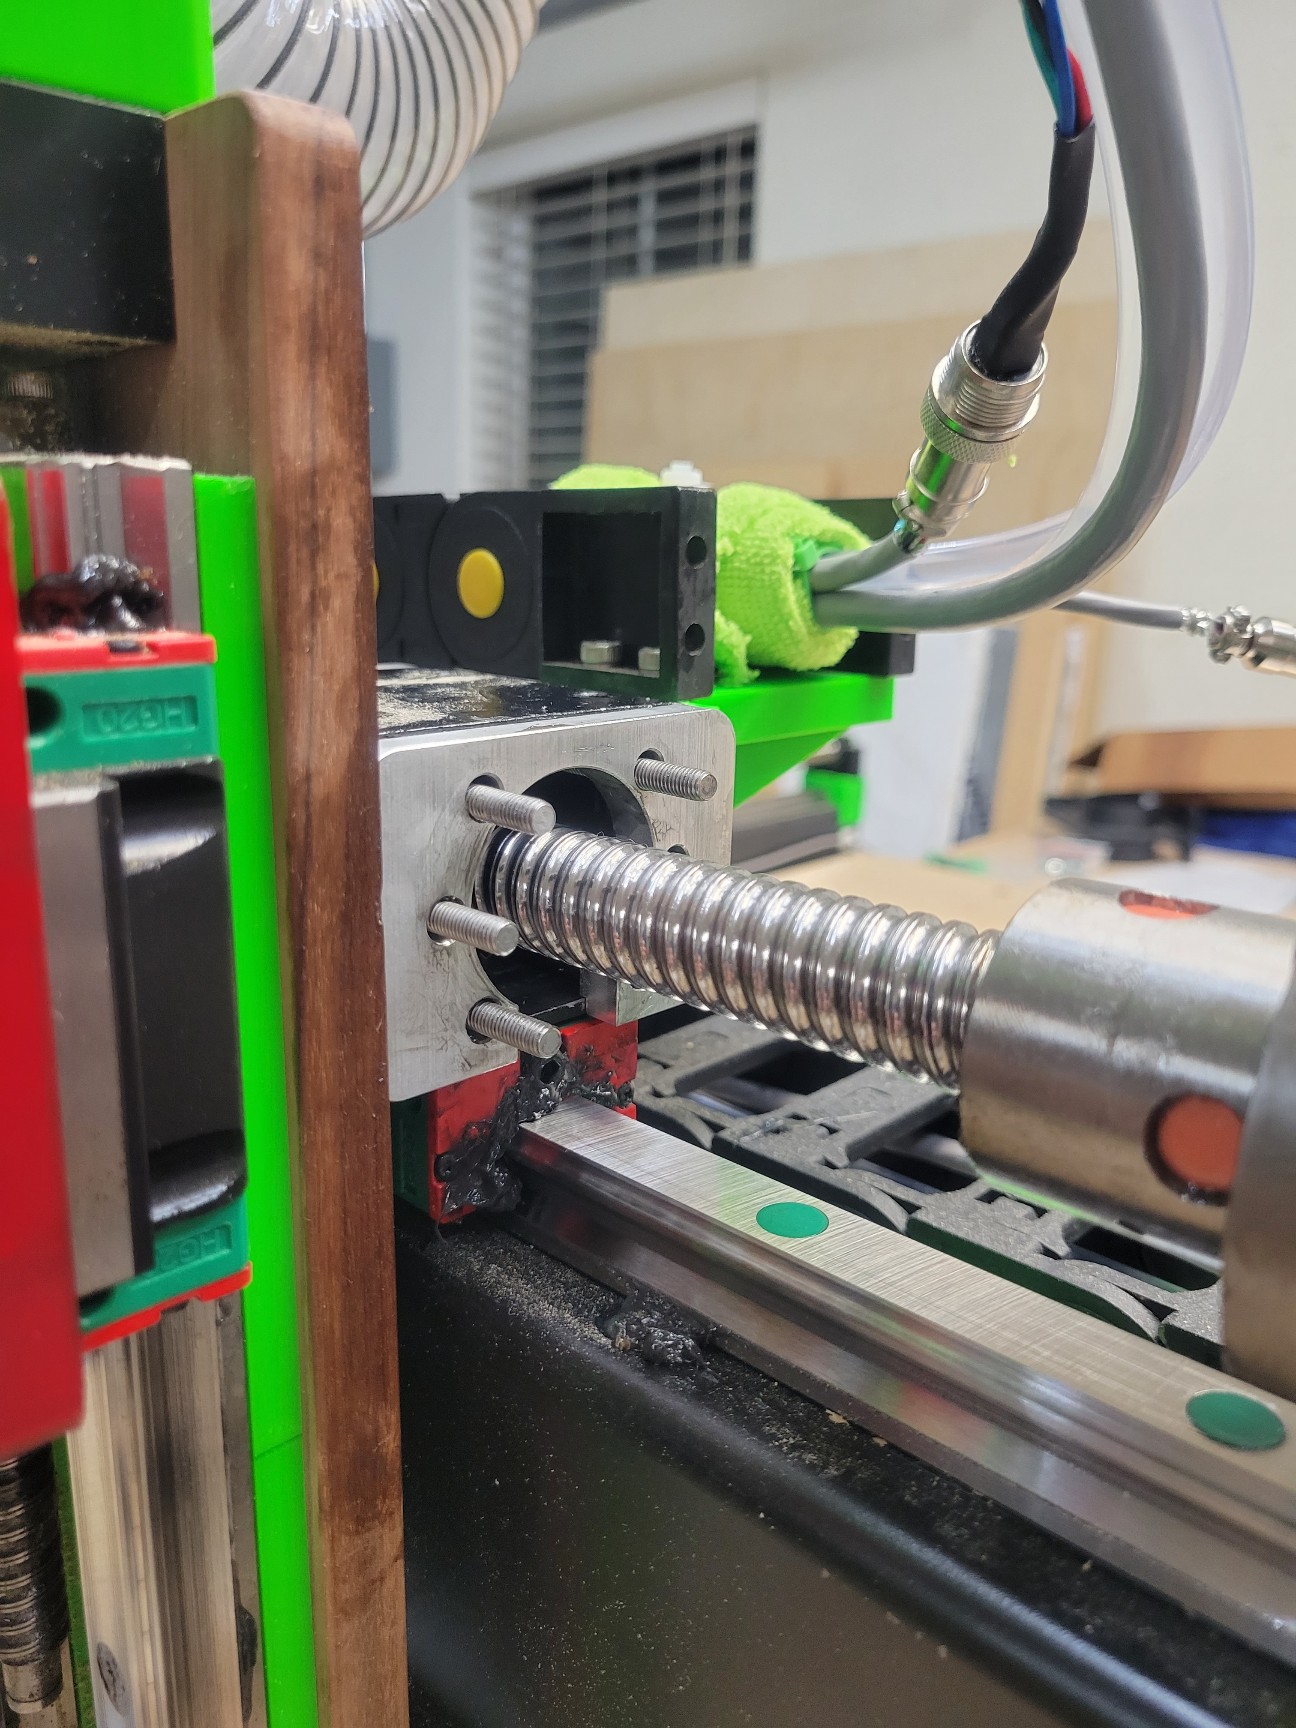
Feed the plate and the bolts through the roller, through the other plate, and through the ballscrew nut

-
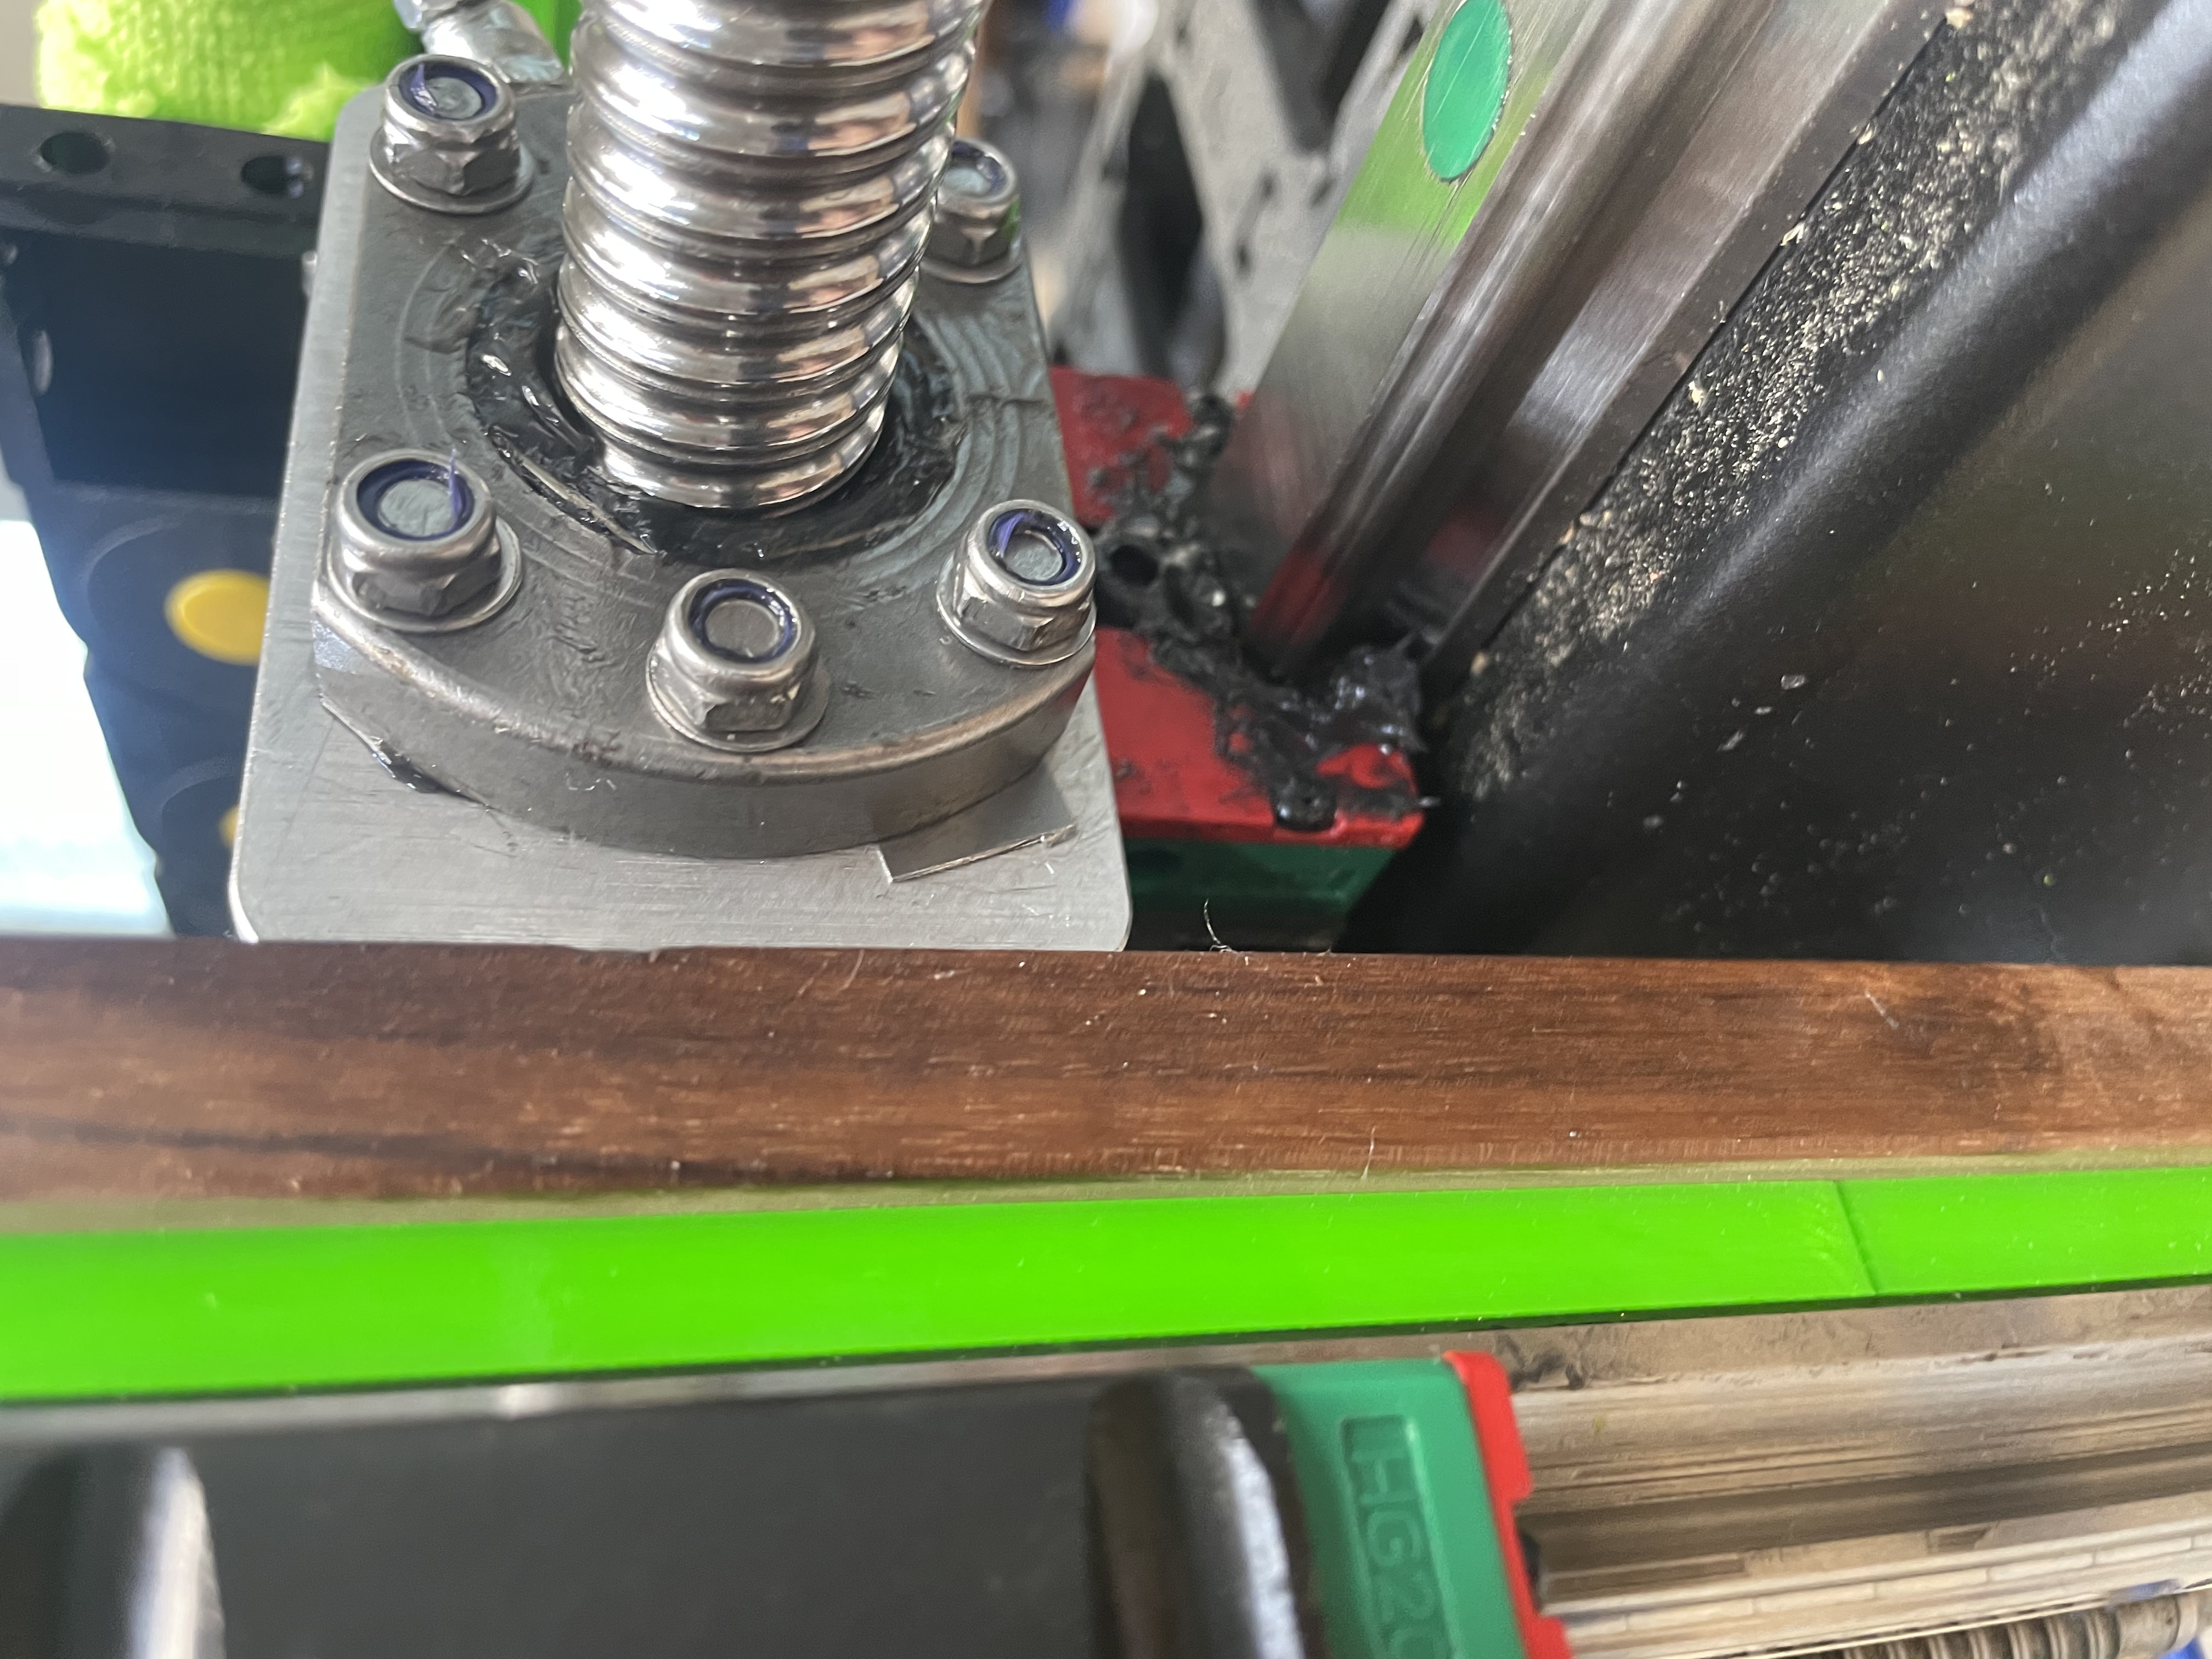
Using feeler gauges (picked up cheap from Amazon or your local store) figure out what part of the ballscrew nut has a gap between it and the plate. When you tighten down to assemble everything, the spot that has the gap is going to twist and cause a tremendous bind on the ballscrew nut.
-
Using the feeler gauge that fits easily, go up a size or two (+0.05mm or +0.1mm) and try sliding it in. It should be really hard to get in, if not impossible. If you've already put the nuts on just back them off until you can squeeze the feeler gauge in.
-
Tighten the nuts all the way and test to see how easily it rotates. You will eventually find out where and how much you need to shim your ballscrew nut to make it work with the least friction
-
After you've figured out exactly what feeler gauge you need and where, take some bolt cutters (or scissors for the smaller/thinner gauges) and cut off a little piece to shove in before tightening it all down
