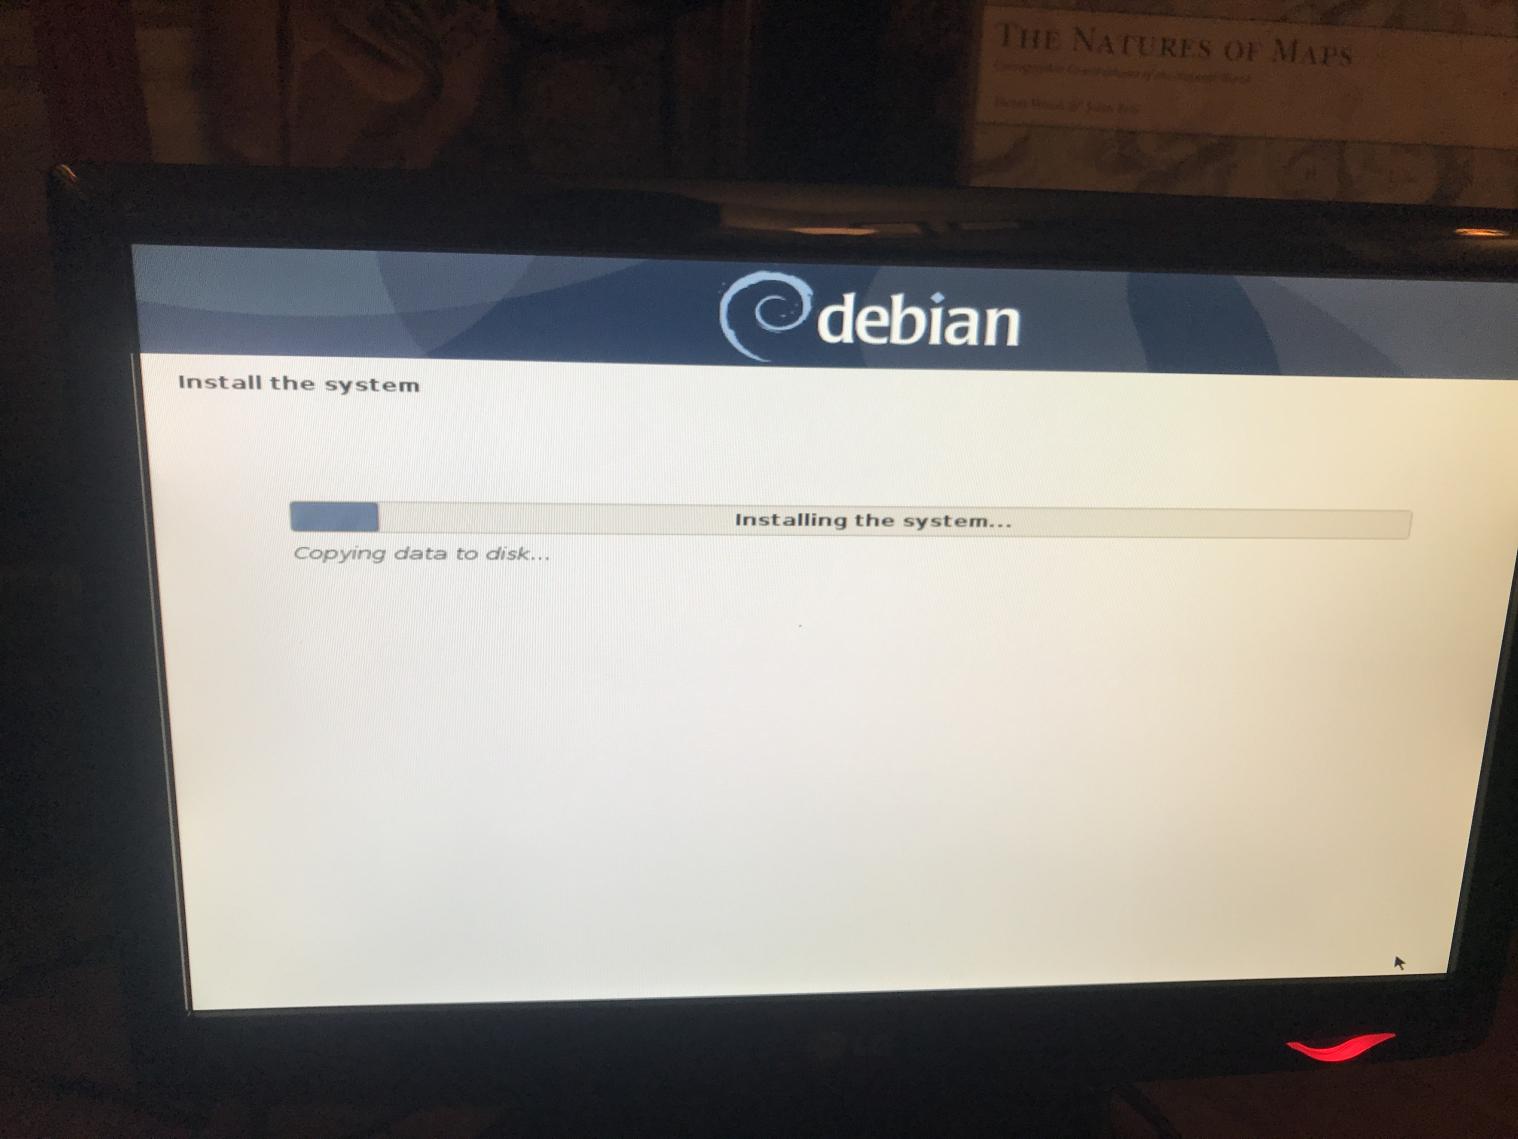
Installing LinuxCNC on a Dell Optiplex 790
Using the recommended installer I ran into a problem at the Partitonining stage of the install.
No matter what option I chose (Guided or Manual) the installer would not over-write the existing primary and logical disk partitions.
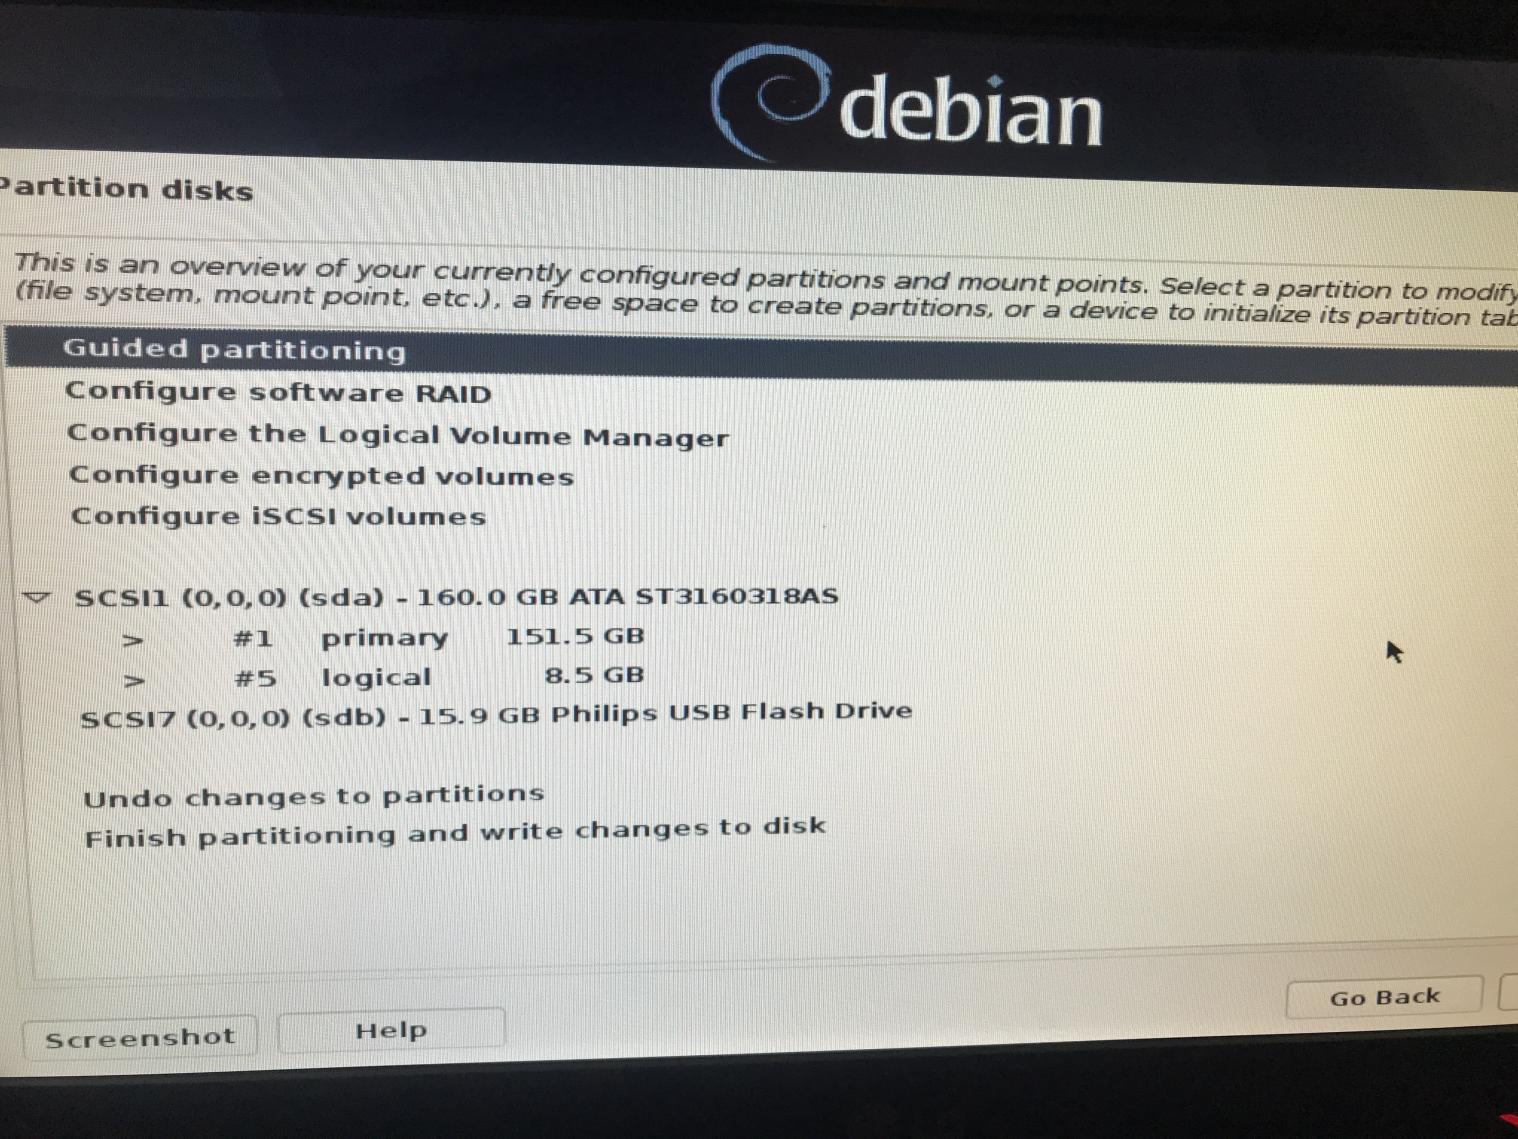
The only solution was to enter the console by hitting: CTRL-ALT-F1

Once in the console enter: fdisk /dev/sda
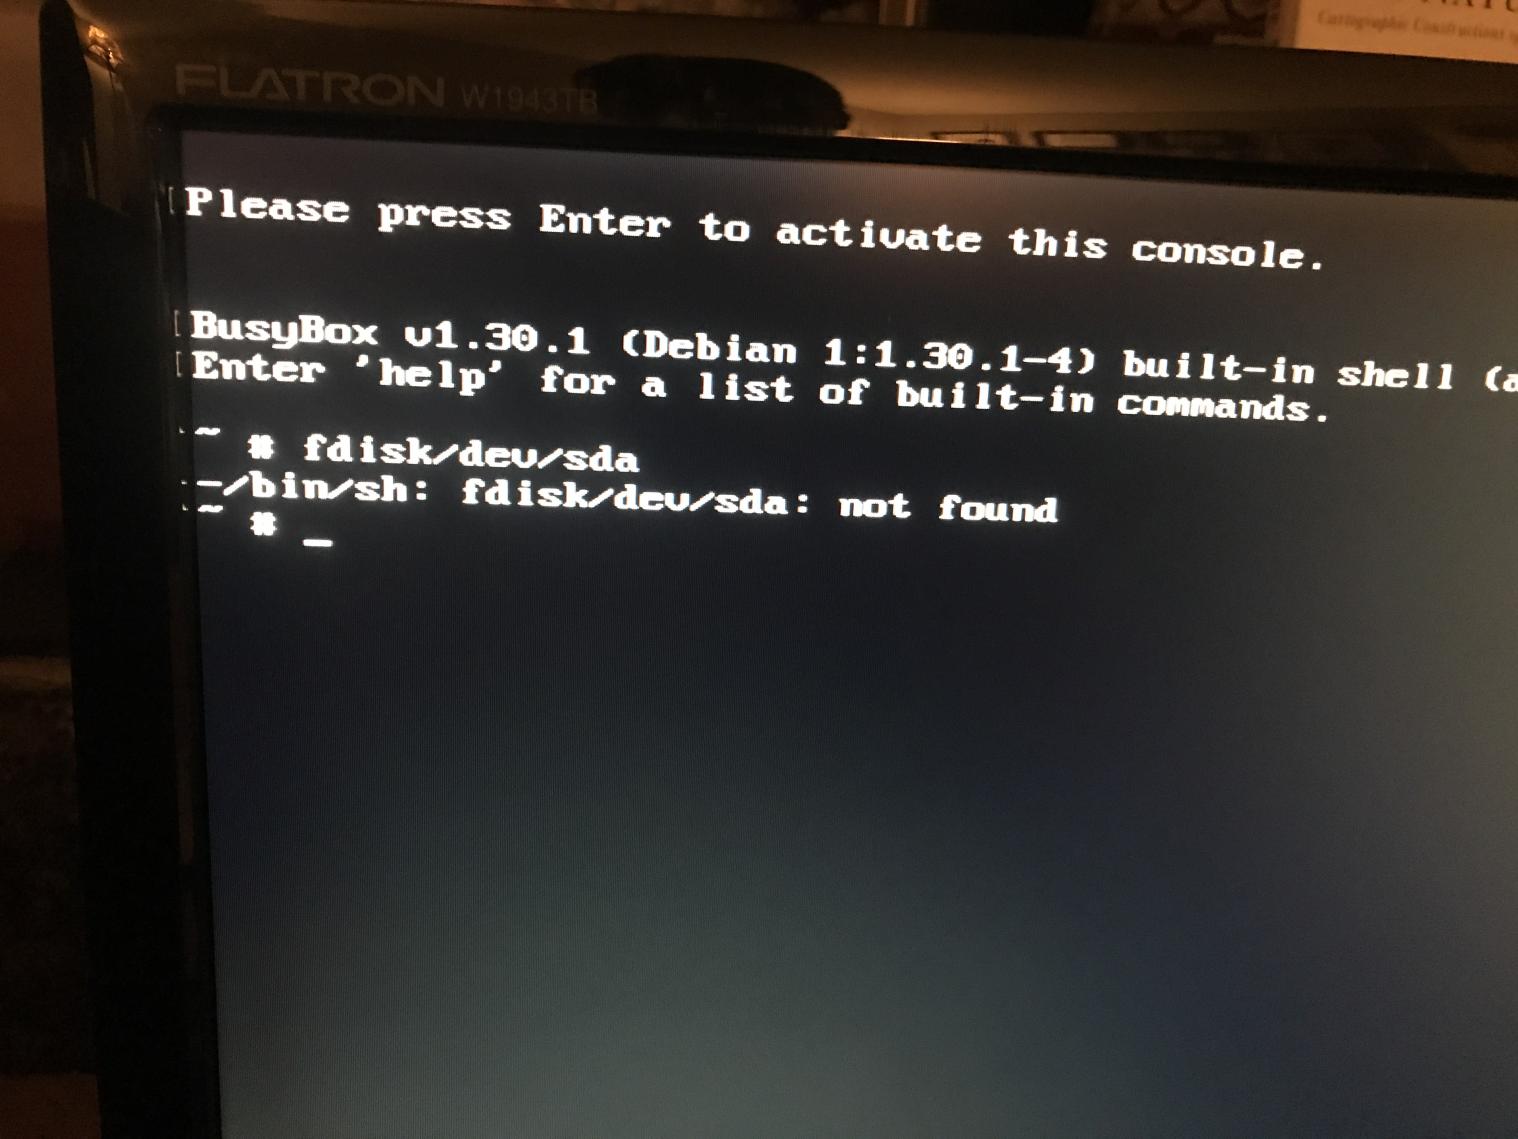
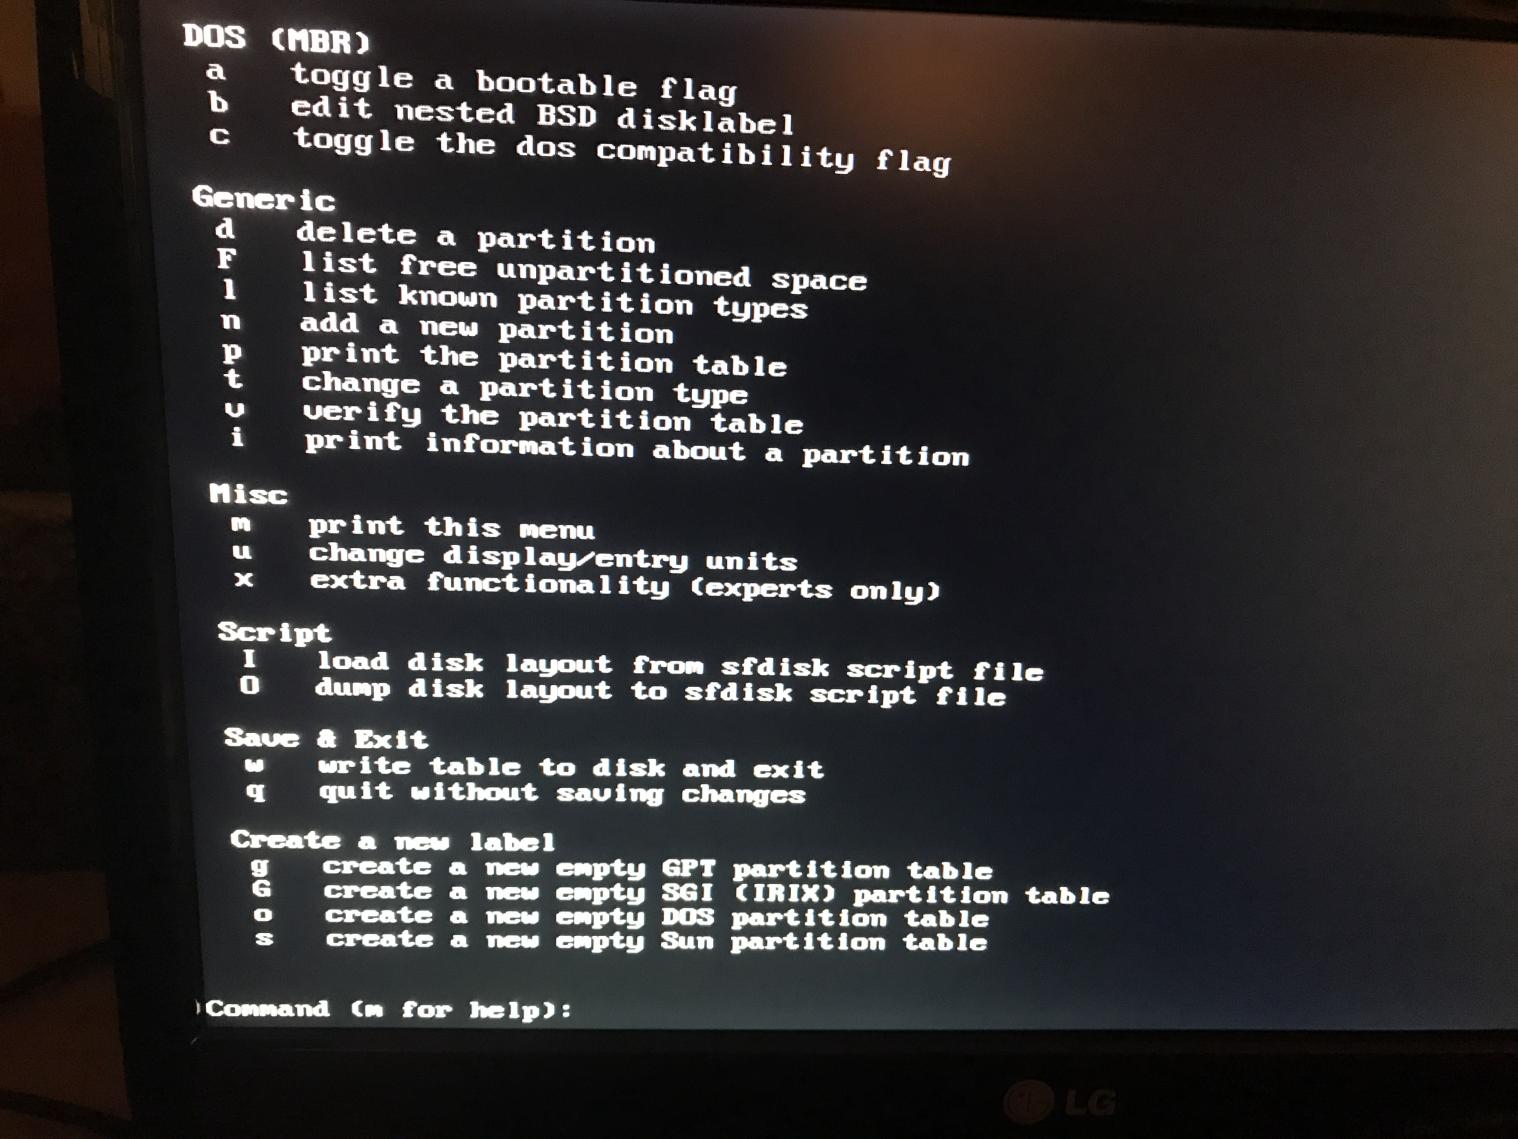
Enter: m
This will give you a list of available commands.
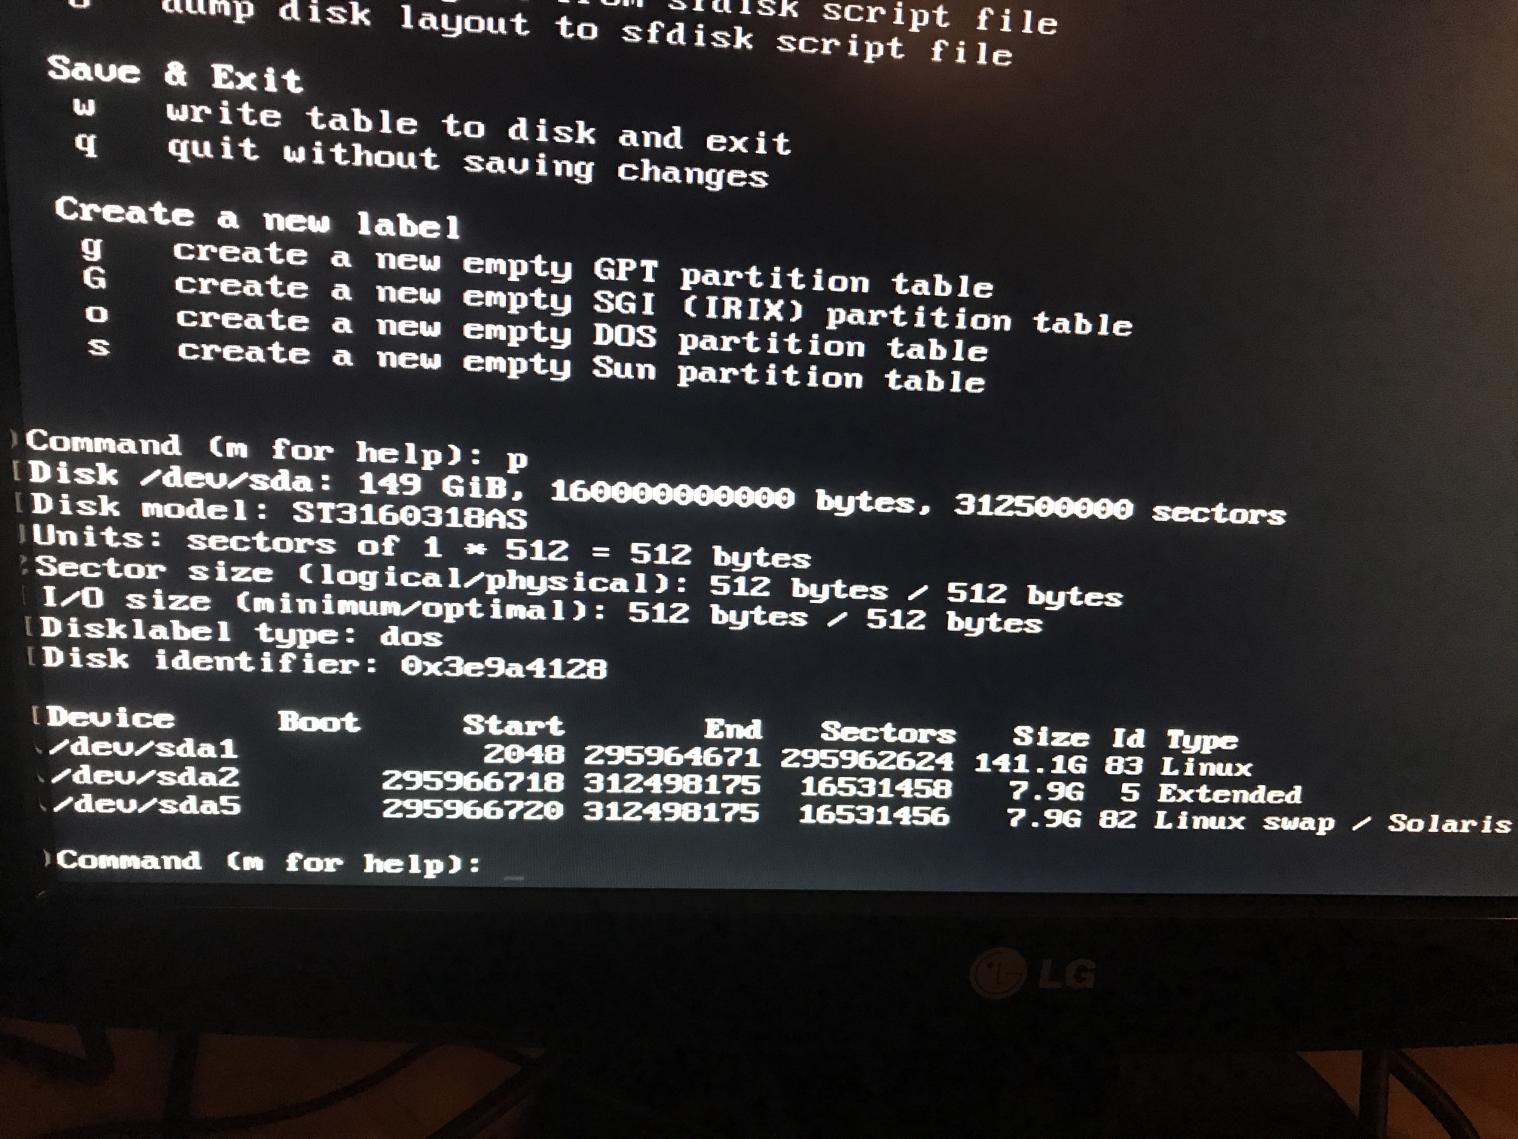
Enter: p
This will list the partitions on the disk.
In my case there were two hard disk partitions:
Partition 1:
- /dev/sda1
Partition 2:
- /dev/sda2
(the screen shot below also shows /dev/sda5 which is the USB drive containing the LinuxCNC installer image)
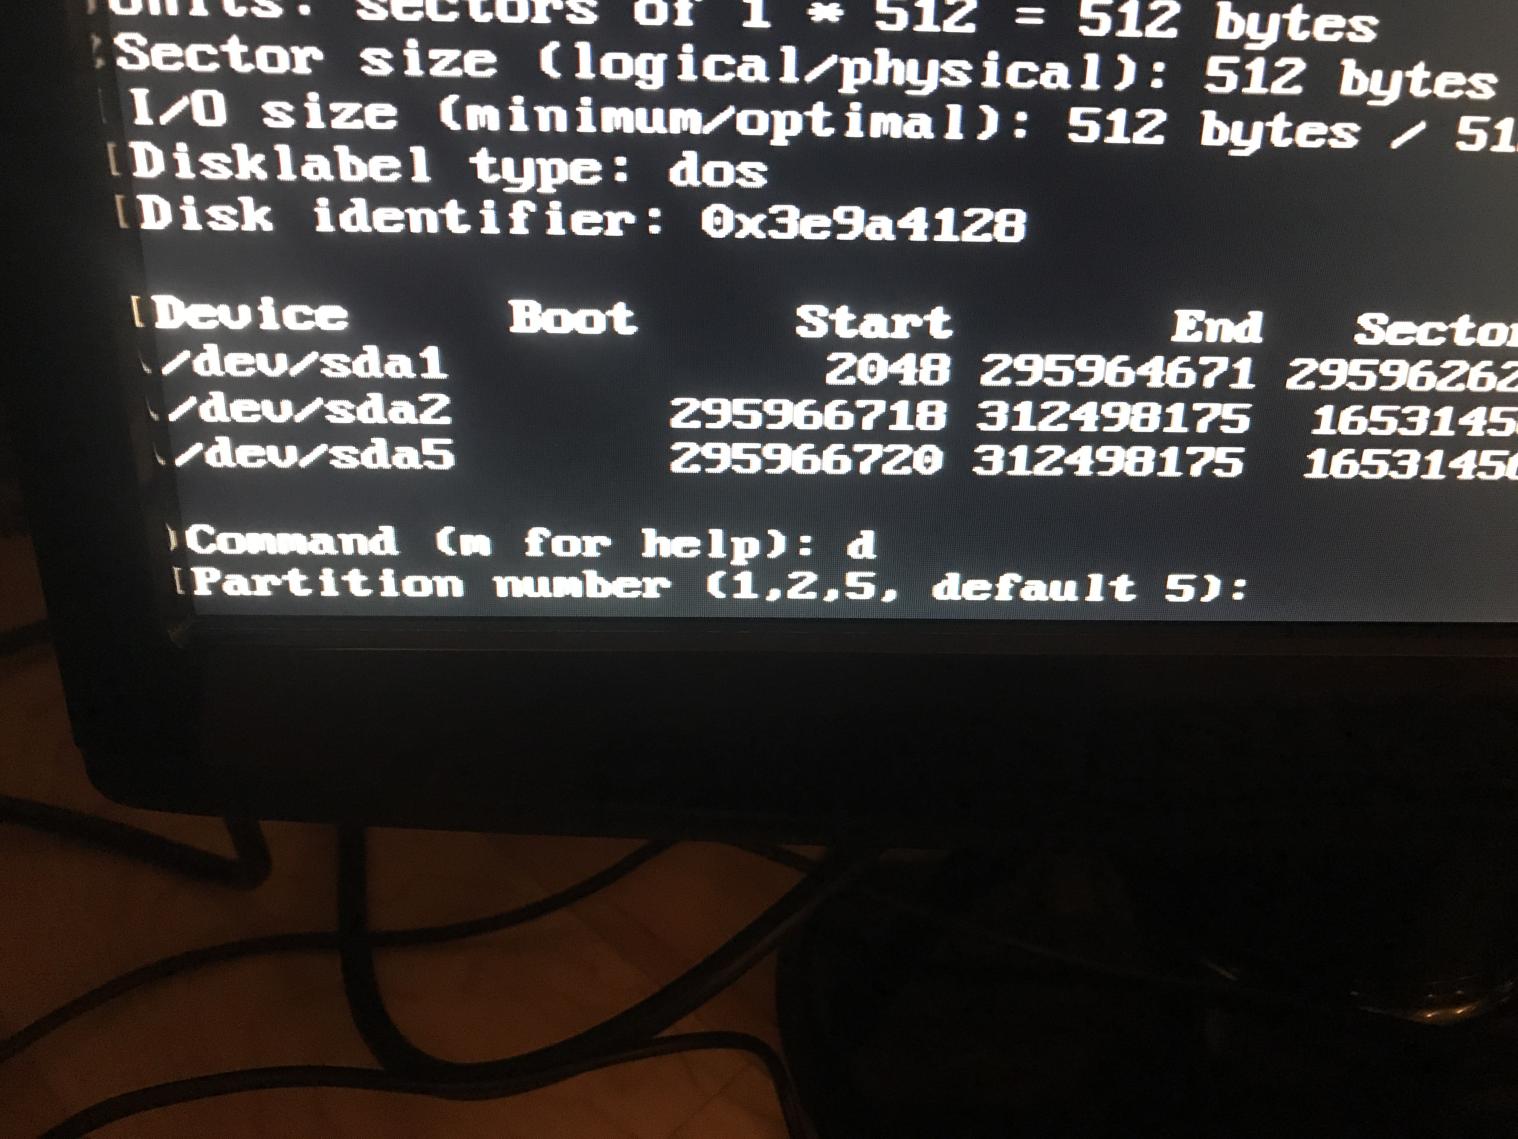
Enter: d
This is the delete partition command.
You will be asked which partition to delete.
Enter: 1
This will delete the first partition
Enter: 2
This will delete the second partition
If you have more than 2 partitions, you need to delete each one till all hard disk partitions have been deleted.
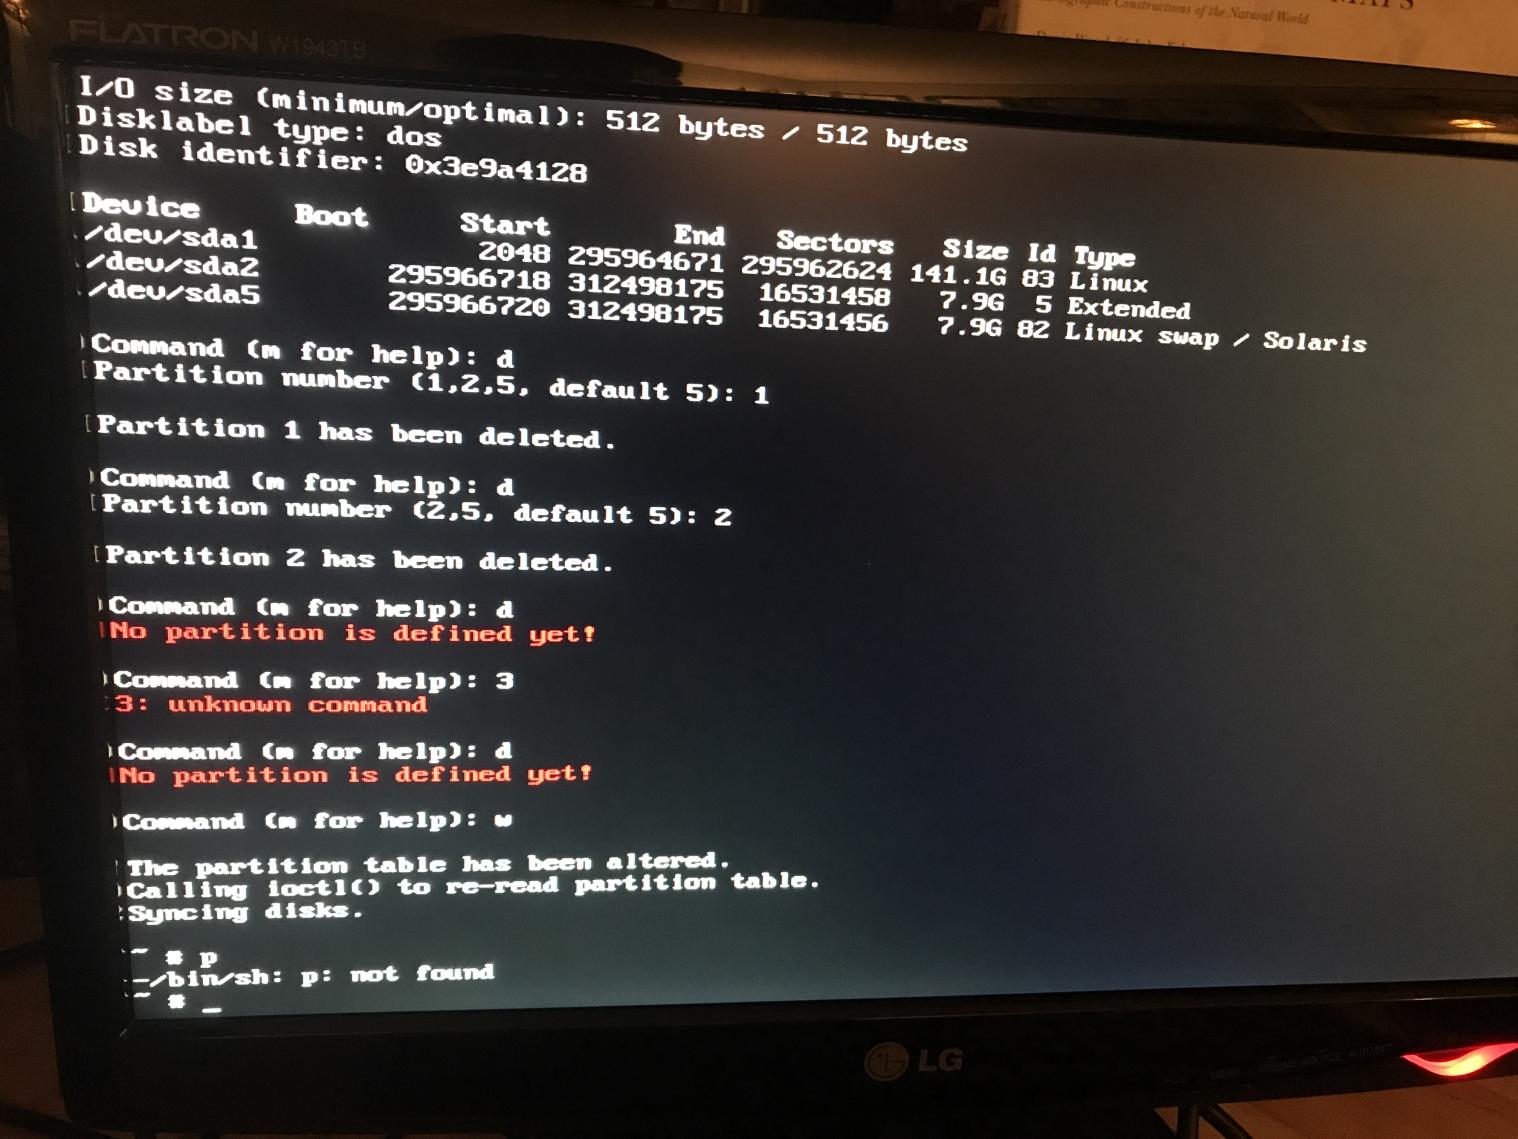
Enter: q
This will quit the console and return you to the graphical installer.
In the graphical installer chose: Guided Partitioning and press Continue.
(Note the primary and logical partitions are gone.)
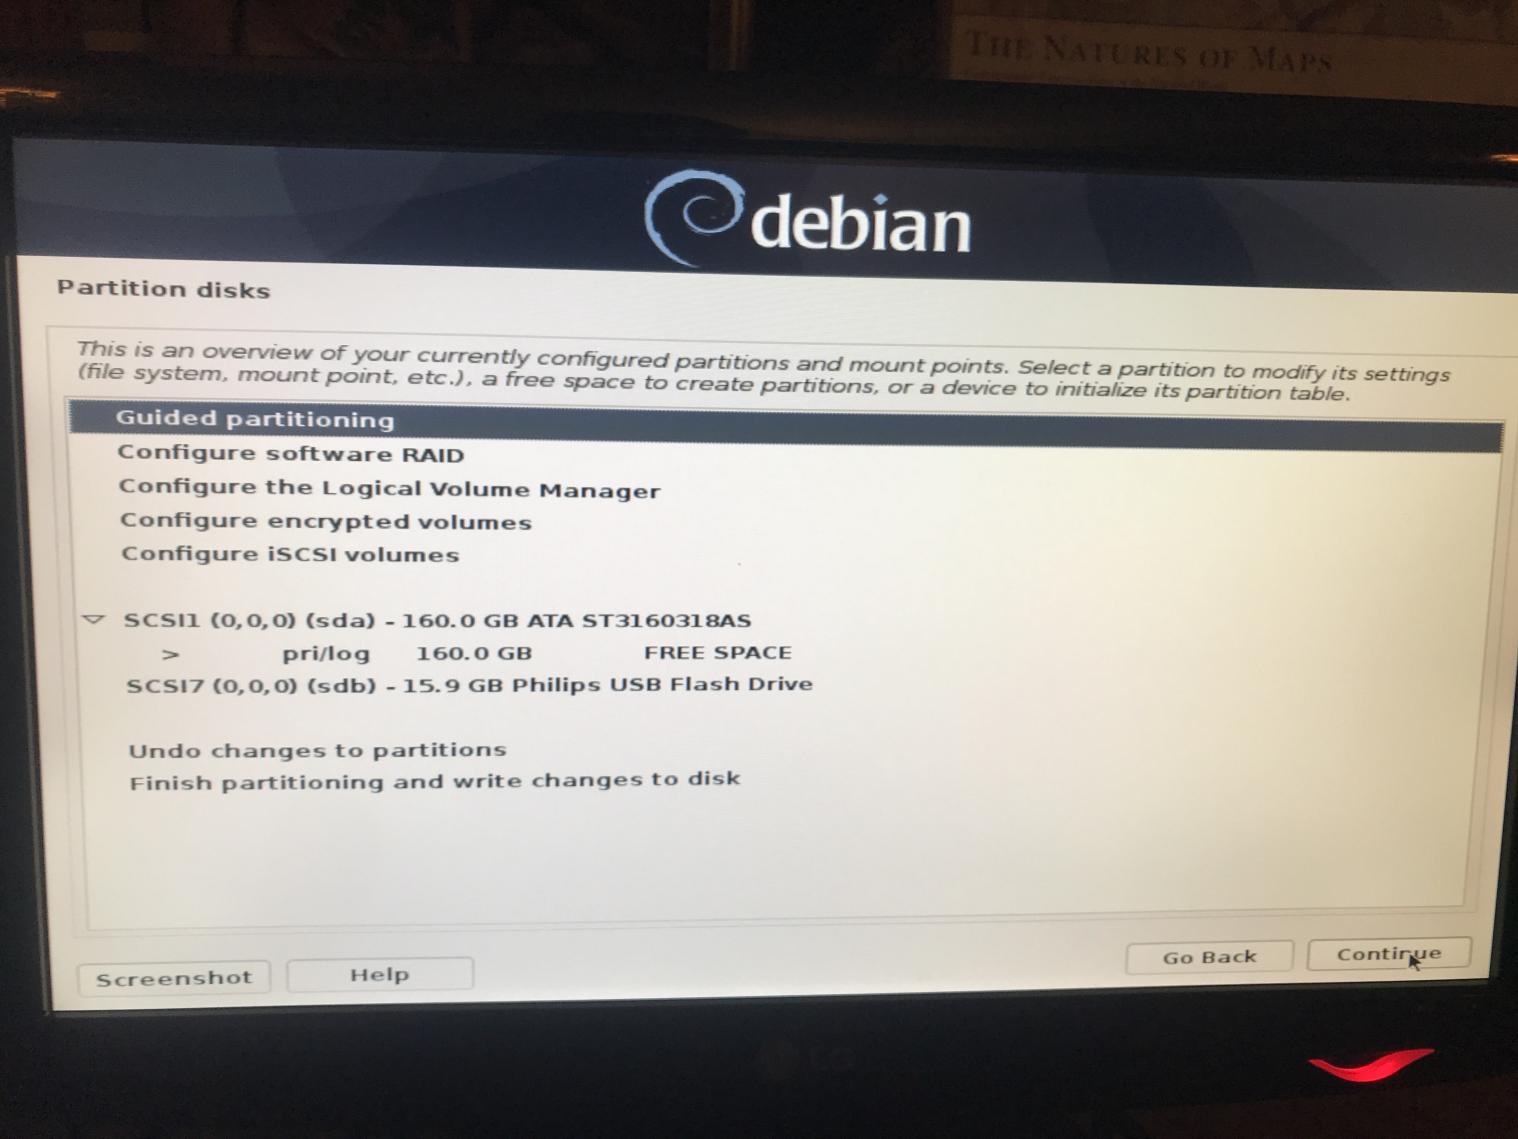
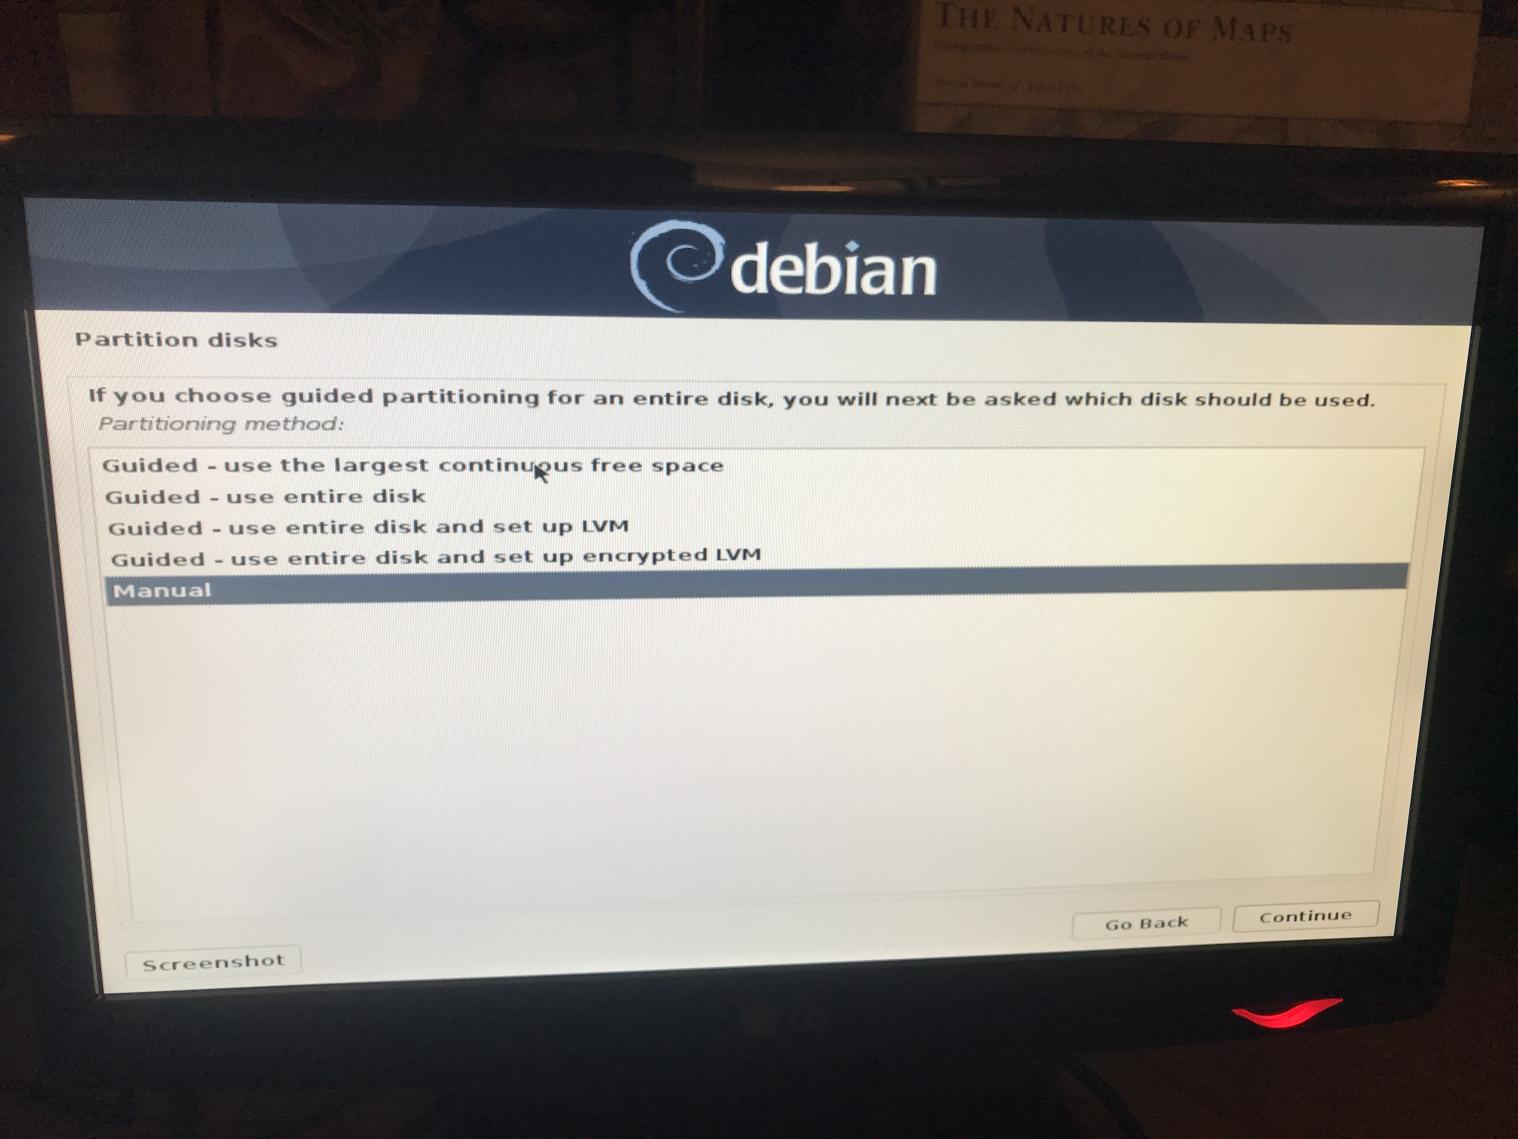
Choose: Guided – use largest continuous free space and press Continue
(Ignore the fact that Manual is highlighted below…)
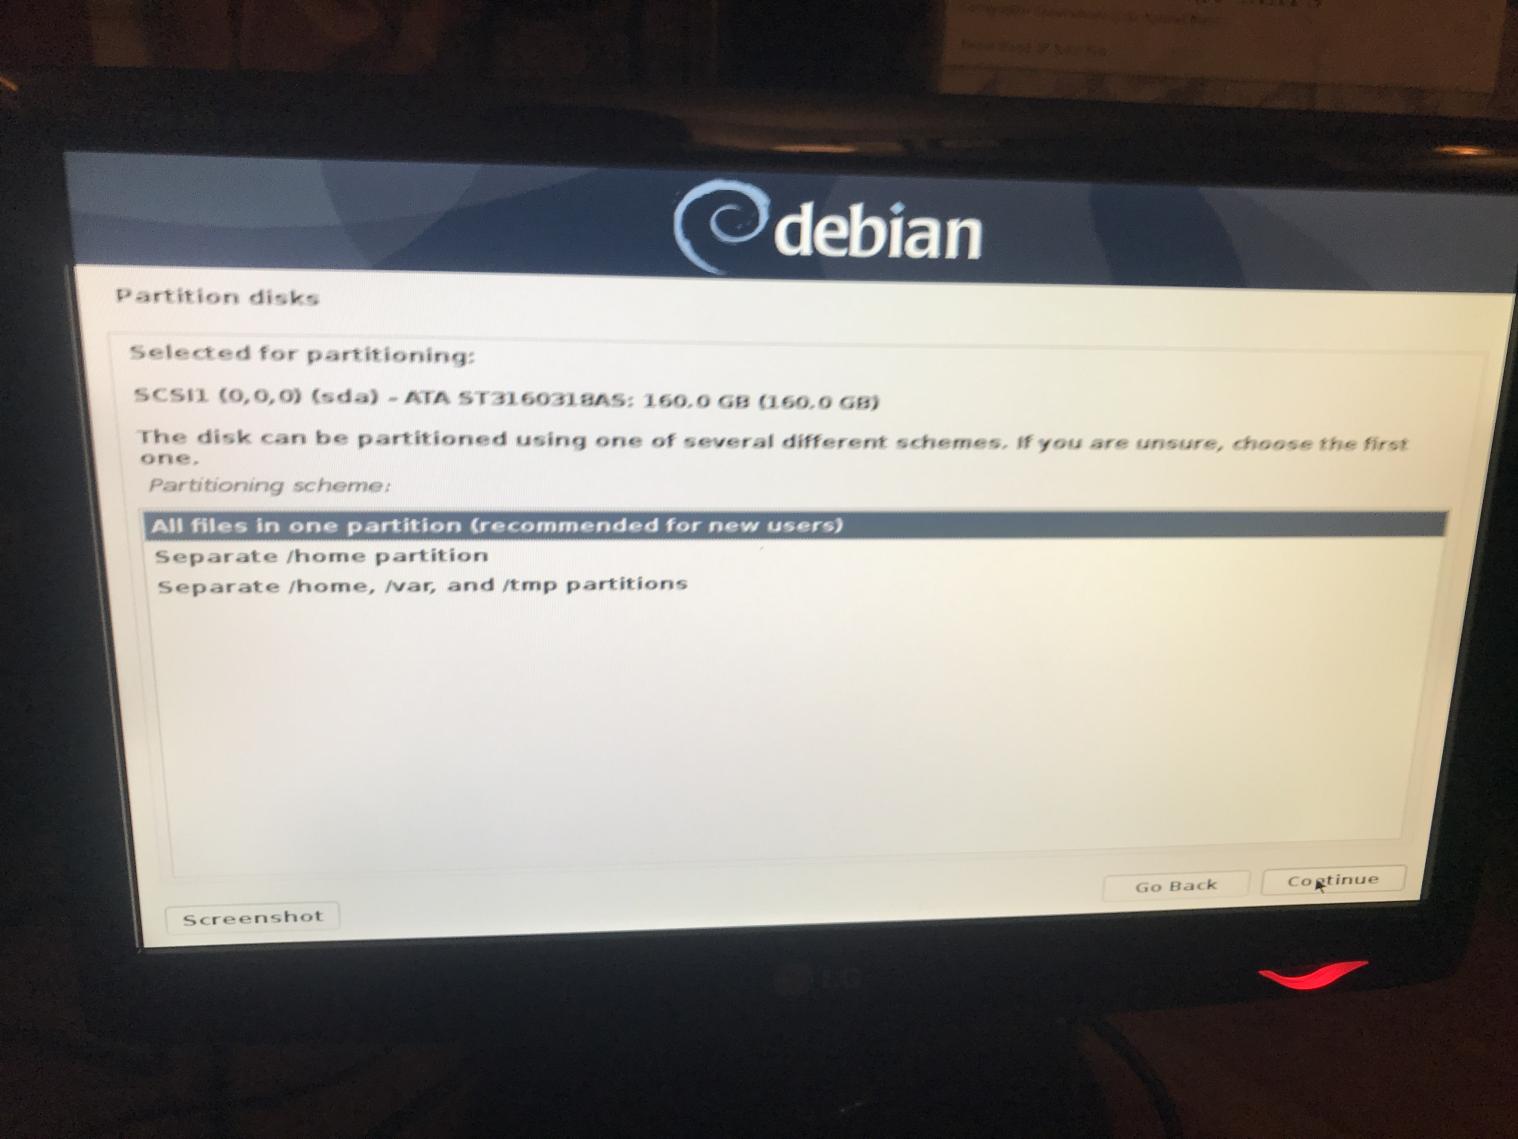
Chose All files in one partition and press Continue
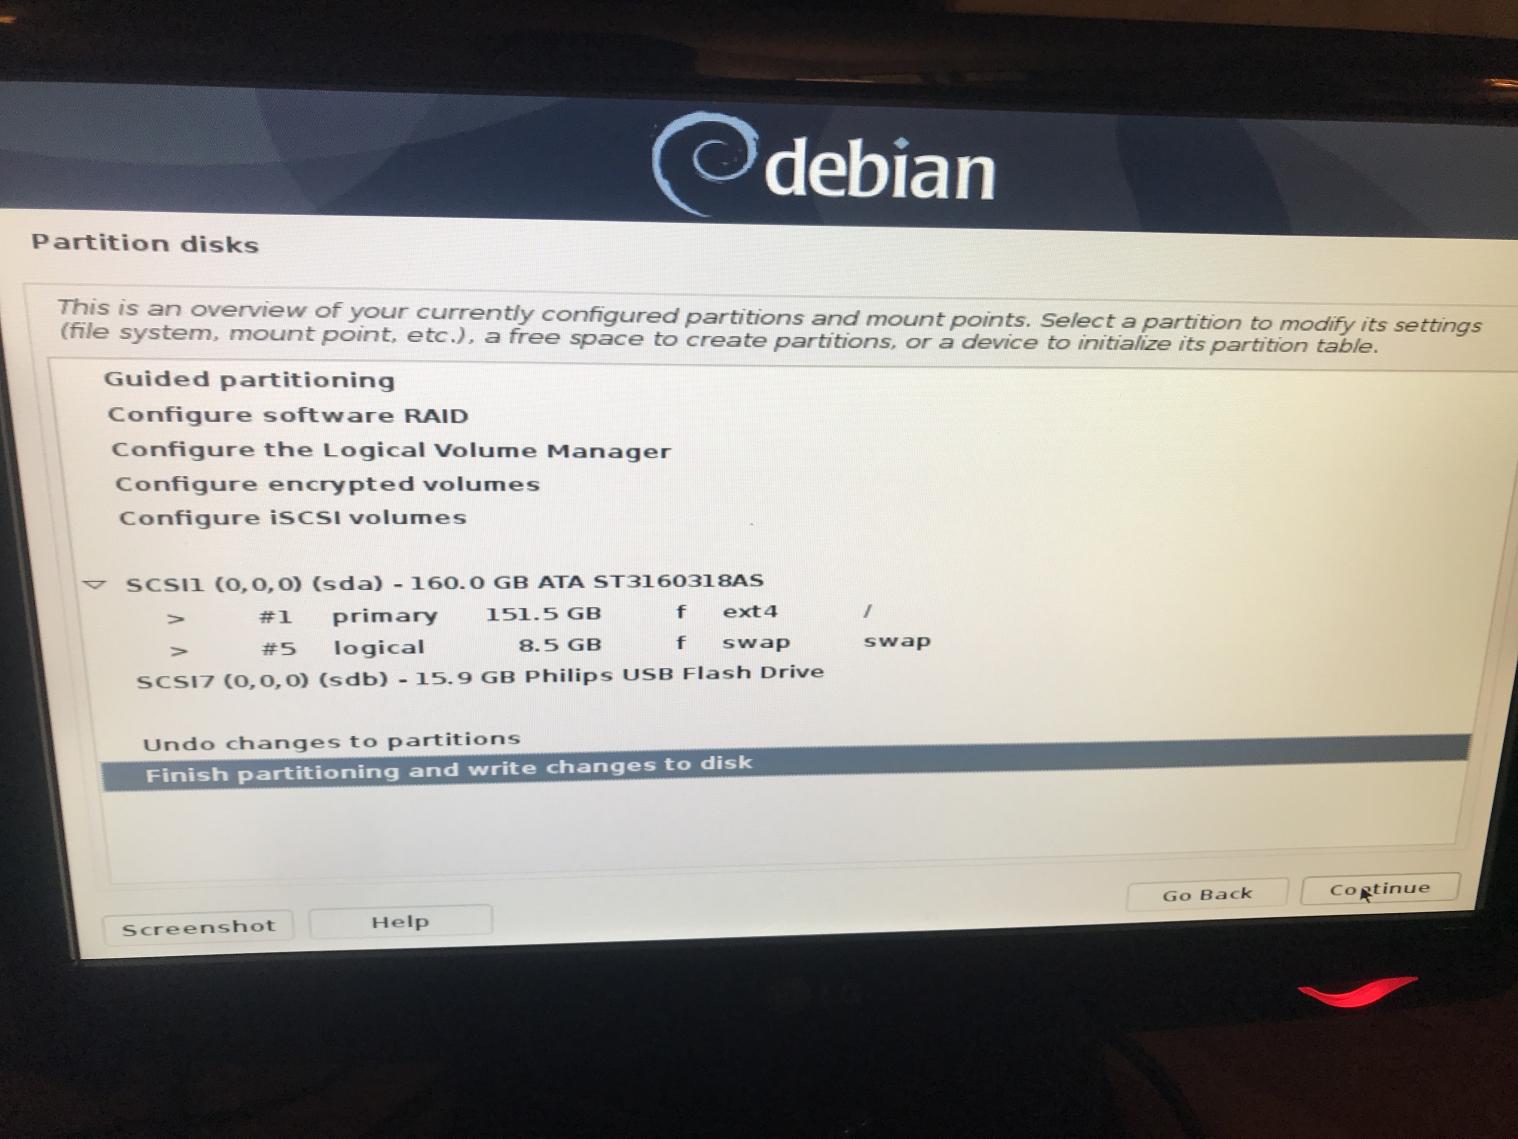
I got this screen showing a primary and logical disk which I thought would be a problem. Turned out it wasn’t.
Chose: Finish partitioning and write changes to disk and press Continue
This should be what you see next. The partition is being written to the disk.
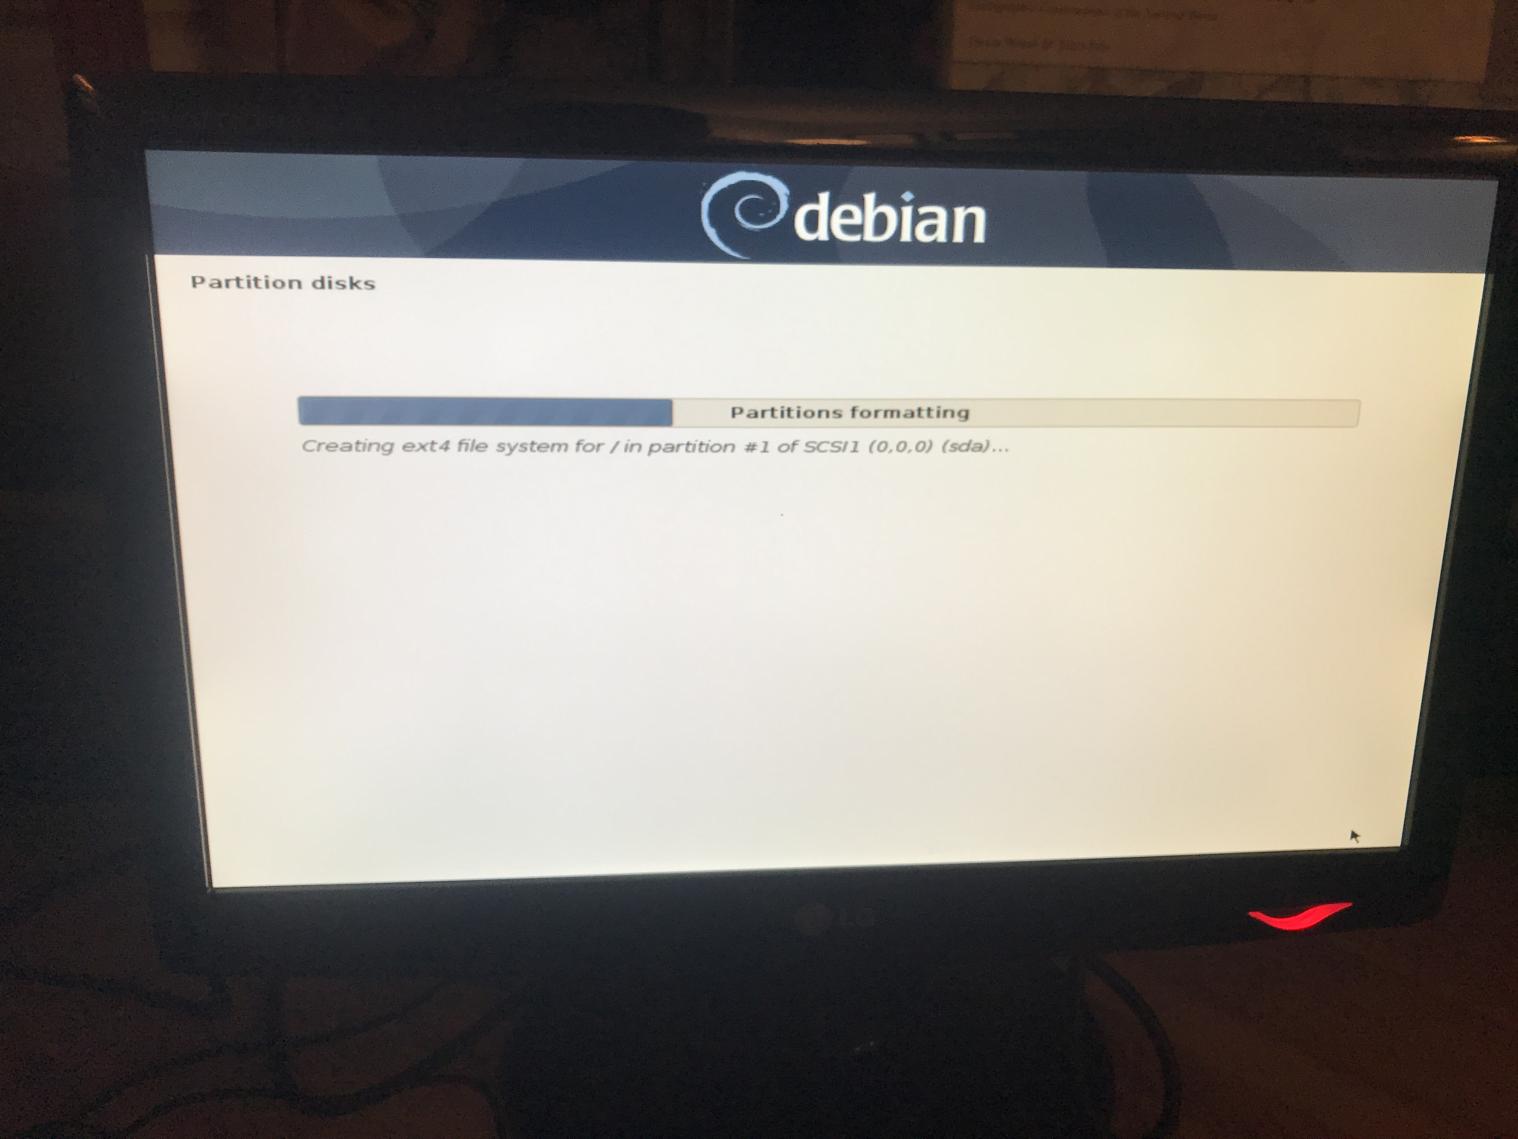
When the partitioning is complete the actual installation begins.
